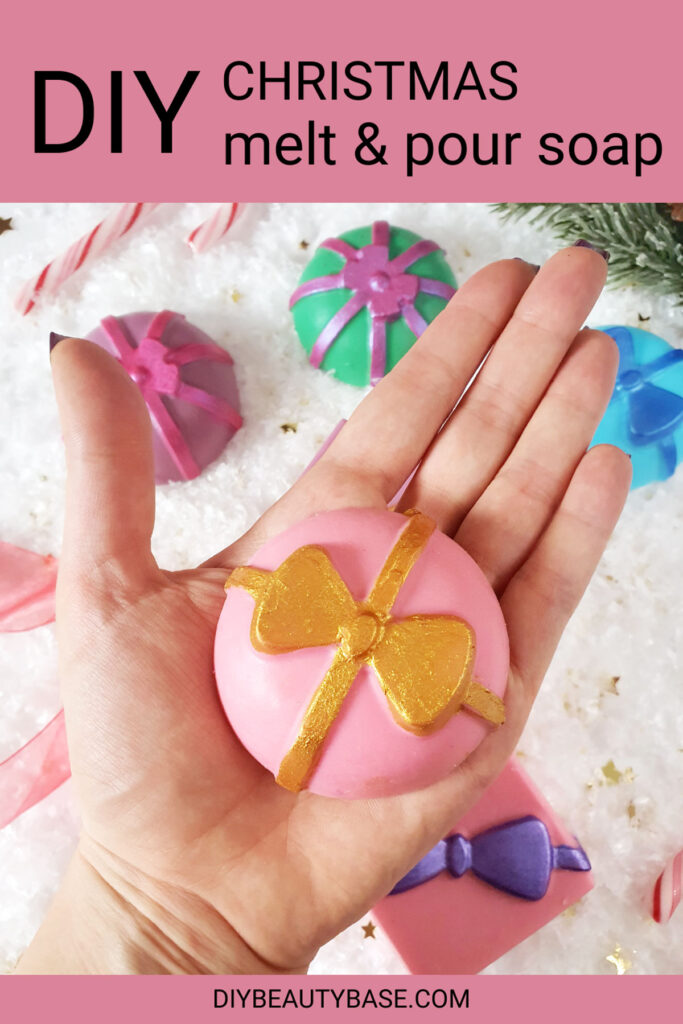
Gift Box Shaped Christmas Melt & Pour Soap Recipe
This post contains affiliate links. If you click and make a purchase, I may receive a commission. Thanks.
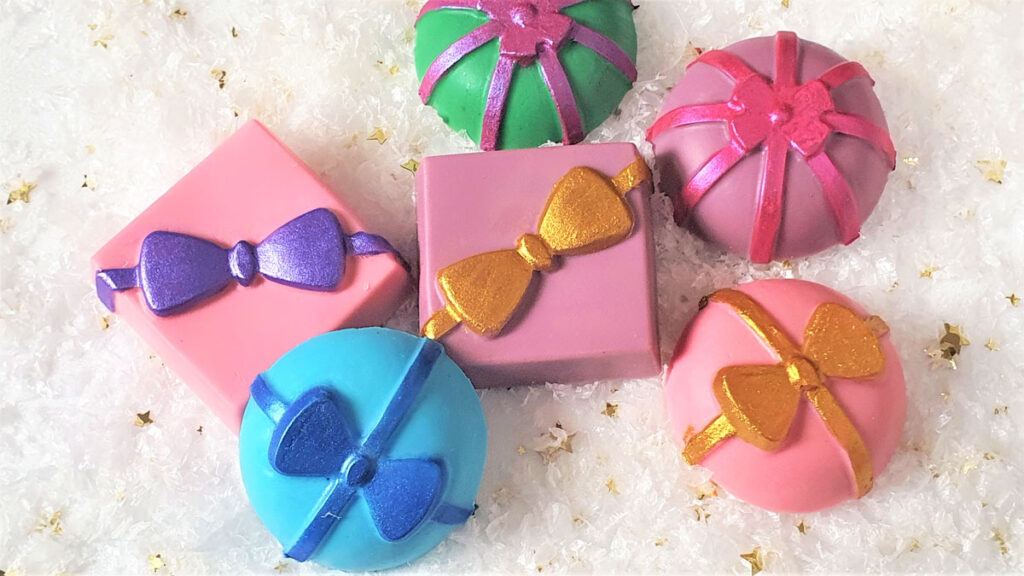
Are you bored with traditional looking Christmas soaps?
I have a perfect DIY Christmas soap tutorial for you. Why not make your DIY Christmas soap look like a little Christmas gift box?
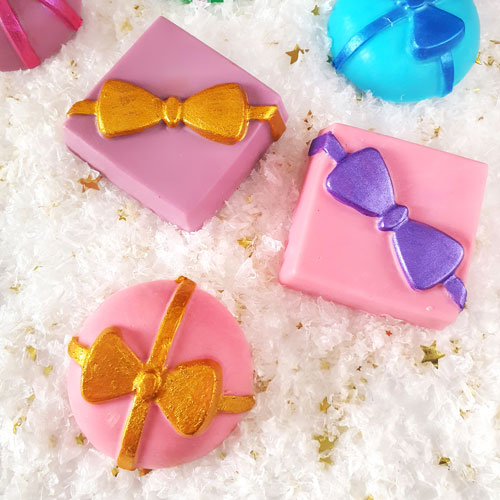
In this post I will share with you a super easy and fun to make melt and pour Christmas soap recipe. I made the soap with a Christmas soap mold that makes adorable gift shaped soaps and with sparkly mica powder for the fun and festive look.
These DIY Christmas gift soaps are inexpensive, easy and fast to make. So let’s get started.
What you’ll need to make Christmas soap:
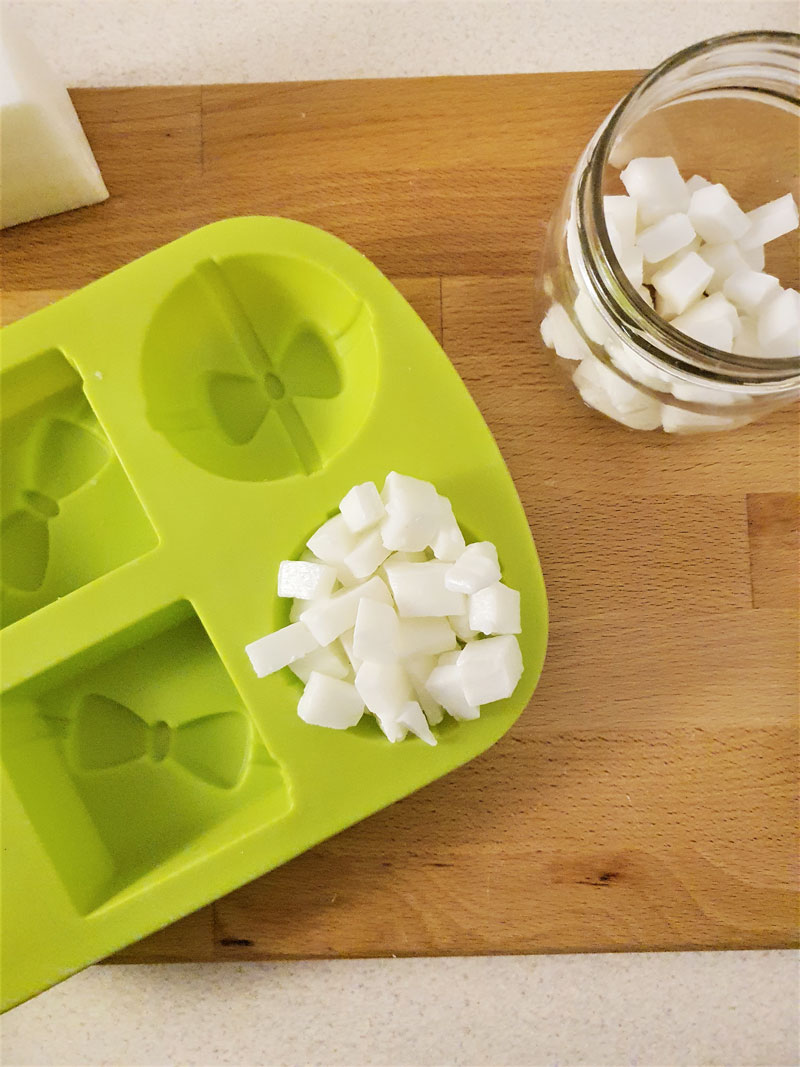
– Gift box shaped Christmas soap mold
– Melt & Pour base (I used goat’s milk base but you can use any base, for example shea butter base or oatmeal base)
– Soap dye
– A small painting brush (I used my old make up brush)
Pin for later:
How to make Christmas soap
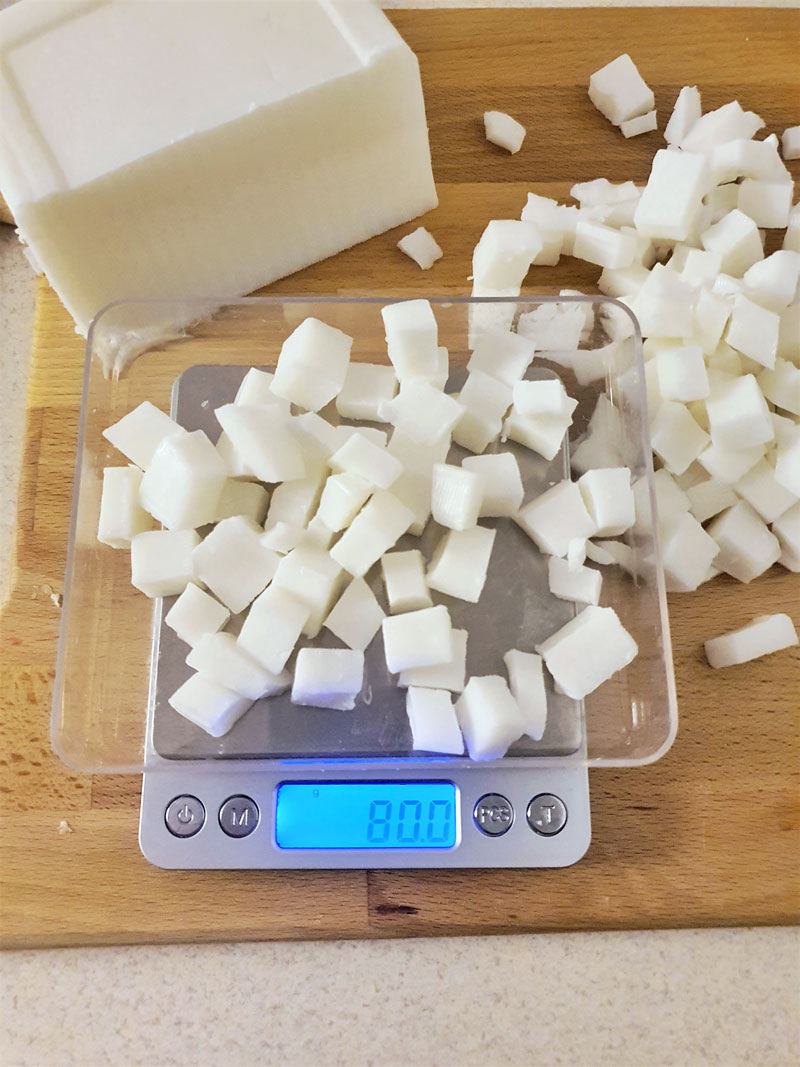
1. Decide how many soaps you want to make. Each soap will need approximately 80g of soap base, so if, like me, you want to make 6 soaps you will need 480 g of soap base.
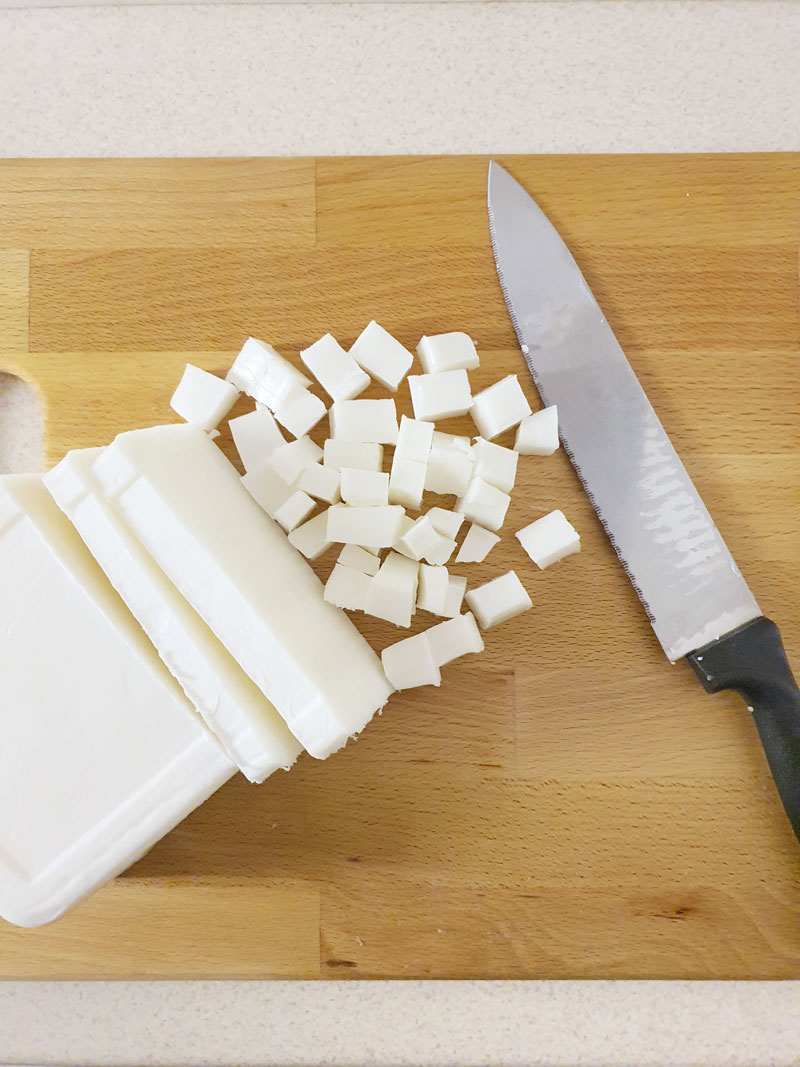
2. Cut soap base into little chunks.
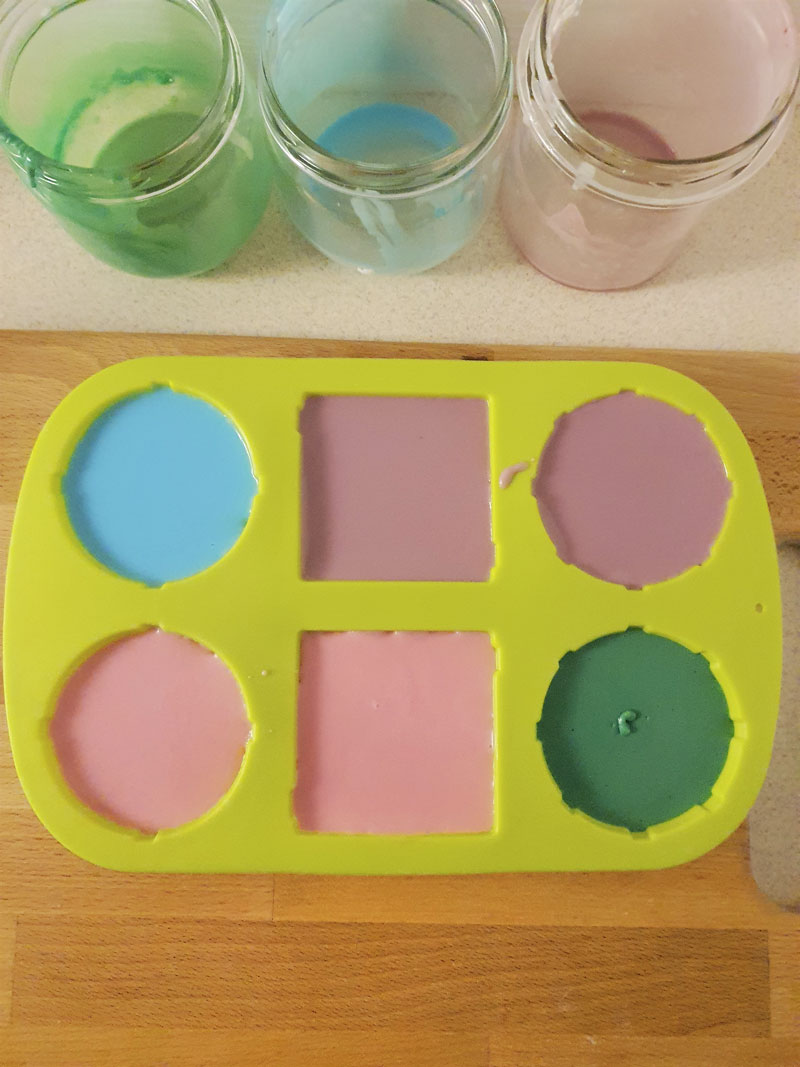
3. Decide how many colors you want to make and prepare a separate heat resistant jar for each color. I used 4 colors for my soaps, so I used 4 jars. Weigh your cut soap base and add into each jar. 80 g if you want to make 1 piece of soap in that color. 160g if 2 and so on.
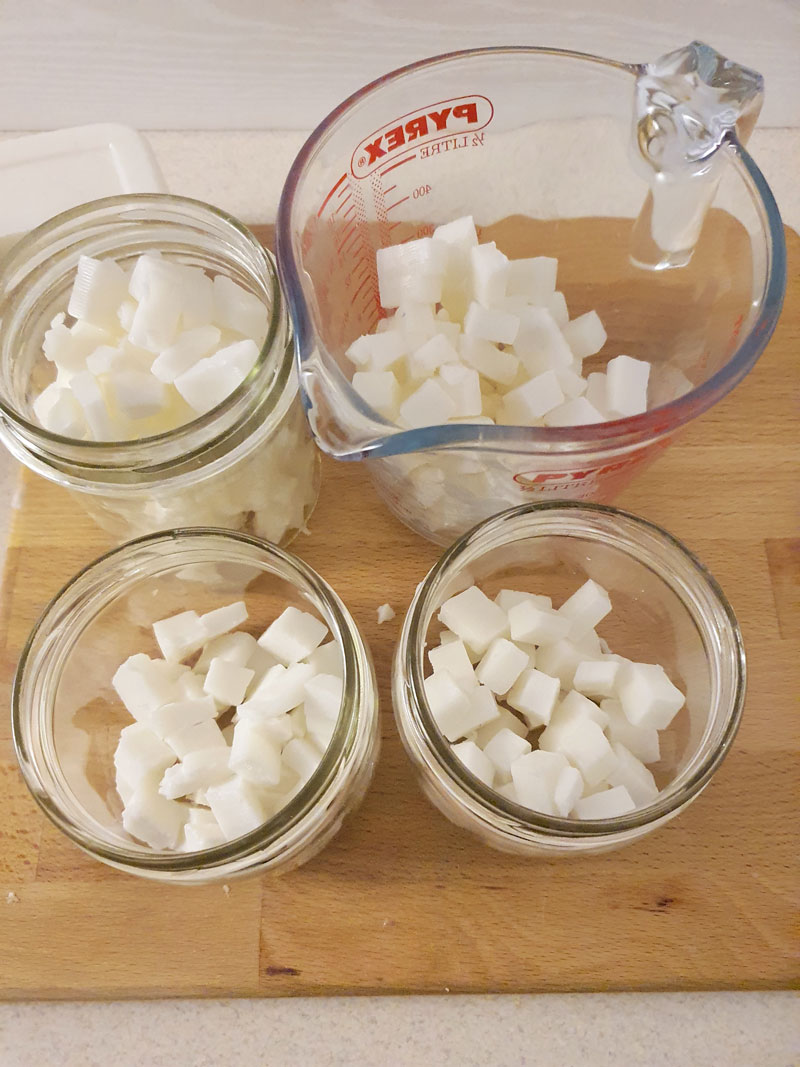
If you do not have a scale, you can check how much soap you will need by filling up your mold with soap chunks. Make sure you overfill the mold to be sure you have enough.
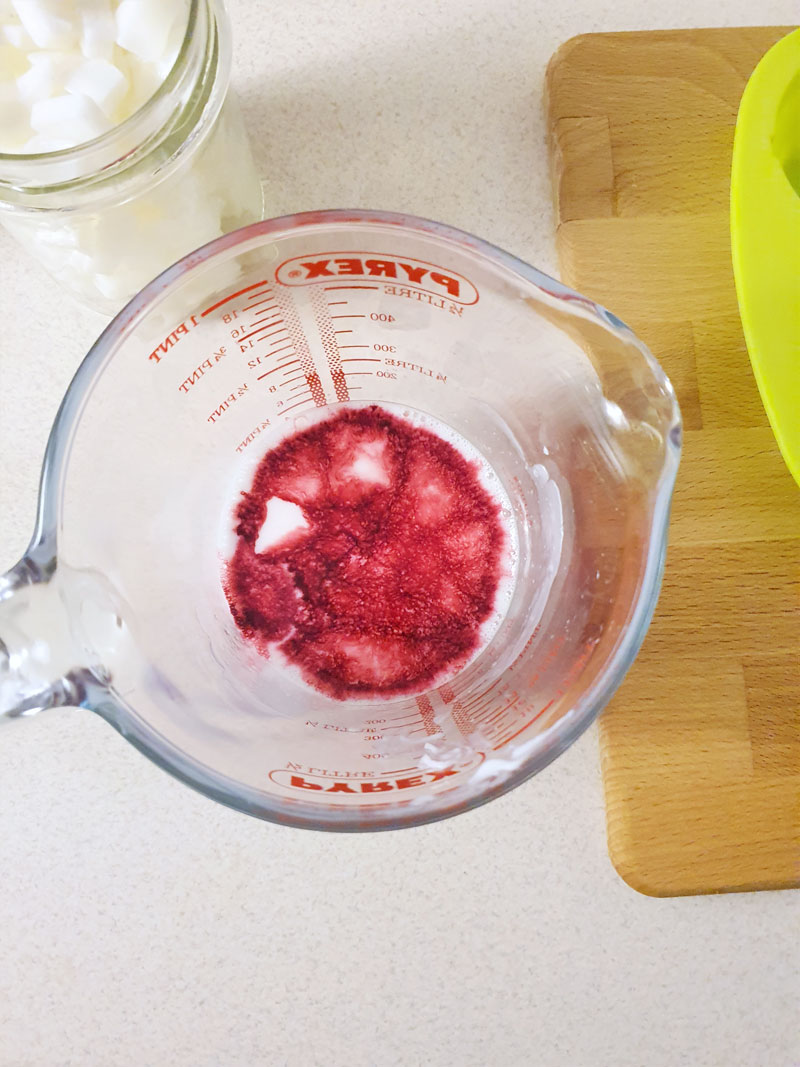
4. Place one jar in a microwave and microwave in 20 sec bursts. Mix the soap in between.
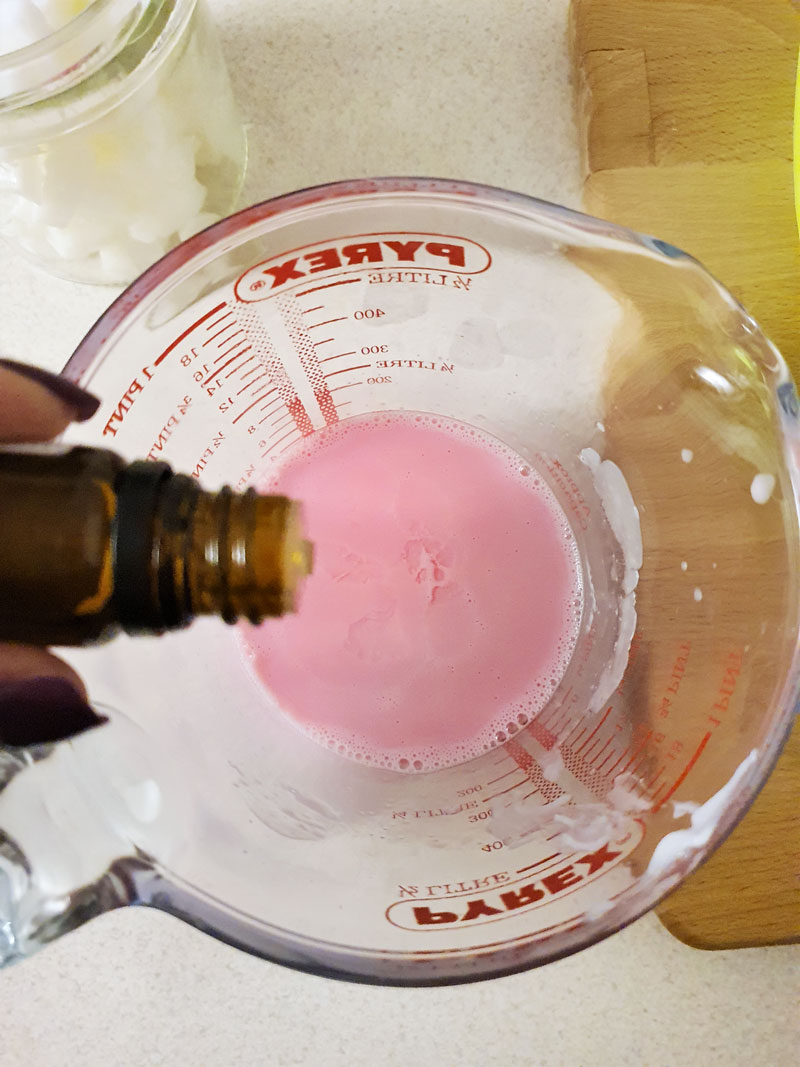
5. Once your melt & pour soap is fully melted, remove from the microwave and add a couple of drops of liquid soap dye and mix. Add more dye until you are happy with the final color.
6. Add your fragrance.
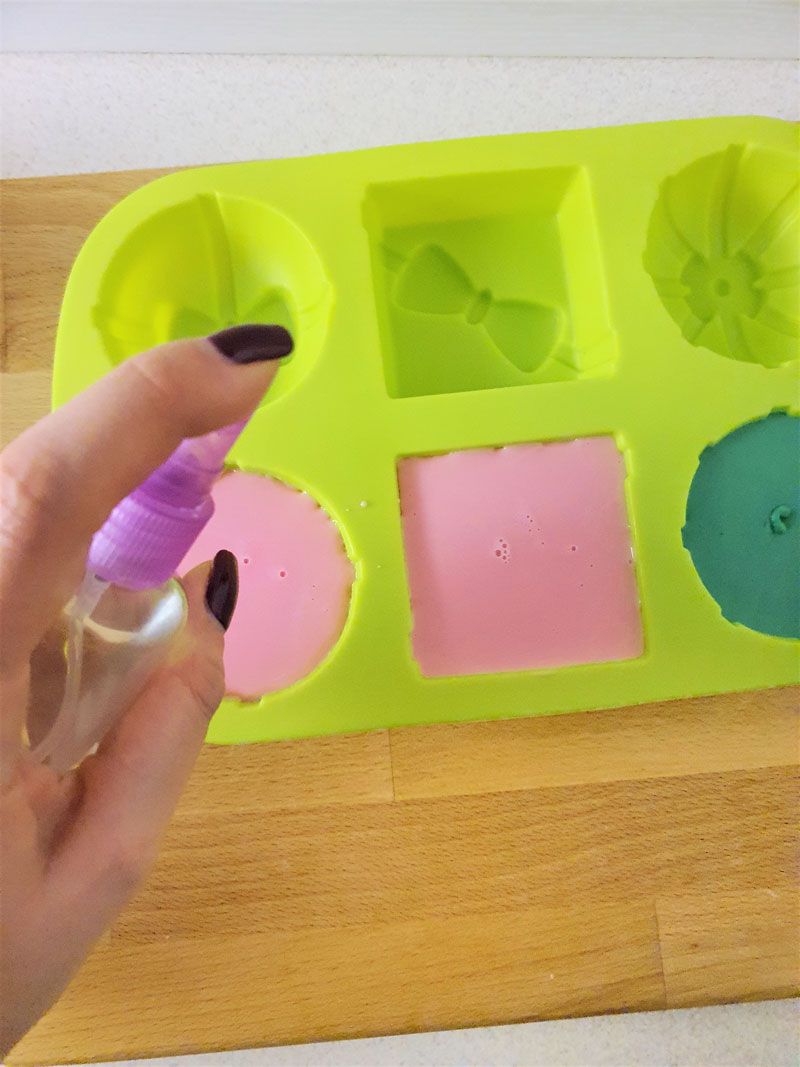
7. Now that your soap is colored it is time to pour your melt & pour soap into the mold. But before you do that, take a small spray bottle with rubbing alcohol and spray the molds. This will prevent any air bubbles from forming.

8. Pour your soap into the mold. Then spray the top of the soap with alcohol to get rid of surface air bubbles.
9. Repeat the process with other colors.
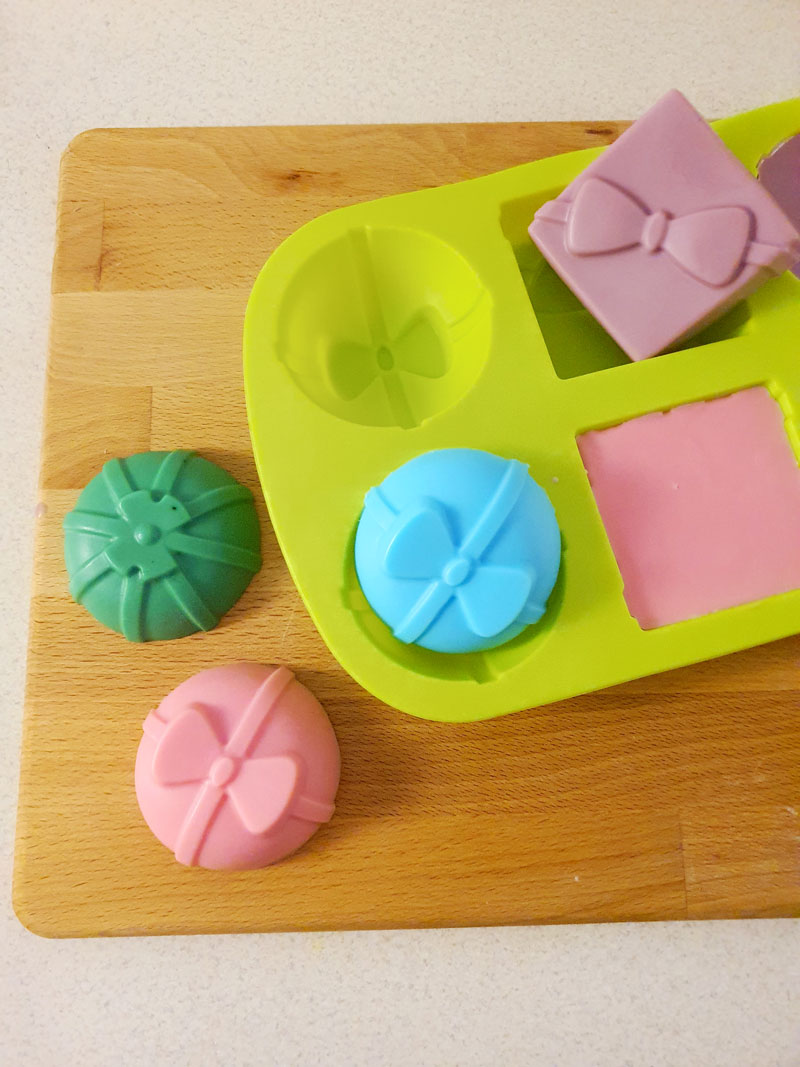
10. Leave the soap to harden for at least 4 hours.
Painting part:
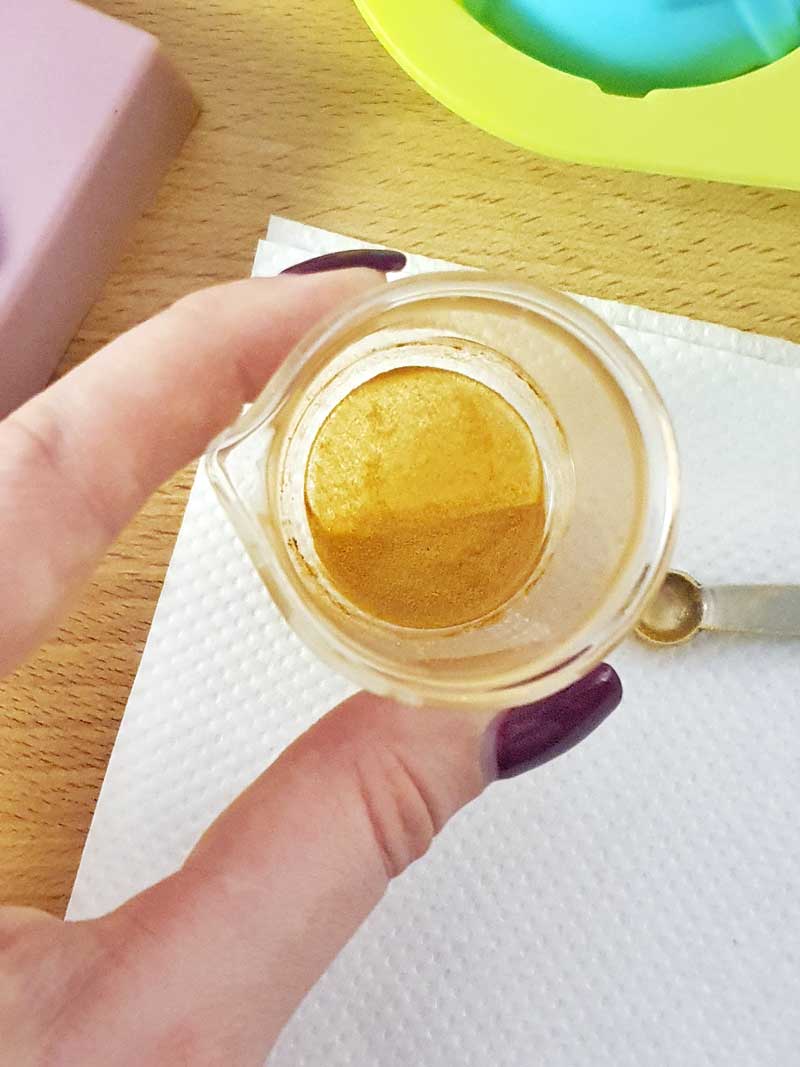
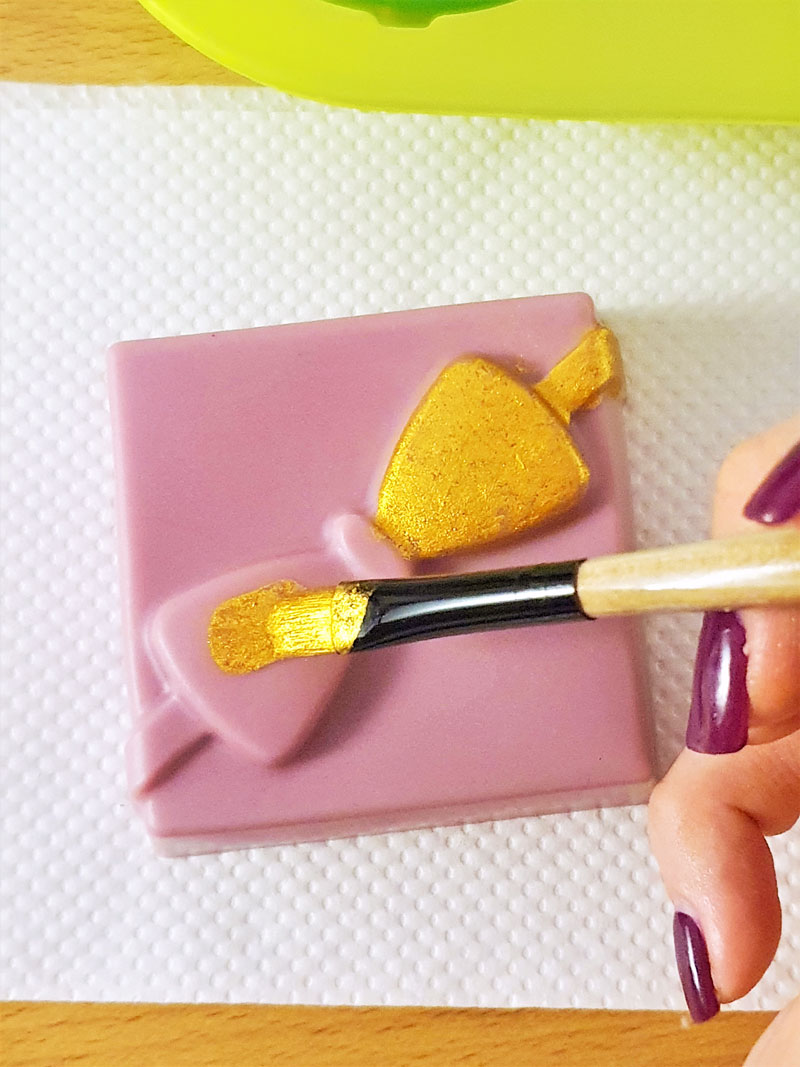
11. Mix a small amount of mica powder with rubbing alcohol in a small container. The mixture should resemble thickness of the paint.
12. Dip a small brush into your mica paint and color the soap. Allow to dry for about an hour. Then you can paint a second layer if needed. Leave to dry overnight.
Your soap is ready 🙂
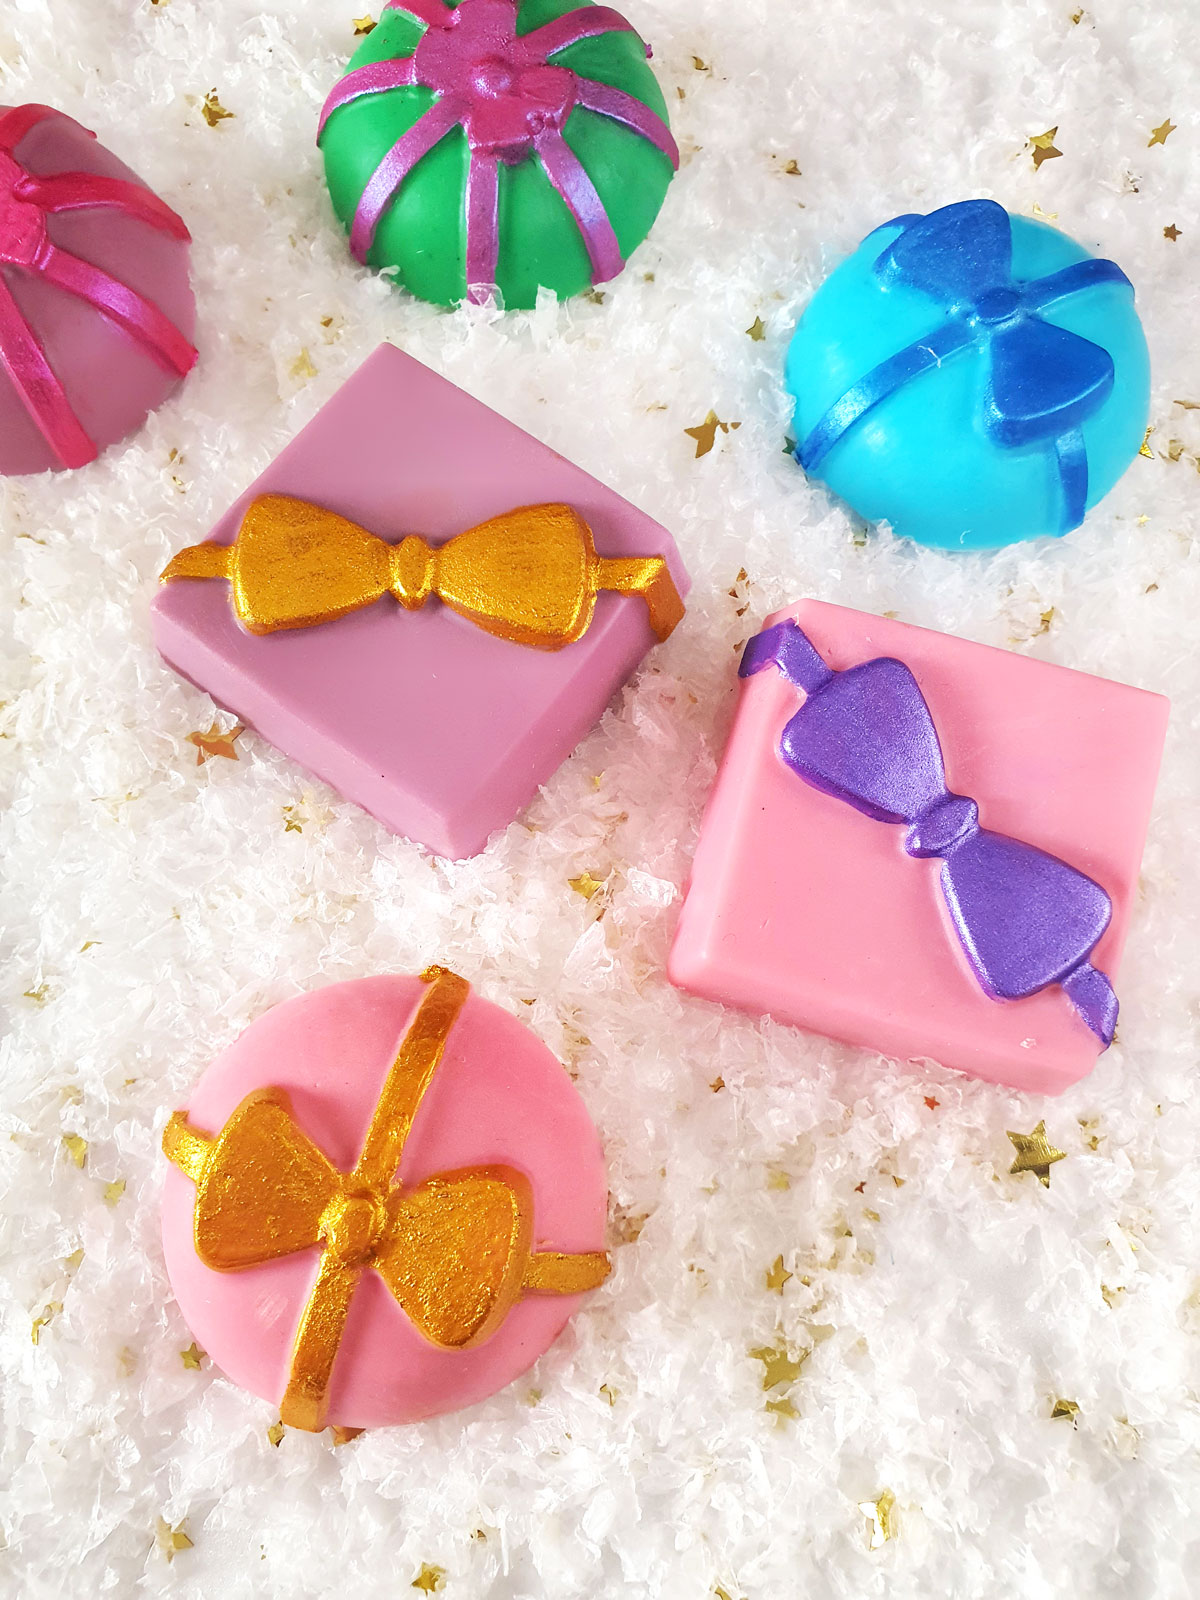
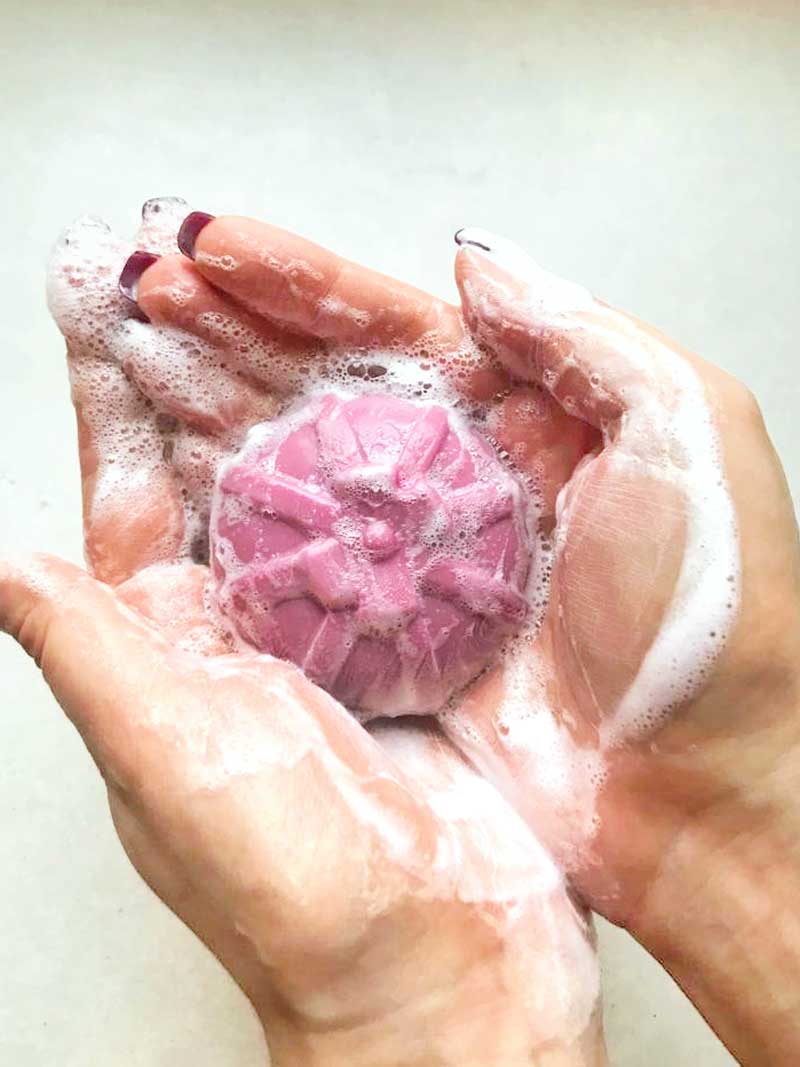
Something to have in mind before you make this Christmas soap is that the mica paint is only a temporary decoration to make the soap more festive and beautiful for gift giving. It will wash off after the first use. But the soap will remain looking adorable, just without the shimmer. See the photo below.
Christmas Melt & Pour Soap Recipe
Ingredients
- Gift box shaped Christmas soap mold
- Melt & Pour base (I used goat milk base)
- Soap dye
- Mica powder
- Rubbing alcohol
- A small painting brush (I used my old make up brush)
- A small spray bottle
Instructions
- Decide how many soaps you want to make and weight your soap base. One soap in the mold that I used needs about 80 g of soap.
- Cut the soap into little chunks and place it into separate heat-resistant jars. You need a separate jar for each color you want to make.
- Place each jar into microwave and microwave in 20 sec bursts until the soap base is fully melted. Mix the soap in between.
- Once your melt & pour soap is fully melted, remove from the microwave and add a couple of drops of liquid soap dye.
- Add your fragrance (or essential oils).
- Take a small spray bottle with rubbing alcohol and spray the molds. This will prevent any air bubbles from forming. Pour your soap into the molds. Then spray the tops of the soap with alcohol again to prevent the air bubbles.
- Repeat the process with other colors.
- Leave the soap to harden for at least 4 hours.
- Painting part: Mix a small amount of mica powder with rubbing alcohol in a small container. The mixture should resemble thickness of the paint.
- Take a small brush and paint your soap with this mica paint. Allow to dry for about an hour. Then you can paint a second layer if needed. Leave to dry overnight.