Fancy Sea Mermaid Melt & Pour Soap Recipe
This post contains affiliate links. If you click and make a purchase, I may receive a commission. Thanks.
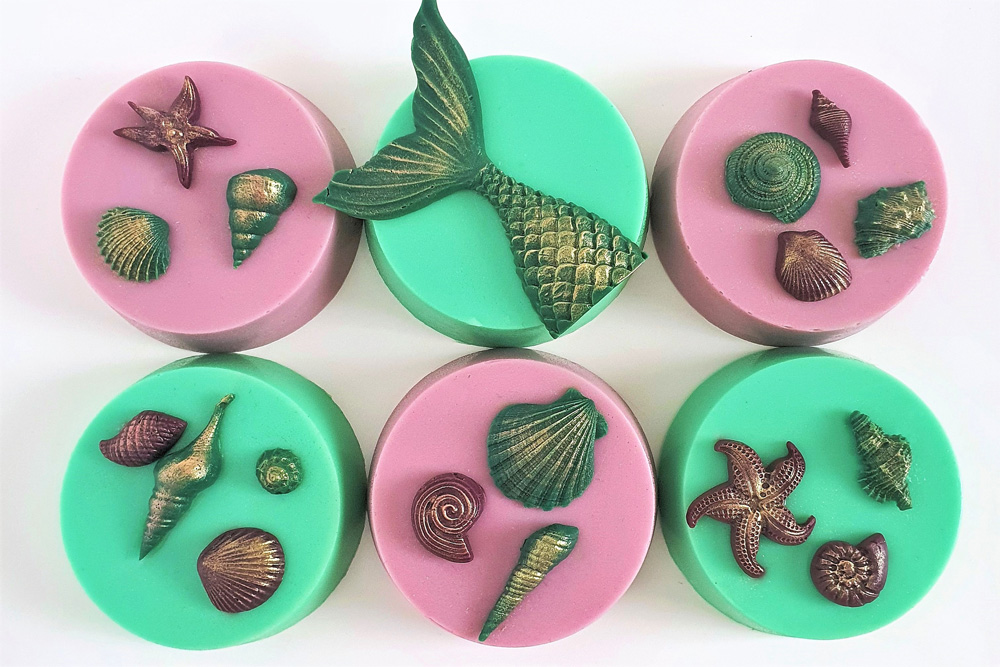
In this post you will learn how to make beautiful melt and pour soap design – mermaid and sea themed soaps with an elegant gold dust finish.
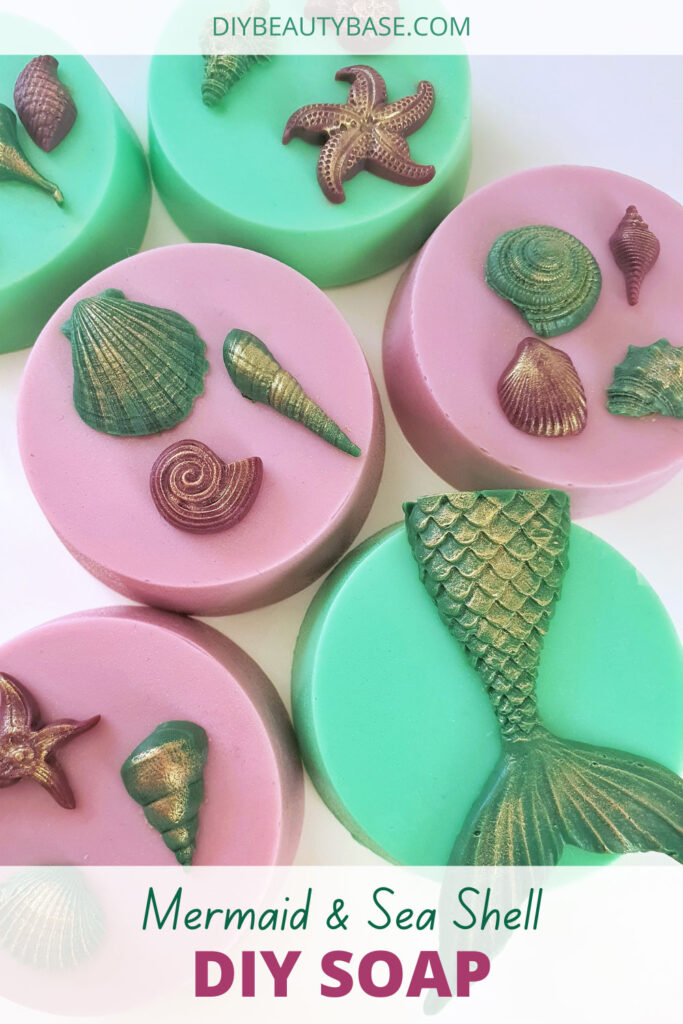
These creative melt & pour soaps will look gorgeous on your bathroom sink and will definitely impress your friends if you are planning on gifting some soaps to them 🙂
While making this soap you will also learn how to glue soap embeds on top of your melt and pour soap. The process takes time, but it ensures that the two soaps stay glued together. And this process opens a door to be even more creative with your soap designs.
Ingredients you will need
First let’s talk about what you’ll need for this recipe:
– 540 g / 19 oz Melt & Pour soap base. I used goat’s milk soap base that is white. You can use any soap base you like but have in mind that transparent soap base (e.g. glycerin soap base) will create a different look.
– 10 g / 0.3 oz. of transparent soap base to glue soaps together. I used transparent base because it is invisible. You can use white soap too but you will need to color it the same color as your soaps so that it would not be visible when “gluing’ the soaps.
– Soap dye. I used purple mixed with some pink and green mixed with some blue.
– Golden mica powder. I recommend getting a mica powder set like this or this one.
– Fragrance oil. I used mermaid scent from this fragrance oil set.
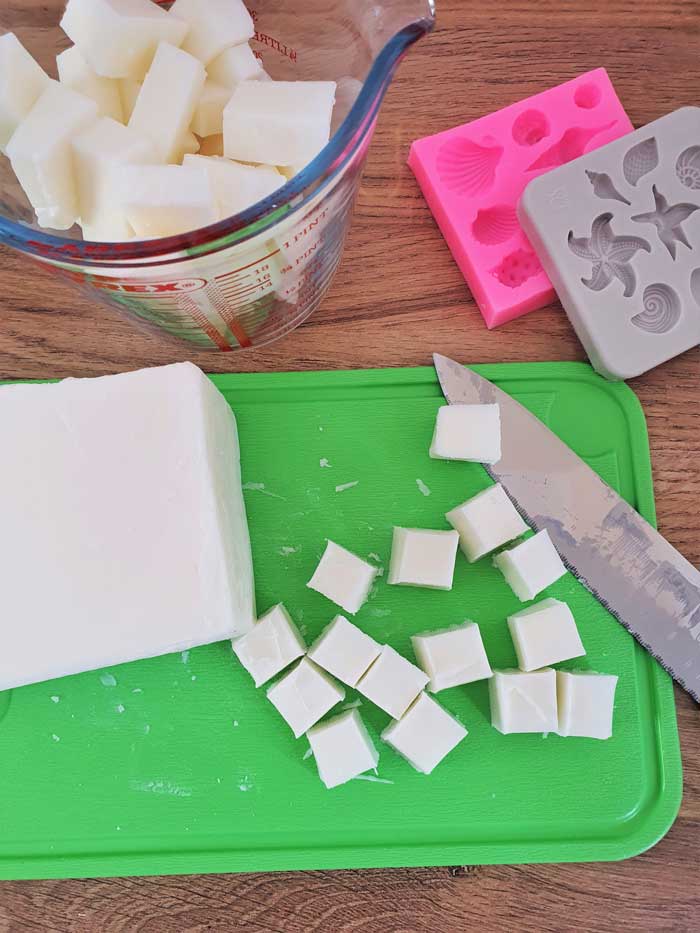
– Mermaid tail and sea shell soap molds. I could not find the exact same set I have anymore but this one almost the same and for a very good price – mermaid and sea shell mold set.
– Heat resistant measuring cup to melt your soaps in.
– A mini brush. I used old makeup brush.
– A small spray bottle with rubbing alcohol.
Pin for later:
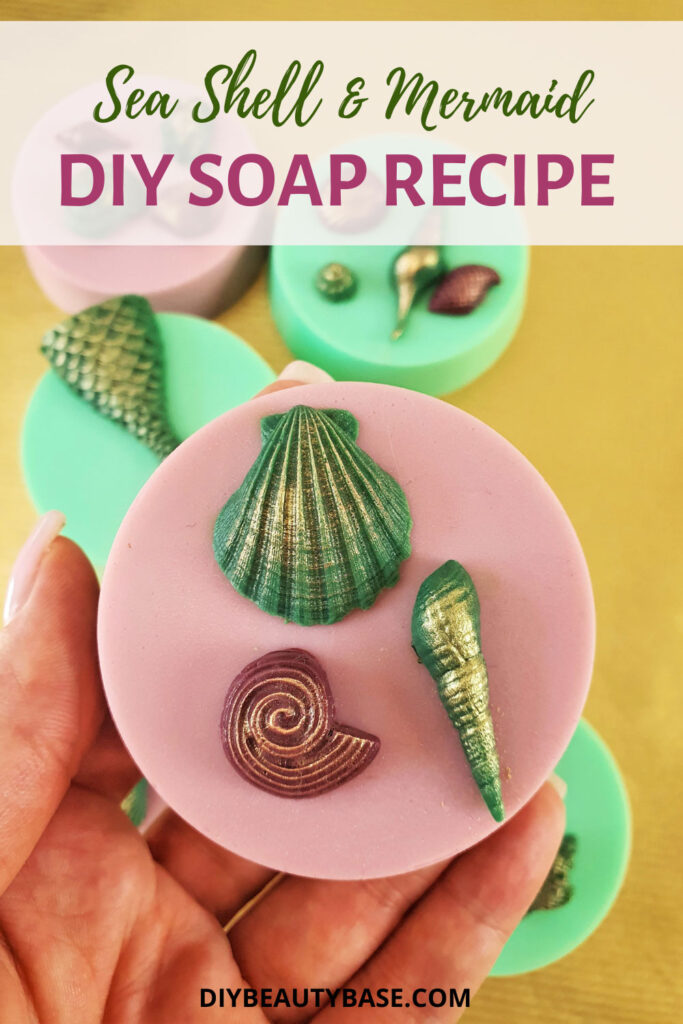
How to make sea shell and mermaid soap
To make your life easier I have calculated how much soap base you will need for each color. The weight is approximate and assumes that you are using the same soap molds as I did.
Each round mold cavity fits about 80 g / 2.8 oz of soap. If you want to make 6 soaps, you will need 480g / 17oz of soap base. On top of that, you will need approx. 20 g / 0.7 oz to fill up the small soap molds. To sum up you will need approx. 540 g / 19 oz Melt & Pour soap base: 240 g / 8.5 oz for purple round soaps, 240 g / 8.5 oz for green round soaps, approx. 20 g / 0.7 oz for the mermaid tail, approx. 20 g / 0.7 oz for green sea themed mold and another approx. 20 g / 0.7 oz for purple soap mold with shells.
Now that we know how much soap we will need, let’s get started:
Sea Shell & Mermaid Soap Recipe
Elegant sea themed melt & pour soap tutorial
Ingredients
- 540 g / 19 oz. Melt & Pour soap base
- 10 g / 0.3 oz. of transparent soap base (to glue soaps together)
- Soap dye
- Mermaid fragrance oil
- Round silicone soap mold
- Mermaid tail and sea shell soap molds
- Heat resistant measuring cup
- A mini brush. I used old make up brush,.
- A small spray bottle with rubbing alcohol
Instructions
1. Cut your soap base into small cubes. This will help the soap to melt faster. Then take 2 heat resistant cups and fill them out with 240 g / 8.5 oz. of soap base each. Place them in a double boiler (or bain-marie) and let the soap fully melt.
* If you do not have a double boiler, you can accomplish the same effect by setting a tempered glass or stainless steel mixing bowl over a saucepan of simmering water.
Alternatively, you can melt your soap in a microwave. However, when using the microwave you increase a chance of burning the soap. Burnt soap is still good to use and you may not even realize you "burnt" it but it becomes more difficult to work with. For example, it becomes more gooey and starts solidifying a lot faster making it difficult to work on fancy designs such as ours. When you use a double boiler, you protect your soap from direct heat and so have a low chance of burning it.
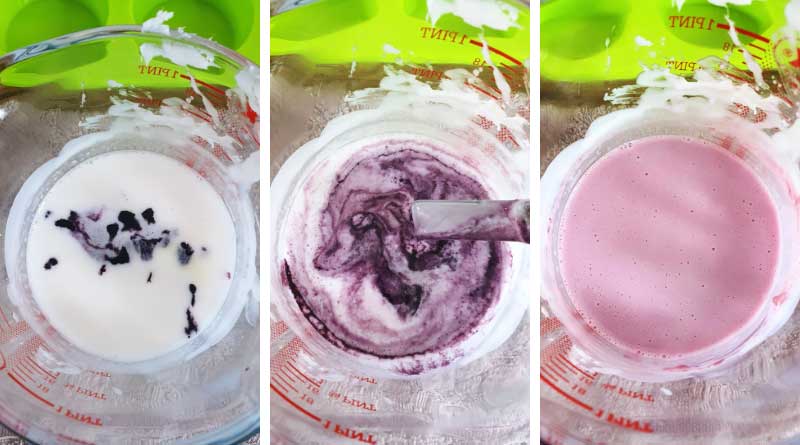
2. Once the soap has fully melted, remove one of the cups from the heat, add purple soap coloring and mix. The amount of soap dye depends on the brand you are using and the color you want to achieve. Then add approx. 2 g (0.07 oz) of fragrance or essential oils of your choice and mix again.
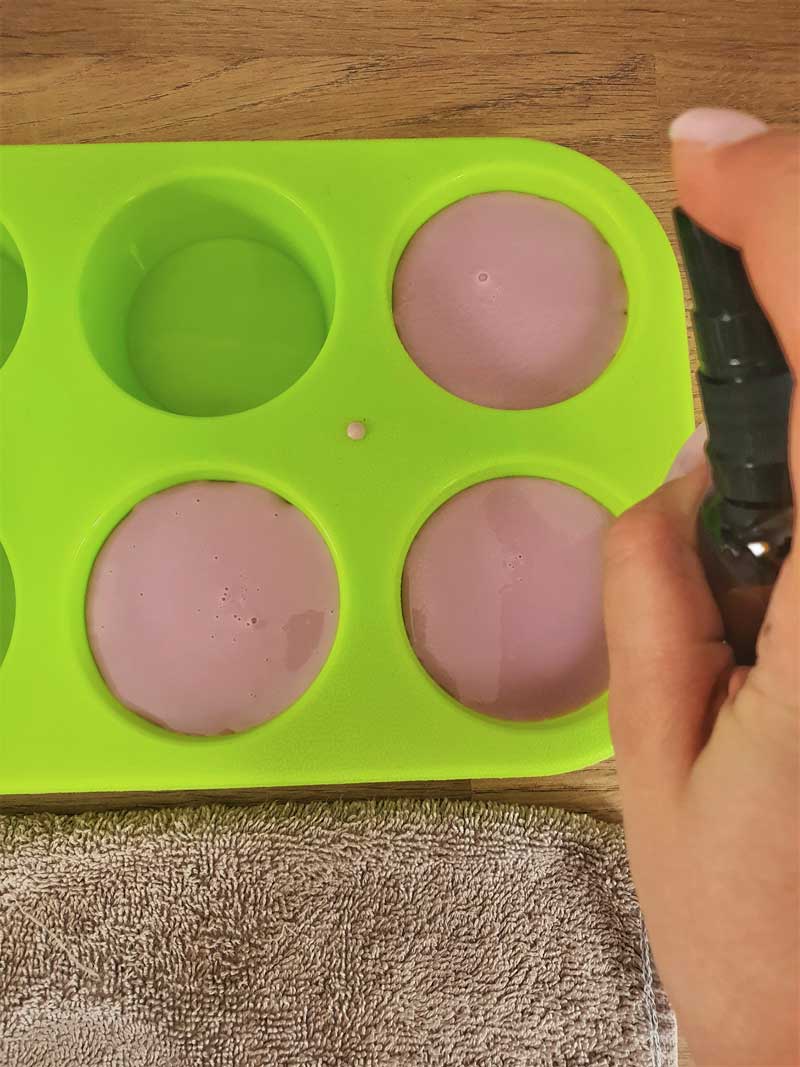
3. Spray your round molds with a little bit of rubbing alcohol. This will help you to get smooth soap. Then pour your soap into the cavities and spray some rubbing alcohol on top to prevent air bubbles.
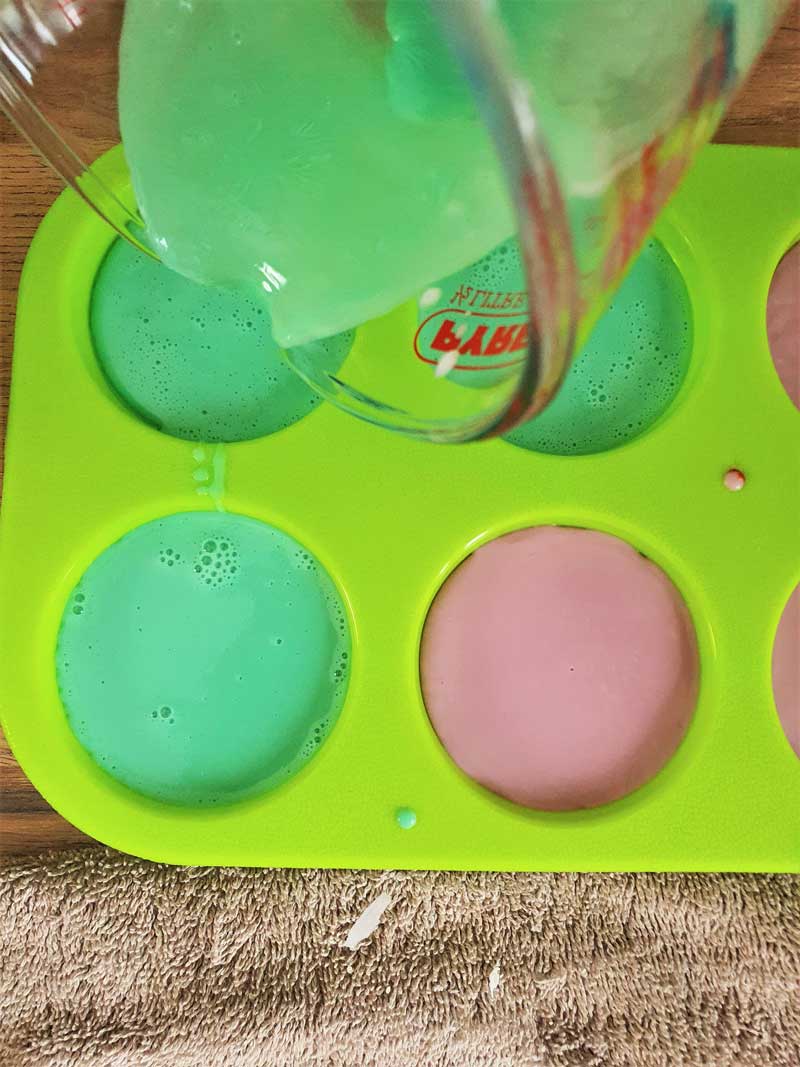
4. Repeat the process with the 2nd cup of soap. For the color, I mixed green soap dye with some blue.
5. Let the soap set overnight.
Making the mermaid and sea shell embeds:
6. Take two small heat resistant cups, fill out one with approx. 20 g / 0.7 oz. of soap and the other one with 40 g / 1.4 oz. of soap. Repeat the process of heating the soap, adding the color and scent (just a couple of drops).
Don't forget to gently spray the soap molds with rubbing alcohol before pouring the soap and after. This will help you to produce the most detailed little soaps.
7. Try not to overfill the little soaps like I did in the photo above. Stop filling the mold just before the edge to get the perfect little shells. But also don't worry if you do overfill. Uneven edges can be removed with knife.

Optional step: let your cat inspect the soaps 🙂
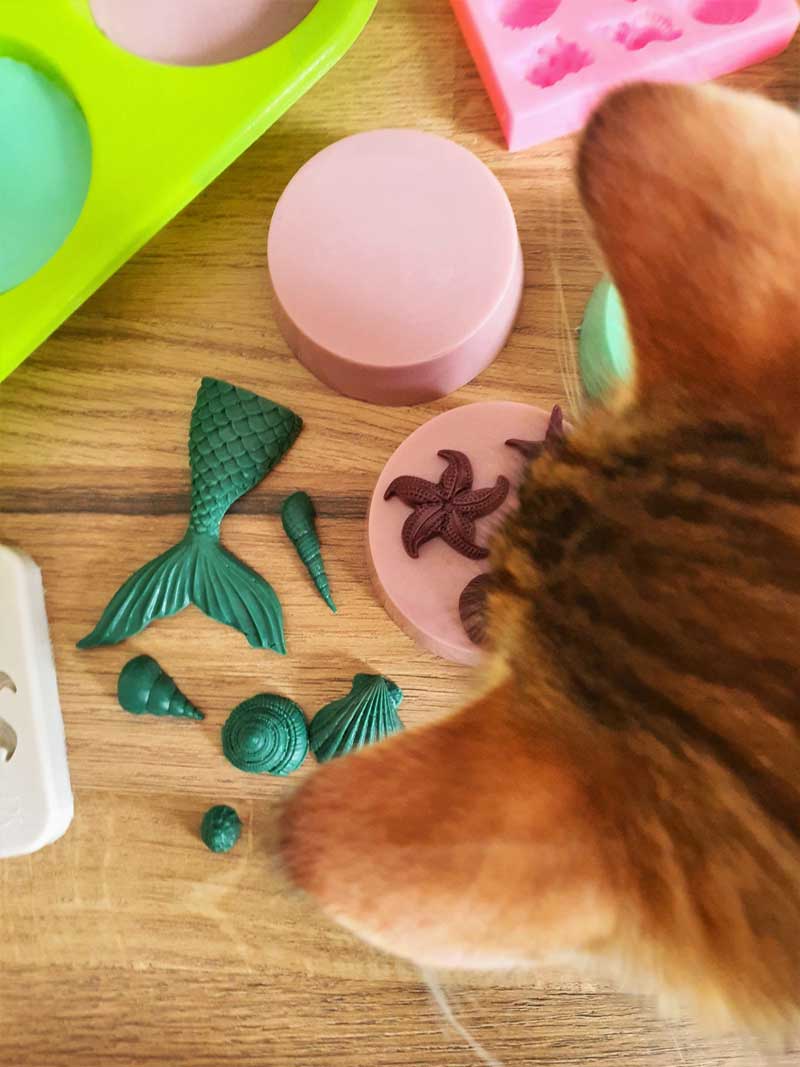
8. Let the soap set overnight.
"Gluing" the soap together:
To glue the little sea shells and mermaid tail on top of the soap, you will need a small amount of transparent MP base to hold it together. You can also reheat the purple and green soap leftovers and use those.
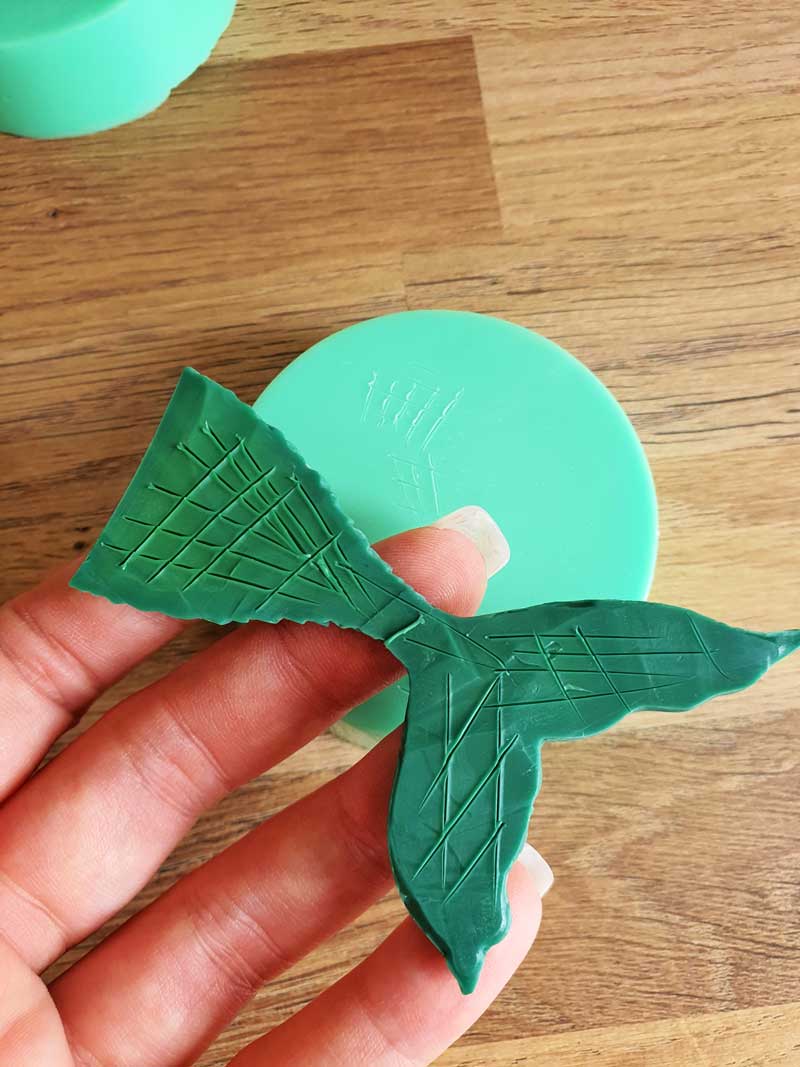
9. The first step when "gluing" the soap together is to prepare the soap. So that the soap have more grip we need to gently scratch the bottom of each soap (like you see in the photo below). You can do that with a little knife. Where possible do the same on the round soap in the places you are planning to stick an embed.
10. Once you have prepared all the soaps, melt a small amount of transparent soap (or colored leftovers). Once melted do not remove from the heat. Due to the small amount of soap you're melting it will solidify too quickly and you will not be able to use it. Keep gently heating it during the process.
11. Gently spray your round soap and the bottom of embeds with a rubbing alcohol. Then take a small brush, dip it in melted soap apply to the bottom of your soap embeds and quickly stick them to the round soap. Press gently with a finger for 5 sec and then release. Repeat for all soaps and let the soap set for about 20 min.
* I want to highlight that misting both sides of soap with rubbing alcohol is a must. Alcohol slightly dilutes the soap allowing all 3 soap layers to merge together and form a bond. Without this step your soap embeds might not stay glued for long.
12. Last step is to add some gold mica on top of your soap. Take a small brush dip it in mica powder and apply. For a more vibrant look, gently mist the soap with rubbing alcohol before adding gold mica. Once finished let it set for 1 h and you are done .
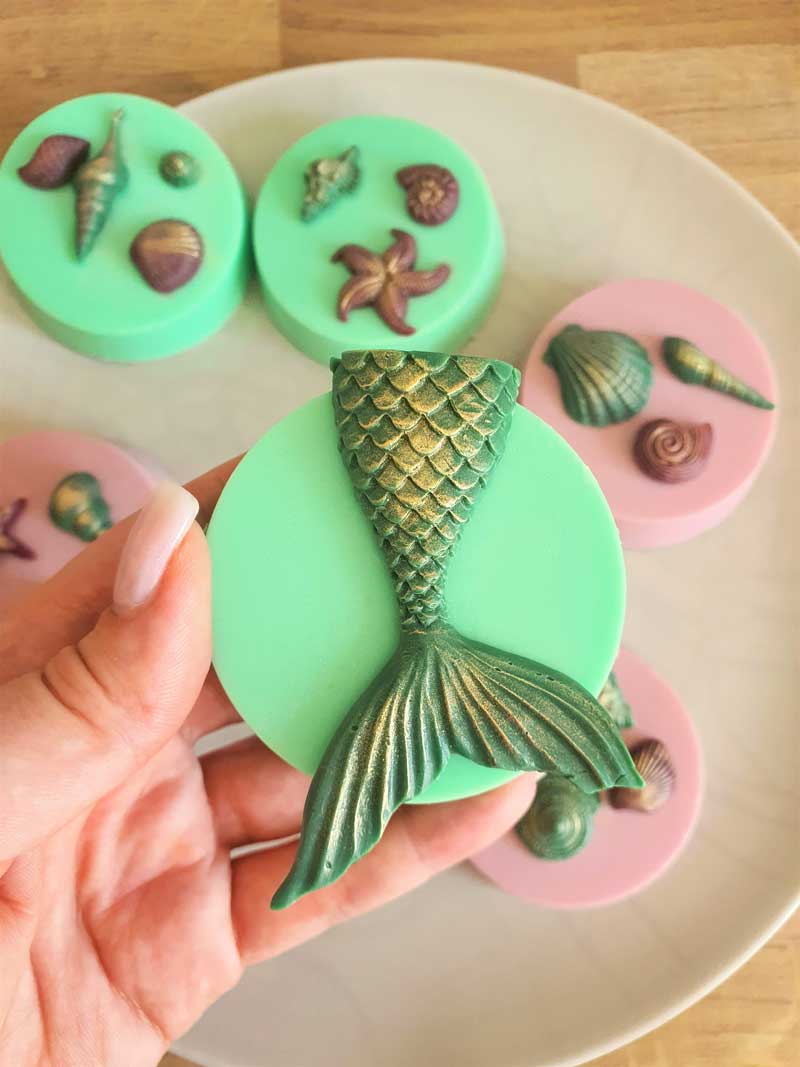
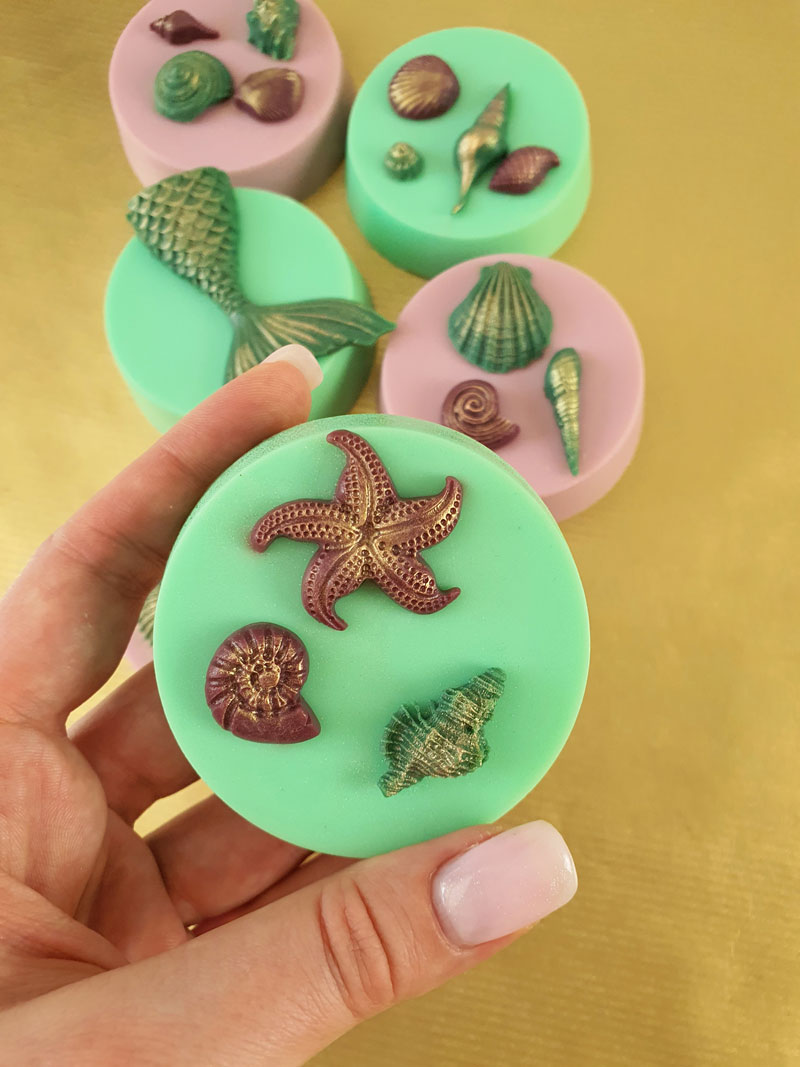
Enjoy!
I hope you enjoyed this recipe. Let me know in the comments what type of melt & pour recipe you would like to see next.