4th of July DIY Project That All Ladies Will Love
This post contains affiliate links. If you click and make a purchase, I may receive a commission. Thanks.
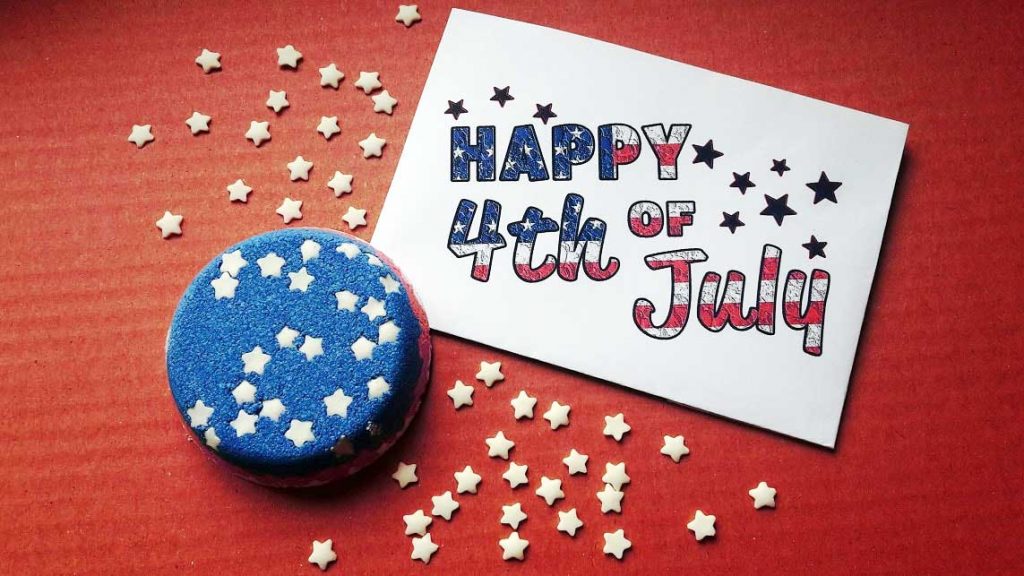
Red, white, blue, stars and stripes! Independence day is fastly approaching, and I have a fun and easy 4th of July craft project prepared for you – fourth of July bath bombs. These patriotic bath bombs are everything a perfect 4th of July craft project should be: beautiful, easy to make and fun to use.
So let’s celebrate Independence Day in style with some "Me" time in a hot bubble bath. Oh, and don’t forget to make more of these lovely bath bombs to give to your friends and family as cute fourth of July favors.
What to expect from this Independence day themed bath bomb recipe?
It will look beautiful. Don’t worry if you can’t get the exact blue or red shade, or if your bath fizzie is a bit crumbly. The beauty of bath bombs is that they do not have to be perfect. It is a handmade item so each one is made with love and each one is different.
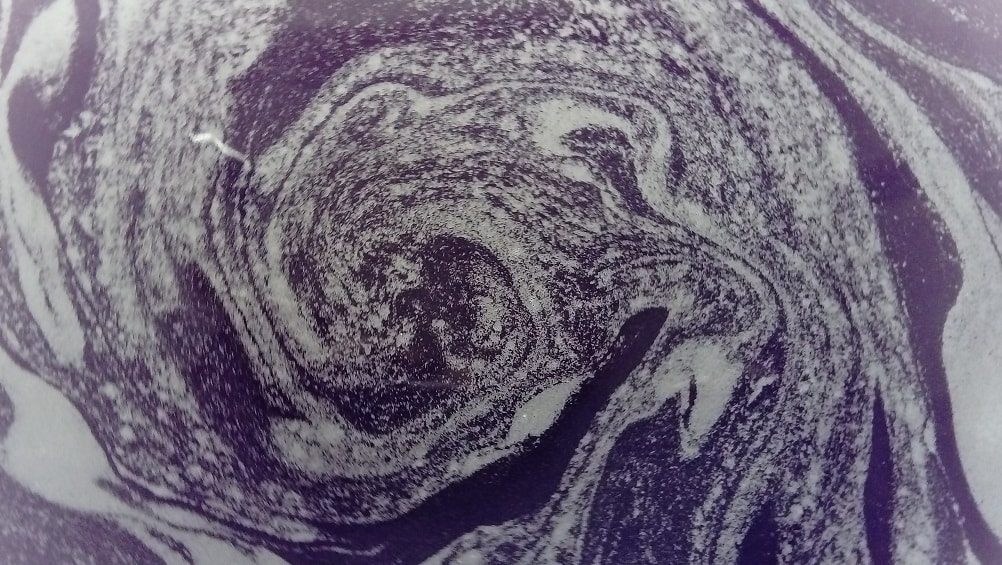
This recipe will allow you to make hard, floating and fizzing bath bombs with a bit of foam. And depending on the dyes you use, you should get a beautiful purple bath water. My bath bombs colored my bath water in this gorgeous deep purple.
Things you will need for this 4th of July craft project:
- 1 cup baking soda
- 1/2 cup citric acid
- 3 tbsp cornstarch
- 1 tbsp melted cocoa butter (light oils, like grapeseed oil or almond oil, should work too)
- 1/2 tbsp of Polysorbate 80 – helps oil mix with water and prevents color from sticking to the tub. You can read more about it in my other post - Polysorbate 80 in bath bombs.
- 1/3 tsp rose essential oil. I used Rose essential oil but any other essential oil or fragrance will do. Rose is quite potent so I only used 1/3 spoon. If you choose to add fragrance you may want to add 1/2 - 1 teaspoon.
- water-soluble soap dye, blue and red.
- white sugar star sprinkles.
- 95% alcohol. This will be used as a wetting agent. It can be substituted by Witch Hazel.
Equipment:
- 3 bowls for mixing colors
- Small bowl for mixing wet ingredients
- A whisk (optional as you can mix with hands)
- Gloves
- Bath bomb mold. These 4th of July bath bombs will look best if you use a bath bomb mold with a large flat surface, like mine. I used a soap mold for this DIY project. You can also use a cookie cutter or a cupcake baking tray.
The process of making 4th of July themed bath bombs
So, now that you have all the bits, let’s begin the cutest Independence day craft project out there!
Hahaha, I hope it’s the cutest. Let me know what you think in the comments!
Blooming bath bomb colors
The first step in this craft project is to color our baking soda. Since it’s a 4th of July craft we will need three colors: blue, red and white.
Take three bowls and add 1/3 cup of baking soda to each. If you have a sieve then sift baking soda as it will make your finished bath bombs look smoother.
Add 1 tablespoon of cornstarch to each bowl and mix well.
Time for colors! Have in mind that we are skipping the citric acid for now. This is because we want to use water-soluble dyes and color our baking soda and cornstarch. Water soluble dyes need water to show true color. Added water would activate the citric acid and all our mixture would be ruined. So what we are going to do is paint our baking soda with dye and added water, let it dry and then add citric acid.
Add a couple drops of blue color to one of the bowls and mix well. You can rub the mixture between your palms (don’t forget gloves) as this will help the color distribute better. After mixing for a bit, you will see that your mixture is barely blue. That’s okay. Just add a teaspoon of water (or spray water). Boom! It activated the color. Now mix well. Once all the mixture is wet, you will be able to see the true color. Keep adding more drops of dye and mixing to get the shade you like.
Repeat the same process in the second bowl with the red dye.
No need to do anything with the third bowl. We need white and white it is. Easy.
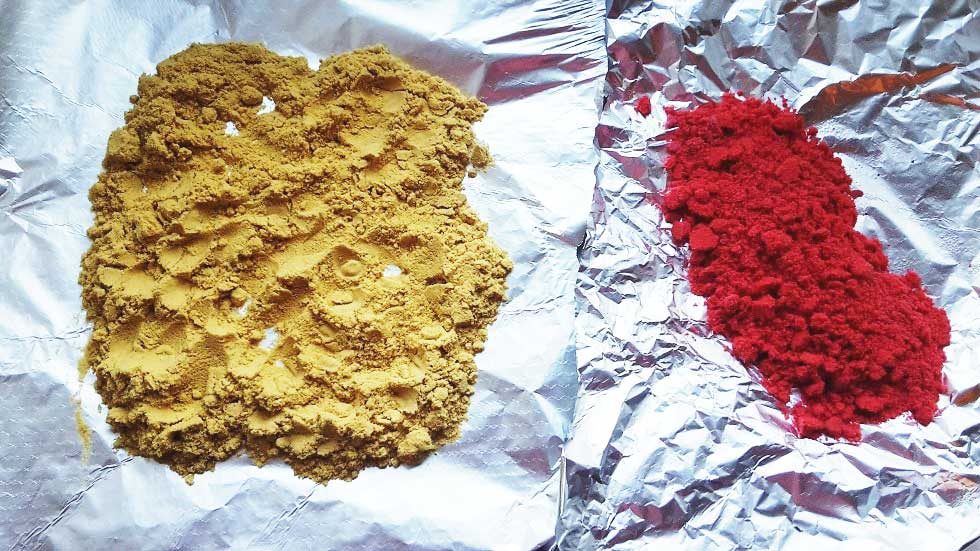
Let the mixtures dry. I have placed my mixtures on a sheet of foil and spread it a little bit to dry faster. The golden one is for my next project...
Adding citric acid to the bath bomb mix
Divide ½ cup of citric acid into 3 parts (more or less) and add to the bowls. Mix well, very well.
Mixing wet ingredients
In a separate bowl, combine your wet ingredients: melted cocoa butter or an oil of your choice, Polysorbate 80, essential oil. Mix well.
Add the wet mixture to the 3 bowls. Try to distribute it evenly to each bowl.
Mix the blue bowl. Spray some alcohol or witch hazel to make the mixture slightly damp. Keep mixing and spraying until you get a mix that resembles wet sand. Squeeze it in your hand. If it stays together, the mixture is ready.
Repeat with the red and white bowl.
Packing bath bomb molds
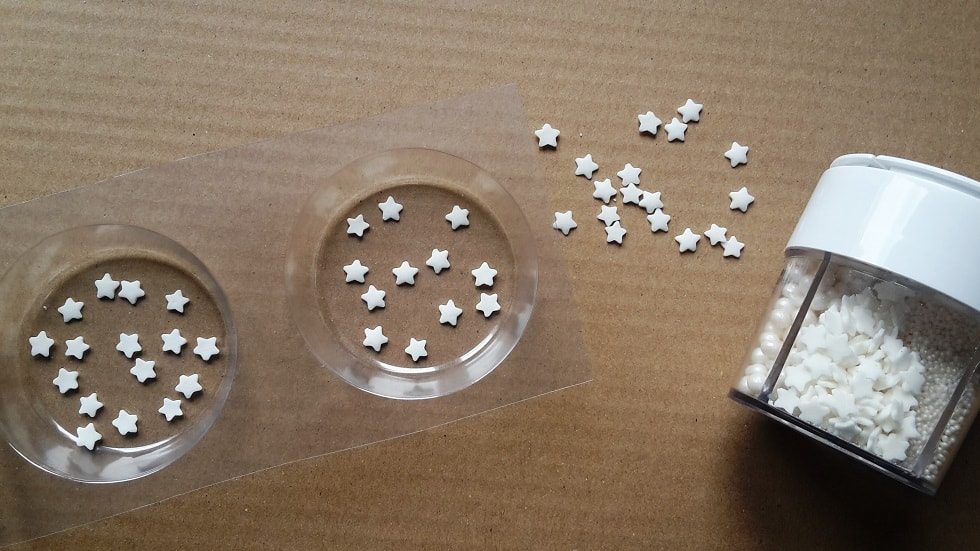
Here comes the fun part – pressing everything together. Take your bath bomb molds and add some white star sprinkles at the bottom, just like in the picture below. Add some blue mixture and press tightly with your fingers. Layer some red mixture on top and press with your fingers again. Then add some white mix.
At this point, you can create multiple red and white layers so that it resembles the American flag. My mold wasn’t deep enough to make multiple layers but if yours is, then you should be able to pull it off, and it will look amazing!
Make sure the bath bomb mix is tightly pressed into the mold. Let it dry in the mold for an hour or two. Afterwards, carefully remove from the mold and let it dry for another 12-24 hours.
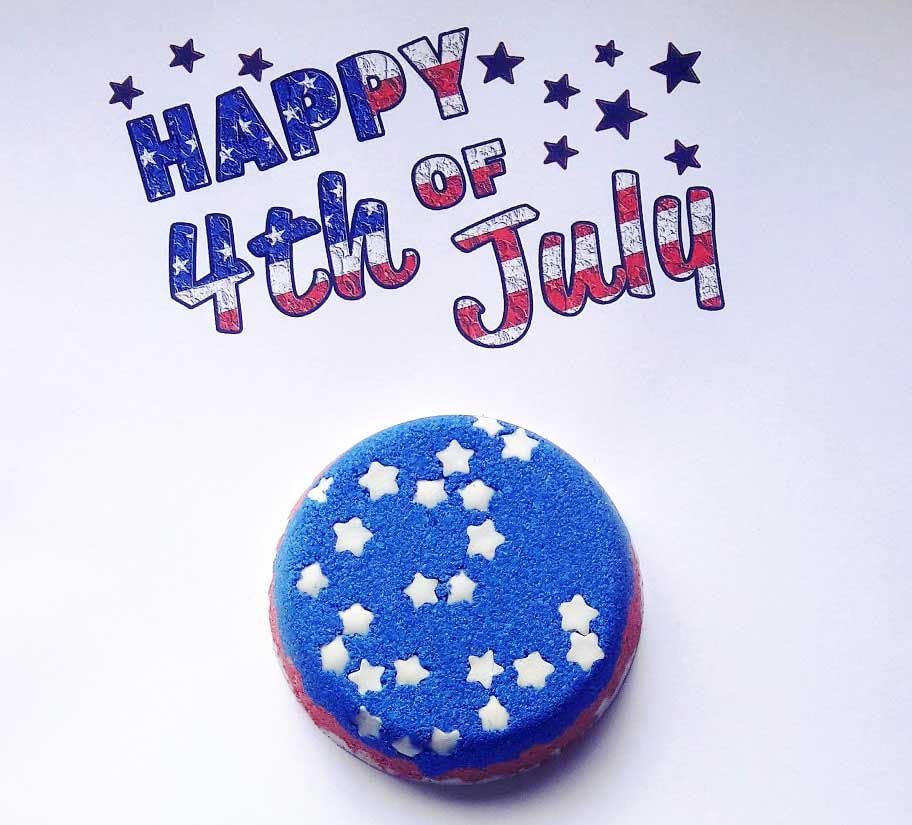
Voila! You are done. This bath fizzie is perfect for little favors or for your own indulgence. It definitely creates that Fourth of July mood. Oh, and the purple water looks beautiful… I think I’ll be making some red and blue bath bombs sometime soon just to get this deep violet water again… Stay tuned.
I really hope you like this easy 4th of July DIY project. Let me know what you think and add some pics if you tried making one. For more DIY bath bombs, visit my section Bath bomb recipes.

Pingback: 4th of July Bath Bomb Tutorial – Bath and Body