Best Himalayan Salt Scrub Recipe [Foaming]
This post contains affiliate links. If you click and make a purchase, I may receive a commission. Thanks.
Those who visit DIY Beauty Base regularly know that I do love a good scrub. In fact, DIY scrubs are probably my most popular recipes. My skin refuses to naturally exfoliate on its own, so I go through so many of them..
Because of my love (or need) for scrubs, I am always experimenting and looking for ways to improve. Recently, I started experimenting with Himalayan salt in my scrubs instead of sugar. I love what it does to my body acne!
Pink Himalayan salt scrubs are pricier to make, but the extra benefits are so worth it.
And I have the best Himalayan salt scrub recipe to help you reap these benefits.
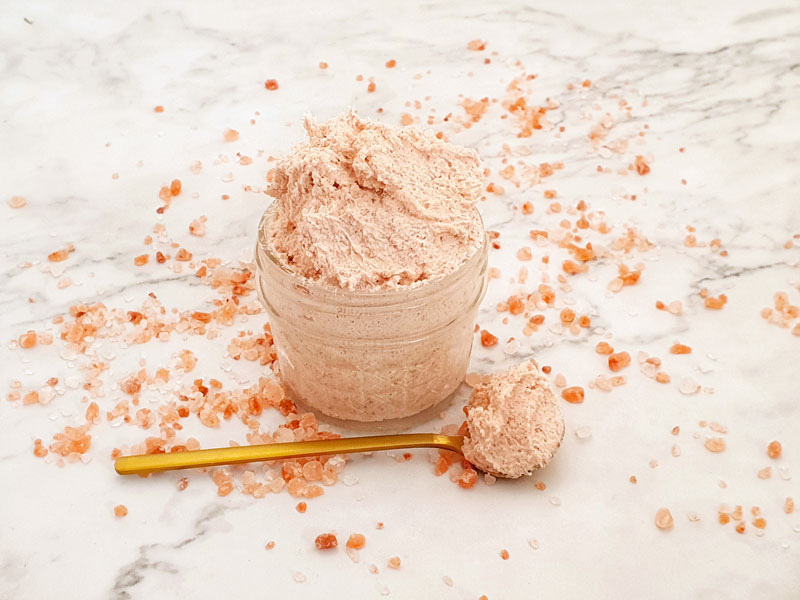
But before we jump into the recipe, let me explain why you should try Himalayan salt scrub.
PINK HIMALAYAN SALT SCRUB BENEFITS
Just like our beloved sugar scrubs, salt scrubs are great at exfoliating dead skin, unclogging pores and improving circulation.
However, pink Himalayan salt scrubs have more to offer than the usual sugar scrubs.
Himalayan salt contains around 84 trace minerals and elements. When you scrub your skin with a Himalayan pink salt scrub, your skin absorbs these minerals. The biggest benefits of these minerals to your skin are:
1. Helps with acne. The minerals found in this salt give it natural antiseptic properties. Using Himalayan salt scrub destroys bacteria and helps prevent infections and acne breakouts. For this reason, I love using this homemade scrub for my back, where I tend to get some acne.
2. Improves skin’s moisture levels. The minerals, such as calcium, magnesium, and potassium, help moisturize and firm the skin.
3 REASONS WHY THIS IS THE BEST HIMALAYAN SALT SCRUB RECIPE
1. It is made with a foaming bath butter
To get the most out of your salt scrub, you want a part of the salts to dissolve. This will allow your skin to actually absorb the trace minerals. Now most of the DIY Himalayan salt recipes are oil-based. It is usually a coconut oil combined with the salts. The disadvantage of such scrubs is that the oil prevents salts from dissolving. Meaning you won’t be able to absorb much of the minerals.
The entire purpose of using Himalayan salt scrub is for its mineral content. If you’re not interested in the trace minerals, opt for the sugar scrubs. They are as nice to use but a lot cheaper to make.
So how do we maximize the benefits of the Himalayan salt scrub?
The answer is to use salts with a soap base rather than oil.
In this Himalayan salt scrub recipe, I am using foaming bath butter. It is a gentle soap base. It is my favorite thing to use when making scrubs.
Here are some other recipes I made with it:
Creamy whipped sugar scrub recipe
DIY foaming lavender scrub recipe
Scrubs made with bath butter clean the skin like a shower gel would and are very pleasant to use.
No greasiness in your shower.
The best part is that, unlike the oils, this bath butter melts and allows the salts to partially dissolve.
Don’t worry, salts are very slow to melt, so you will not lose any exfoliating power. But it will be enough for the salts to release all the minerals for our skin to absorb.
2. It is made with extra fine grain salt
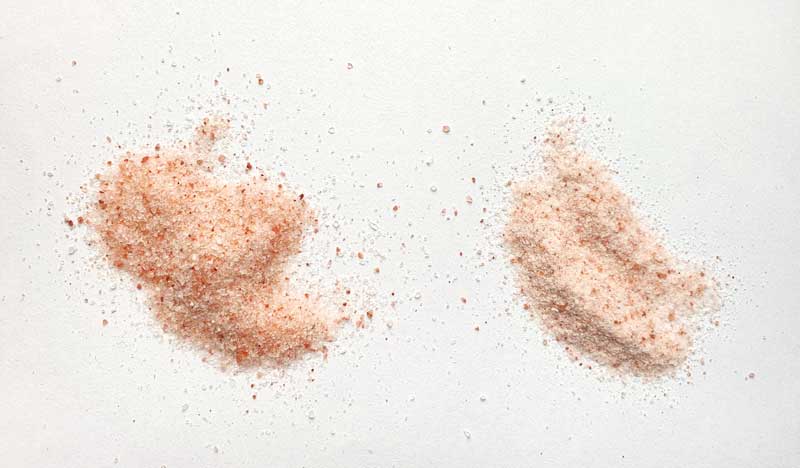
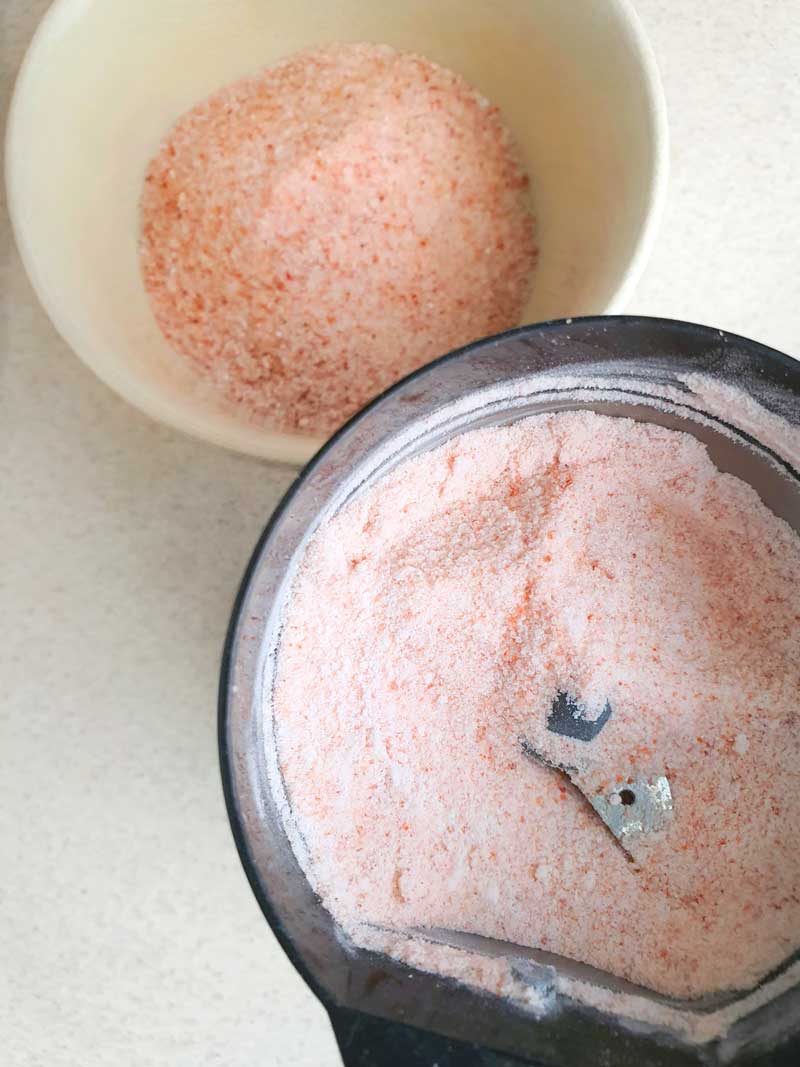
When buying Himalayan salts for scrub making, make sure you buy only fine grain salts. Even the fine grains can feel a bit more abrasive than sugar. I ground half of my salts in a coffee grinder to make the grains even smaller. You can see in the photo below the difference between the fine grain I purchased and the ground version. For the best exfoliating experience, I used a mix of both in my recipe.
UPDATE: I found that you can actually buy extra fine grain Himalayan salt.
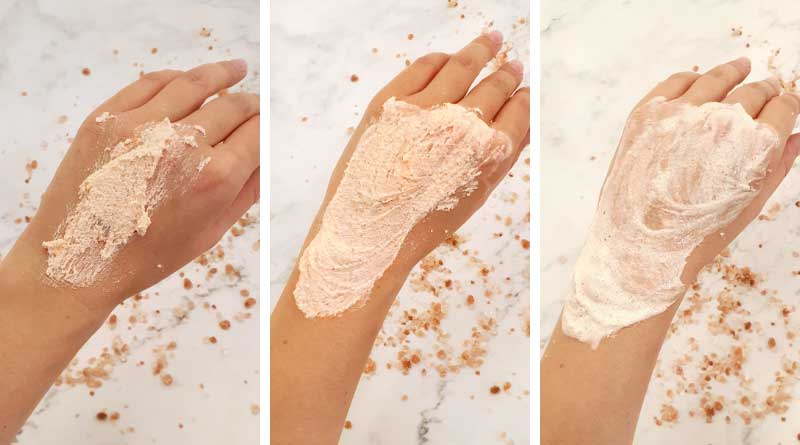
3. It is super easy to make
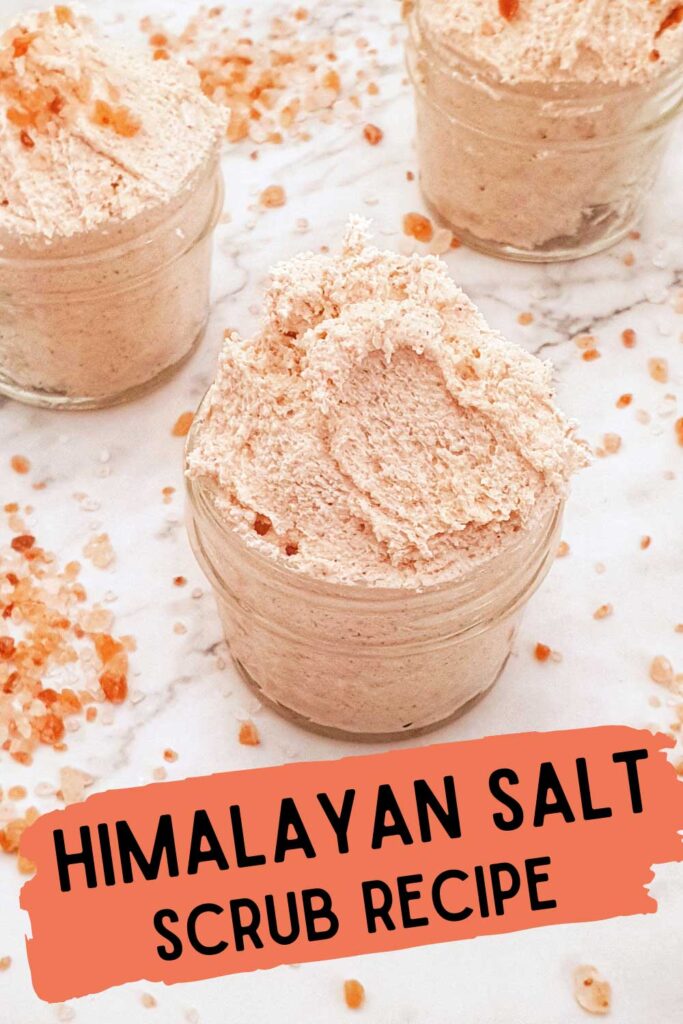
PINK HIMALAYAN SALT SCRUB RECIPE
– 200 g of Foaming bath butter
– 250 g of Himalayan salts (100 g of fine grain salt and 150g of extra fine grain salt). You can grind standard fine grain salts in a coffee grinder or purchase extra fine grain salt.
– 10 g of Cocoa butter (You can use a liquid carrier oil too. Using cocoa butter thickens the scrub. Using a liquid oil will make it thinner and creamier. Similar to this recipe)
– 2 g of Grapefruit essential oil (I like using grapefruit essential oil with my scrubs because it is supposed to help improve the circulation and appearance of cellulite. Plus, it is one of those essential oils that smells great on its own.)
Himalayan Salt Scrub
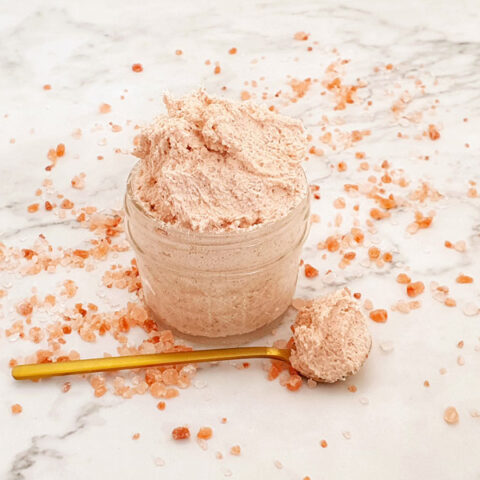
Materials
Tools
- A big jar for mixing
- Electric hand mixer
- A coffee grinder (optional)
Instructions
- Let's start by preparing our Himalayan salts. I used 100g of fine salts that I purchased and 150g of ground, very fine salts. To get very fine Himalayan salts, I ground my salts in a coffee grinder. It only takes 5 sec of grinding. Or you can purchase extra finely ground salts if you do not have a coffee grinder.
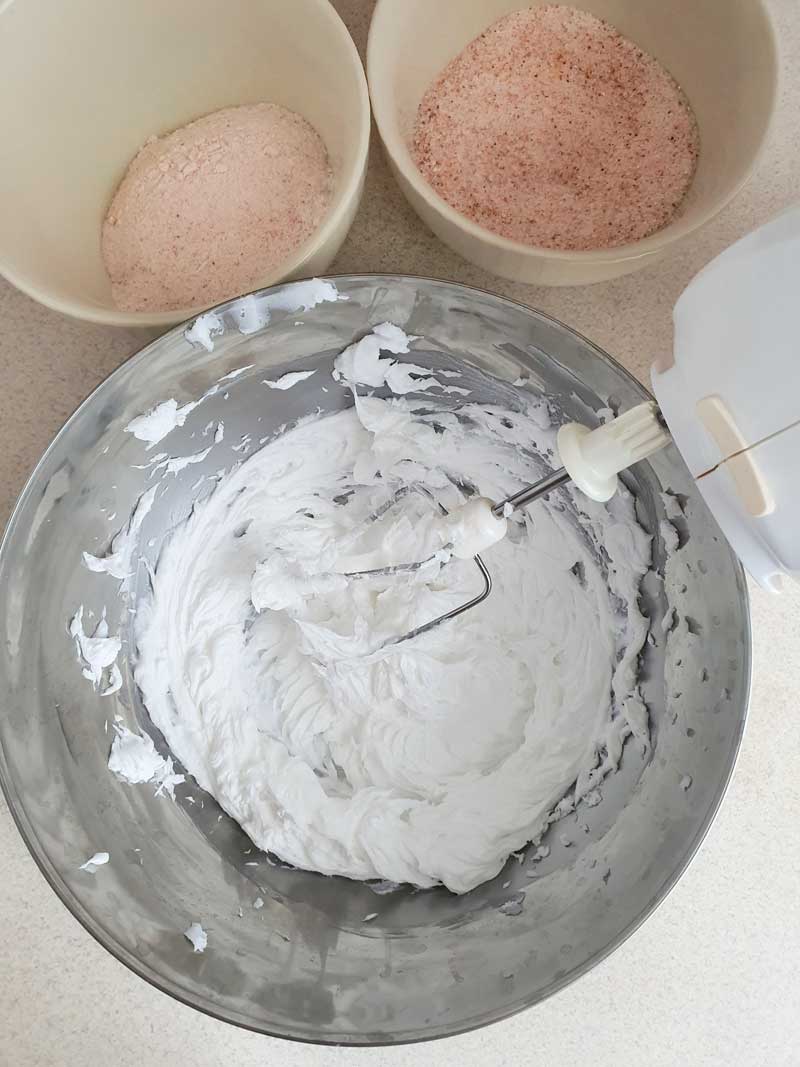
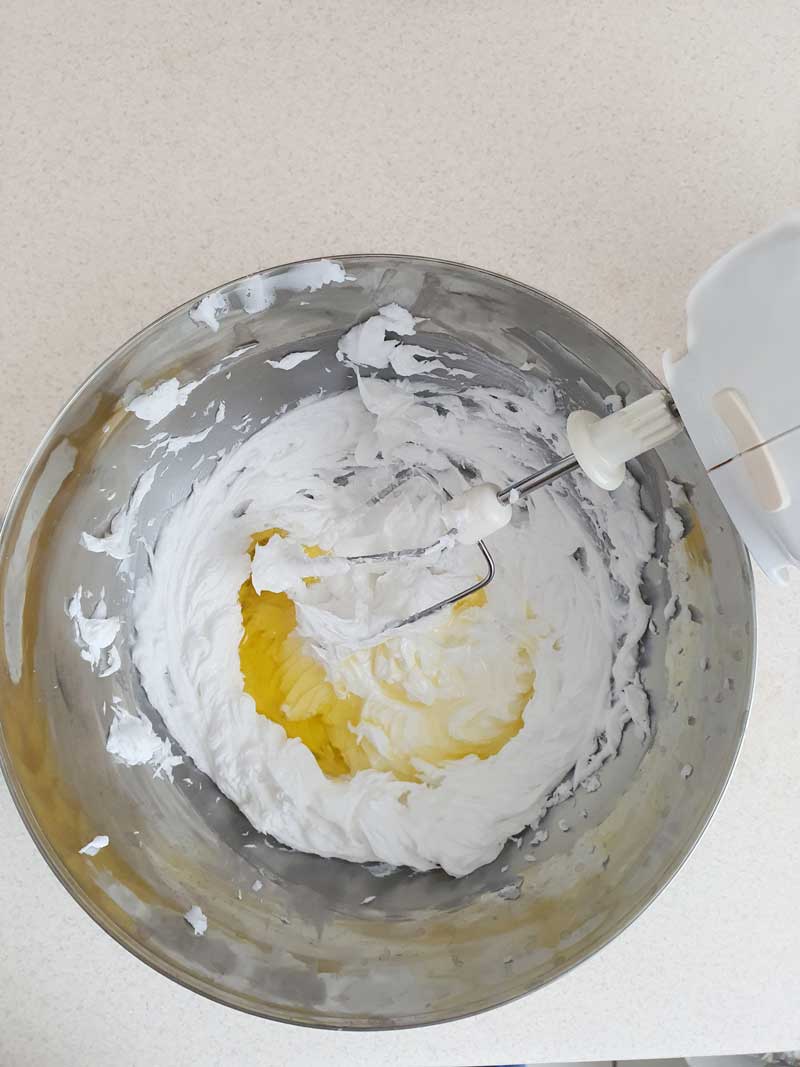
- Now let's make the foaming base for the scrub. Add your foaming bath butter to a large mixing bowl. Turn your mixer on low and break up any clumps. Increase the speed and continue to whip until the product is creamy and fluffy.
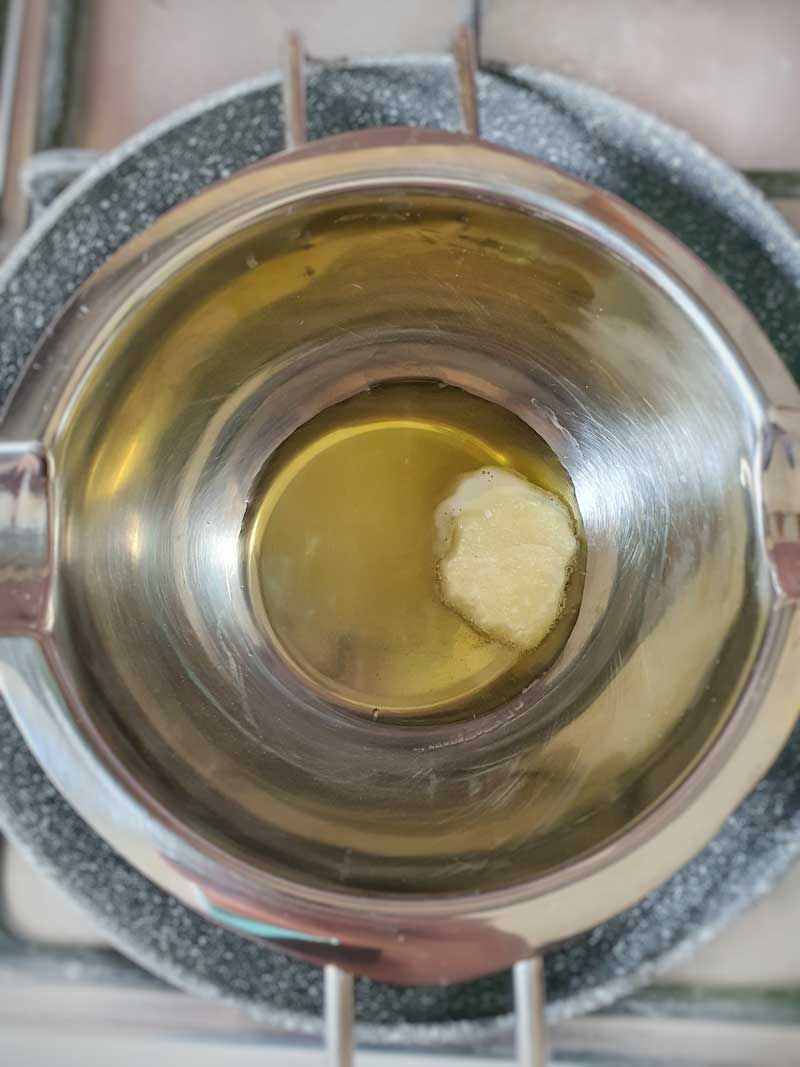
- Once the bath butter is creamy, you will want to add your cocoa butter (or oils). To add cocoa butter you need to melt it first. The best option is to melt it in a double boiler like I did. You can also melt it in a microwave. But do it carefully and in short burst to avoid overheating.
- Combine your bath butter with cocoa butter and essential oils. Start mixing on a low setting to incorporate the oils, then increase the speed and mix for another minute.
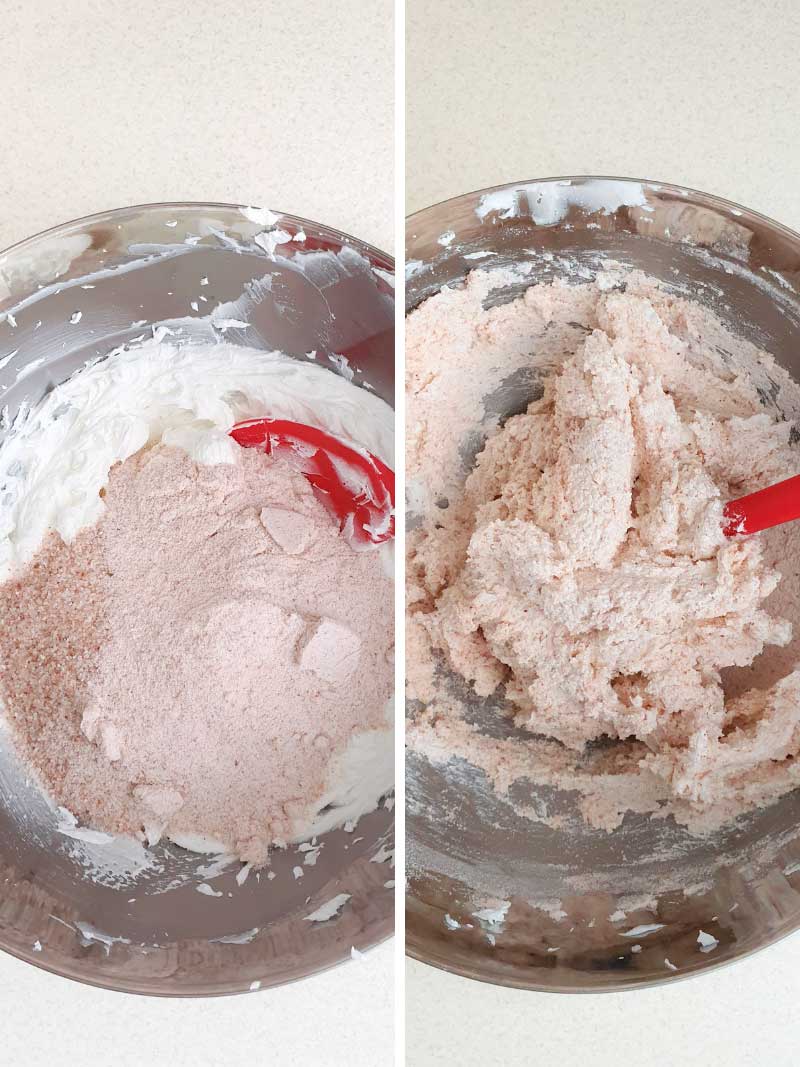
- Add your Himalayan salts and mix with a spatula. Then mix with a hand mixer until fully incorporated. At this step you should test the scrub on your hand (with warm water) to see if you like it. To make it thicker and more scrubby - add more salts. To make it creamier, whip up a small amount of foaming bath butter and oils in a separate bowl. Then add to the scrub mix and combine.
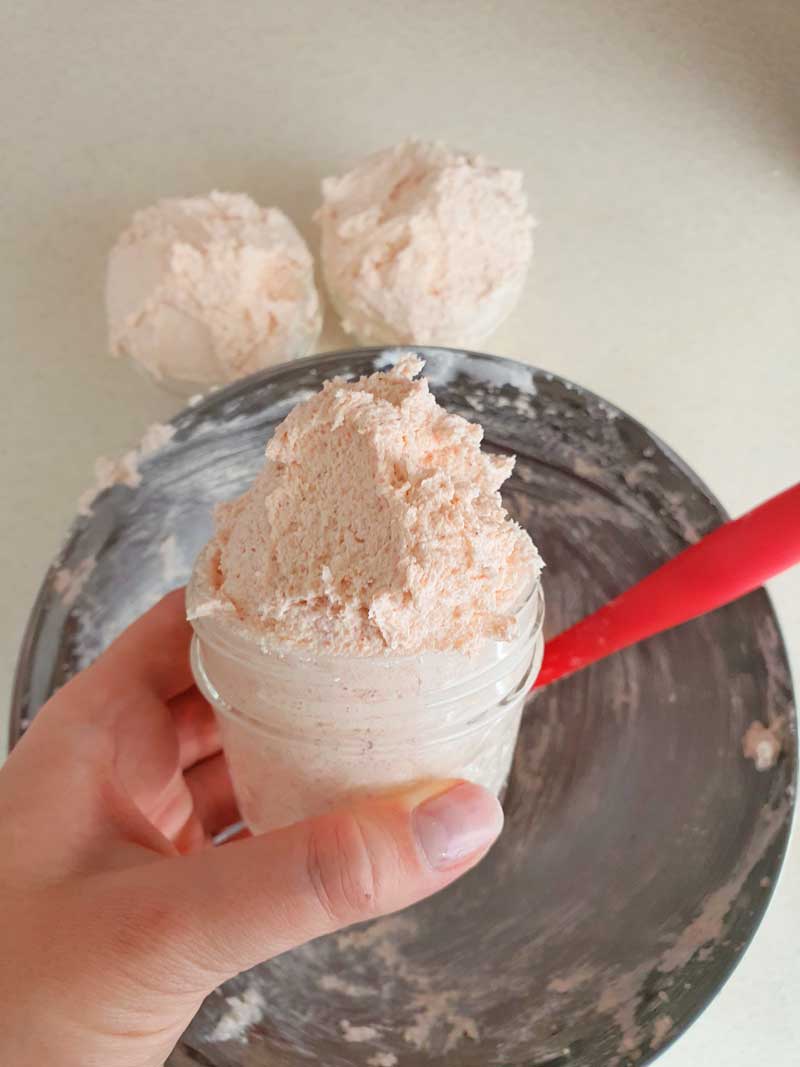
- Pack your homemade Himalayan scrub in jars and enjoy!
HOW LONG DOES A HIMALYAN SALT SCRUB LAST?
Your salts scrub will last as long as the shortest expiration date of your ingredients. Himalayan salts do not go bad, but your foaming bath butter, cocoa butter and essential oils will have an expiry date. For example, if your bath butter expires in 2 years and your cocoa butter expires in 8 months, then the shelf life of your DIY salt scrub is 8 months.
HOW TO USE HIMALAYAN SALT SCRUB?
1. Let your skin soak in warm water.
2. Apply scrub with hands. Cover your body with an adequate amount of body scrub. Using circular motions, massage it into your skin.
3. Focus on the areas with dry skin or areas with body hair (prevents ingrown hair). I like using the scrub on my legs to renew the skin and prevent ingrown hair and on my back to prevent back acne.
4. Rinse off and follow up with a moisturizing body lotion afterwards.
HOW OFTEN SHOULD YOU USE A SALT SCRUB?
Just like any other body scrub, Himalayan salt scrub should only be used 1-2 times a week, regardless of the skin type. Exfoliation is a key to soft and healthy skin, but you don’t want to overdo it.
I hope you enjoy making and using this scrub. Let me know about your experience in the comments below!

This sounds delightful! Any chance you make this and sell it? I really don’t want to buy all of the products and make. Also can you use this on your face or would it clog your pores? Look forward to hearing from you!
I purchased all ingredients and made this exactly as directed. It came out just as you’ve shared it would. My preference is for a slightly smoother scrub, I found this one a bit to pasty for my liking. I appreciate your recommendation to add more bath butter base however as I was creating some other gifts I had some body wash base on hand. I added 2 tablespoons (starting out with lesser amounts and increasing slowing) and found it was exactly what I was looking for. Thank you for sharing this. 🙏