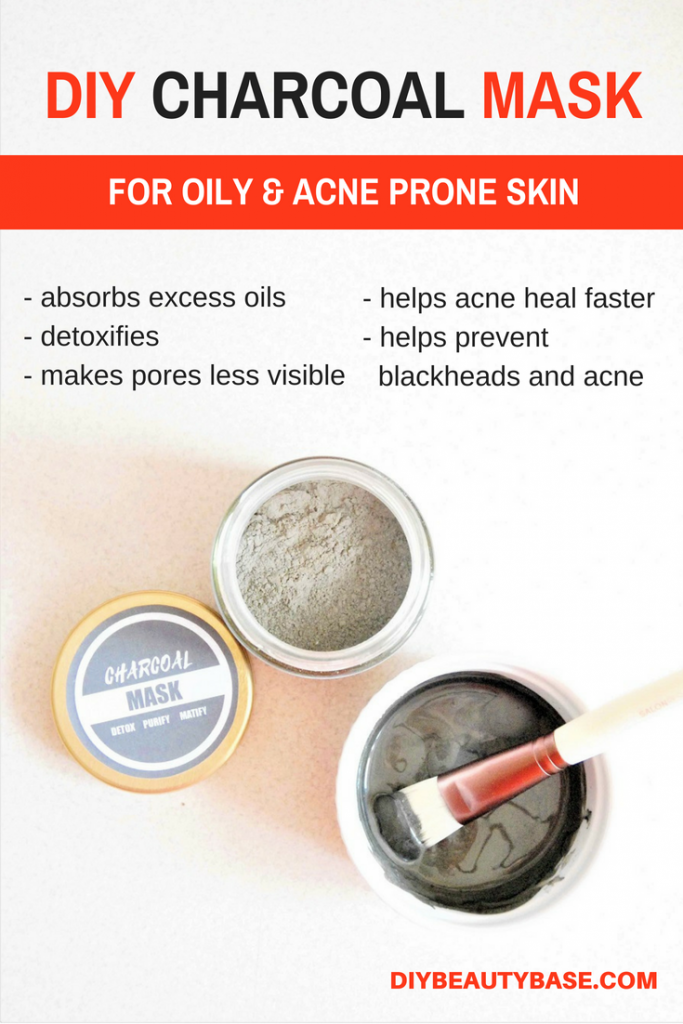
DIY Charcoal Mask For Oily & Acne Prone Skin
This post contains affiliate links. If you click and make a purchase, I may receive a commission. Thanks.
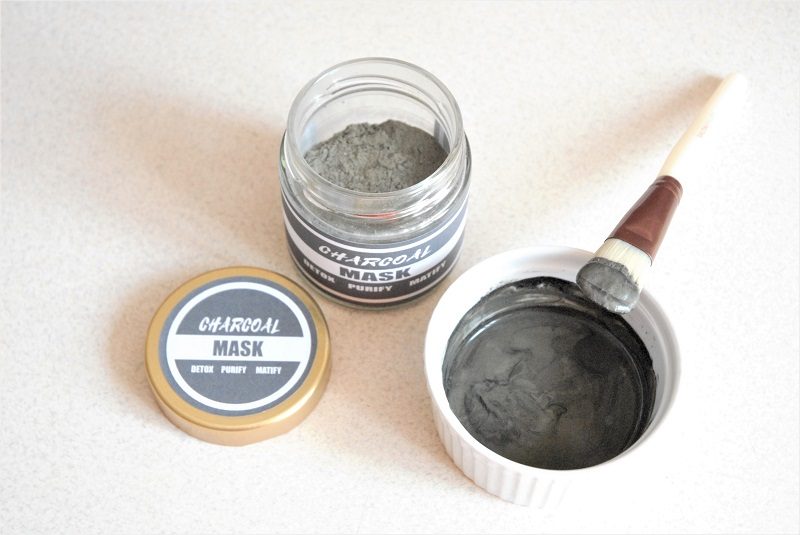
Throughout the years I have tried many DIY face masks for acne and oily skin. Many did not work but trying out different things helped me find my favorite ingredients. I found that ingredients that work the best are green clay, aspirin and tea tree oil. The sacred trio for the oily skin, I used to say. Well, I won’t be able to use this phrase anymore because there is a new sheriff in town, and his name is Activated Charcoal. I’ve tried using activated charcoal on my face and it’s great. It absorbed excess oils, made my pores less visible and left my face feeling fresh and clean. My skin didn’t feel sticky afterward and it didn’t make me break out the next day. Activated charcoal is definitely a keeper.
So now I have my Fantastic Four. Each ingredient has its own properties that are beneficial to the oily and acne prone skin. I love them all and I don’t want to choose. So, I decided to join all my favorite ingredients and to make one super cleansing and antibacterial DIY charcoal mask.
This homemade charcoal mask has only a handful of simple ingredients and is very easy to make. So don’t worry if you have never made a DIY face mask. This charcoal face mask recipe is as easy as it gets. And super effective.
Before we go down to details of making this charcoal mask, I would also like to show you why this mask is just destined to work for oily and acne prone skin types, and how to use it for the best results.
In this post I will go through:
1. Charcoal face mask benefits
2. How to use this DIY charcoal mask
3. How to make charcoal mask
4. Free printable charcoal mask labels
Charcoal face mask benefits
This DIY charcoal mask is designed for people with oily skin. The masks main function is to absorb excess oil and toxins from the skin. If used regularly this charcoal mask should help balance out your skins oil production, make pores less visible and prevent blackheads and acne. Why? Because this DIY face mask is fighting some of the most common causes of blackheads and acne – oil, dirt and bacteria. To understand where these amazing properties are coming from let’s have a look at our ingredients.
Benefits of French Green clay
French green clay was recommended to me by a cosmetologist about a year ago. I heard a lot about clays and I always wanted to try them but I never got around to it. My company organized a yearly “health week” and this time it was focused on beauty. One of the cool parts of this event was that they hired a professional cosmetologist to give private consultations to all the staff (the company is mainly female). I asked her about my oily face and she advised me to use green clay. She said I can buy one premade in the store or mix it up myself, whichever way I choose, green clay is the way to go. So, I listened. Advice from a professional pushed me to finally make this purchase and I am so happy I did.
So why green clay is so good for oily skin?
Green clay has one of the strongest oil absorbing properties. It absorbs excess oils and impurities leaving your pores clean and tight. This, in turn, helps prevent blackheads and makes your face look and feel fresh. But it is not the only good quality this clay has. Green clay is packed with decomposed plant material and minerals such as magnesium, silica, calcium, zinc, etc.. These minerals make French green clay particularly nourishing to the skin. Due to the mineral composition, green clay stimulates blood circulation which helps to even out your complexion. It also promotes healing, which means your skin will get a little boost from nature to make your acne and little acne scars disappear quicker.
Benefits of activated charcoal
Just like green clay, activated charcoal absorbs excess oils from your skin and helps achieve the matte looking skin we all want. But what I love particularly about charcoal is its ability to draw environmental pollutants.
Environmental pollution does damage to our skin in a very similar way the sun does. It causes premature aging, deeper wrinkles, dehydration and uneven skin pigmentation. It is a relatively new discovery because up until now everyone was focused on UV rays. I don’t know if you notice but more and more skin care brands are now focusing on this problem and offer products that help to protect skin from the environmental pollution. If you ’d like to understand more how pollutants in the air affect our skin, you can read a very thorough research paper “Effects of air pollution on the skin” that I found in US National Library of Medicine National Institutes of Health.
So, just like we use charcoal pills to absorb all the bad stuff, we can use it on our skin to absorb all the dirt, toxins and little particles that are floating in the air. Detoxifying your skin with a charcoal face mask regularly will help you achieve a more even and matte complexion and protect the skin from premature aging. I told you it’s a keeper.
Benefits of aspirin for your skin
Aspirin is my go-to ingredient for inflamed acne. Aspirin tablets are made of acetylsalicylic acid, which is derived from salicylic acid. Many people think that salicylic acid and acetylsalicylic acid are the same, so they expect aspirin to perform the same as salicylic acid, which exfoliates, unclogs pores and tightens the skin. But this is simply not true. That’s why there are as many people unhappy with aspirin face masks as there are those who love using it on their skin. It’s all about expectations. Aspirin does not unclog pores. What aspirin does (and does well) is reducing inflammation and redness. Your zits will become less painful and heal faster. So, if you suffer from inflamed acne, then you need this.
If you don’t have acne, just an oily skin, then feel free to add less or skip this ingredient completely. I mainly have acne during summer time. But when I have it - it’s everywhere. I used this DIY charcoal mask this summer regularly and it pretty much kept my skin under control. I spread it everywhere I get acne – face, neck, chest and back. In winter my skin is less oily and barely gets any pimples, so I will make this DIY charcoal mask again with less aspirin.
*For DIY skincare recipes like this one, you need to get aspirin that is not coated, like this one.
Skin benefits of Tea Tree oil
You probably have heard about this essential oil. It has a nice, spicy, herbal smell and is famous for its antibacterial properties. Antibacterial is exactly what we need for this DIY charcoal mask recipe. On top of that, Tea tree oil helps balance out the oil production of sebaceous glands and speeds up the process of skin cell regeneration.
Tea tree oil is one of the very few oils that can be used undiluted. However, it can still irritate if you have sensitive skin.
How to use this DIY charcoal mask
This recipe is for a dry charcoal mask mix. That means that the end product will be a dry mix in the jar. You will have to add some liquid to it each time to make a mask that you can apply to your face (and the rest of the body if you want!). This option is great because:
- It gives you the flexibility to adjust the strength of your mask. You can add more liquid one time for a face mask or less liquid for a spot treatment and so on.
- It makes this recipe super easy to make. If you want to make a cream type of mask from this you would have to add way more ingredients. Also, the process would be longer and more complicated.
- It makes it cheaper. As I said, the cream mask version requires way more ingredients: emulsifiers, preservatives, etc.. So, you are saving money by making this simpler version.
- Longer shelf life.
- It allows you to experiment with liquids you add to this DIY face mask.
When you want to use the mask just mix a tablespoon of your DIY charcoal mask with a tablespoon of liquid, for example, water. Mix it until you get a paste and apply on your skin. The mask can be applied to the entire body, not just the face. Keep the mask on for about 10 minutes. Don’t allow the mask to dry completely like you might have seen other people do. Charcoal & clay masks work when they’re wet and letting it dry out completely, might dry out your skin just a bit too much.
To remove the mask, wash your face with warm water and a washcloth. Follow up with your favorite skin toner. It will help remove the leftovers of clay and charcoal.
Don’t forget to moisturize afterward. This DIY charcoal mask can be a little bit drying. It absorbs excess oils after all. Use a light, well absorbing moisturizer of your choice. Gel moisturizers are particularly good for oily and acne-prone skin types. I like to apply organic aloe vera gel (I like this one because it contains 99.5% certified organic aloe vera). It is natural, non-greasy, moisturizing and soothing. It will calm down your skin in case of any temporary redness from the mask without blocking the pores that you just cleaned.
If you have a sensitive skin and you feel that this homemade charcoal & clay mask is too strong for you, then just use it as a spot treatment. Take a pinch of dry mask mix, combine it with a drop of water and apply it to your problematic spots.
Getting the most out of your DIY charcoal mask
The easiest way to use this homemade charcoal mask is to mix it with water. However, if you want to add additional benefits consider replacing water with one or a mix of the following:
- Coconut Water (hydrating, anti-aging and anti-inflammatory)
- Herbal tea
- Aloe Vera Juice (hydrating and soothing). I’ve never tried it because I only have aloe vera gel and I like applying it afterward, but it should work well.
- Witch Hazel
- Floral water (Lavender, Rose, etc.)
And if you don't want to limit yourself by choosing one get this Rose Petal Witch Hazel with Aloe Vera.
How to make a charcoal mask
Ingredients you need to make a homemade charcoal mask
2 tbsp French Green clay
1 tbsp Activated Charcoal
2 tablets of Aspirin (uncoated like this one)
1 drop of Tea Tree oil
This is the ratio of ingredients for this mask. You can make a little bit of the mask each time or a full jar using this ratio.
How to make a charcoal mask yourself
This DIY charcoal mask is probably one of the easiest DIY beauty products you will get to make. It would take you about 10 minutes to prepare a little bit of this mask before each use. But I prefer making a full jar and keeping it in my bathroom for when I need it.
The easiest way to prepare this mask is to blend all the ingredients in a small coffee grinder. The coffee grinder makes the process very quick and clean.
Don’t worry if you do not have a coffee grinder dedicated to DIY projects, you can still mix it manually. Start by grinding your aspirin and activated charcoal (if you bought tablets) in a mortar and pestle. Then mix all the ingredients manually as well as you can.
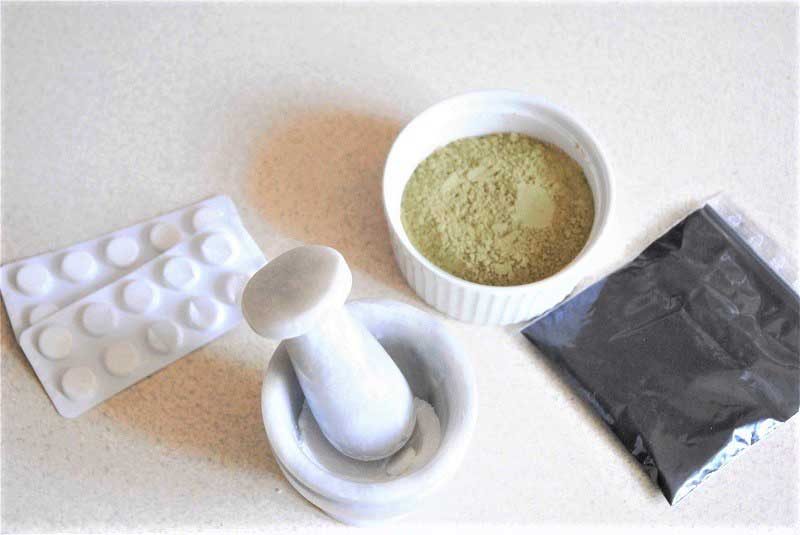
Aspirin is easy to grind, while charcoal tablets will probably remain quite “rocky”. That is why I recommend buying either the activated charcoal powder or charcoal capsules which you can open to get the powder out. It makes life easier. Charcoal tablets will work well too because it will melt once you add some liquid to your mask. It's just that the final dry mask mix won’t look as nice and smooth.
Once all the ingredients are in their powder form mix them together and add Tea Tree oil. To make sure that all the ingredients, especially the tea tree oil, are distributed evenly, mix for at least a couple of minutes. Once ready place it in a jar and use it as needed.
Free printable labels for DIY activated charcoal mask
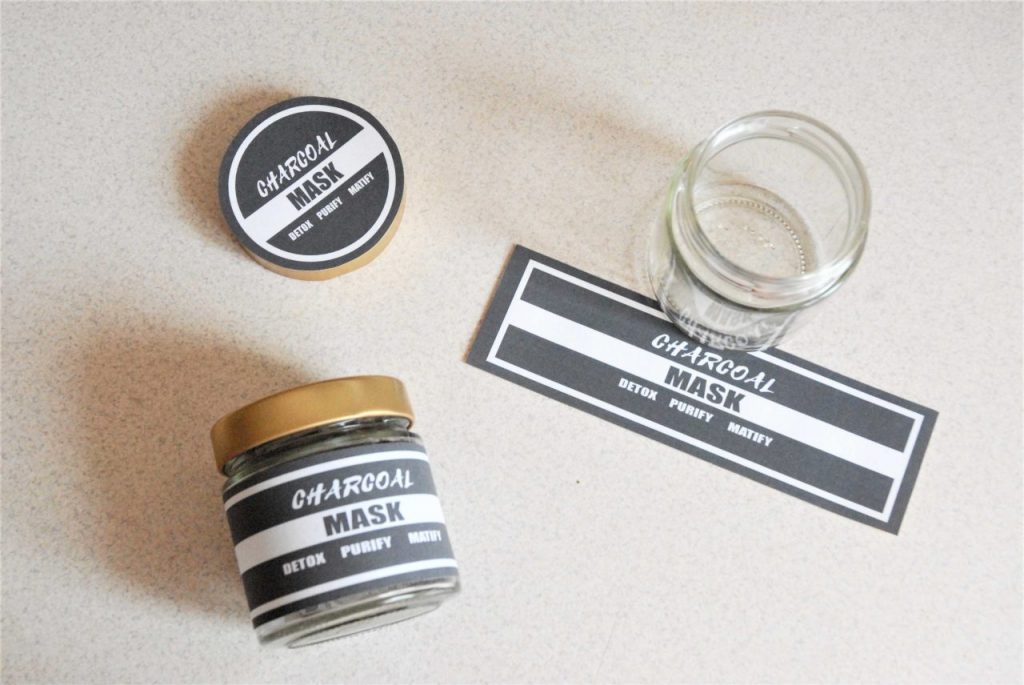
I have designed a simple free printable label set to go with this recipe. The jar I used is quite small (2.8in) so my label is approx. 2.3in wide. But you can use any size jar that you want. I have created these charcoal mask labels in Word format which means that you can adjust the size of the label to match your jar.
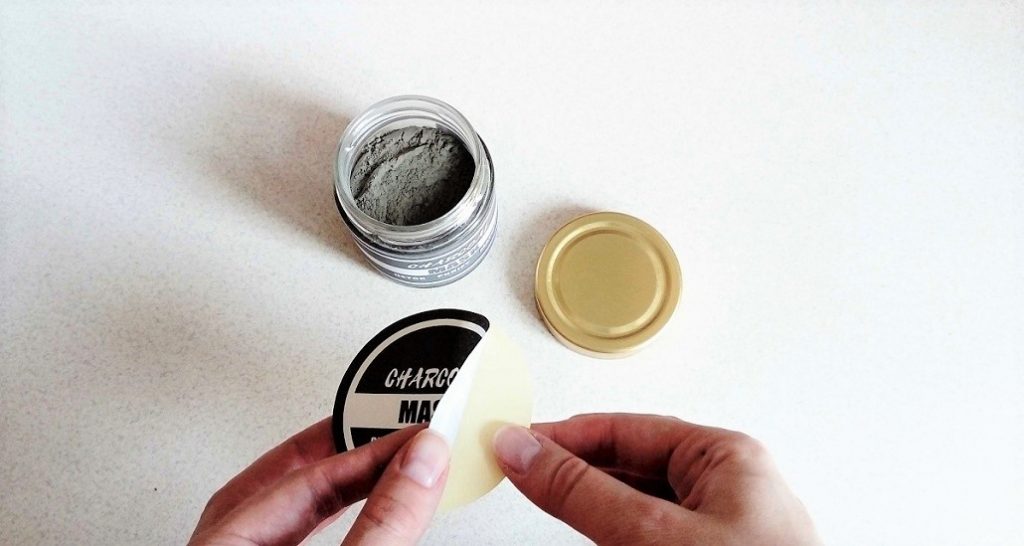
Simply download the design, adjust to the size that you need and print it out. I use Avery adhesive full sheet labels to print my labels on. It is easy to use and looks great. You just need to stick these sheets into your printer as you would with standard paper, print and cut out. I use it for my cosmetic labels and also for my kitchen supplies.
DOWNLOAD YOUR CHARCOAL MASK LABEL HERE:

Hi glad I came across your page via Pinterest. Was looking for an effective, easy to make charcoal mask recipe and stopped here. Just one question….. What clay can be used to replace the green clay? I have rhassoul, kaolin, dead sea mud and Fuller’s Earth at my disposal but the green clay I have may not be actual green clay so don’t wanna use that. Can gram flour be used? Look fwd to trying out your formula soon ?
Thanks and have a lovely day!!!
Ruchi, from India
Hi Ruchi! I’m glad you stopped by. I would say the closest substitute is Fuller’s Earth clay. Fuller’s Earth clay has strong oil absorbing properties which makes it a great choice for oily skin. It is also known to have healing and skin lightening properties which may help to even out any skin discoloration or scars left from acne. I would not use kaolin clay as it is too gentle for what we are trying to achieve here. As for gram flour, I don’t know much about its use in skincare so I can’t advise you. Let me know if you make the mask. I’m curious to hear if your skin liked it.
Margarita
Hi! What ratios of the ingredients do you suggest for making a batch of the dry mask? I want to make a dozen or so little jars (maybe an ounce or two) for gift baskets. Thank you!