5 Creative Bath Bomb Gift Ideas for Teachers [Free Printables]
This post contains affiliate links. If you click and make a purchase, I may receive a commission. Thanks.
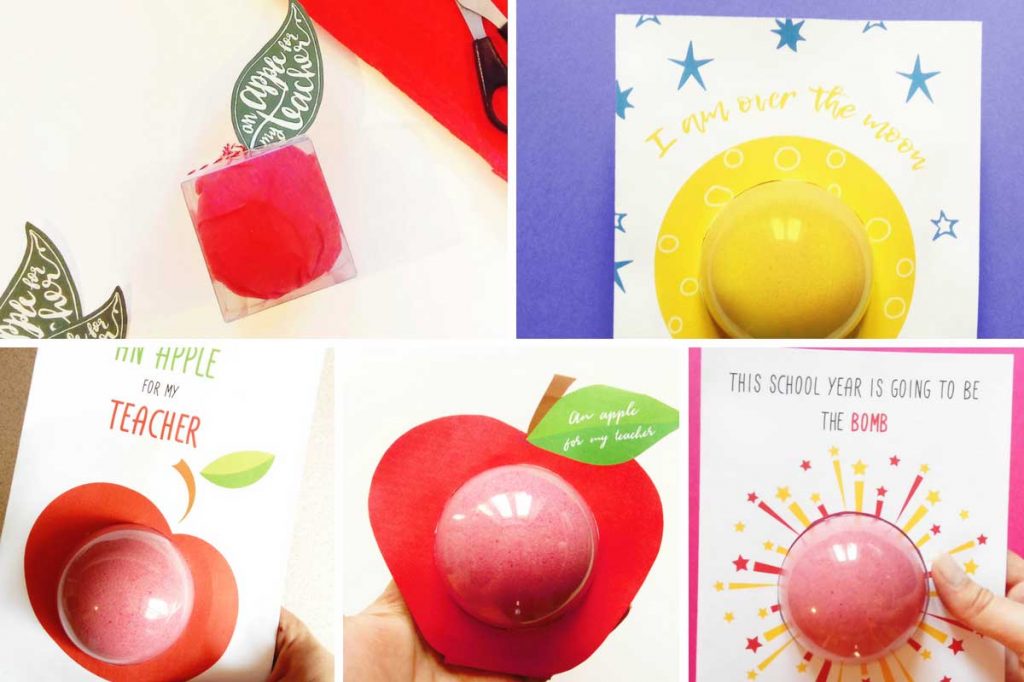
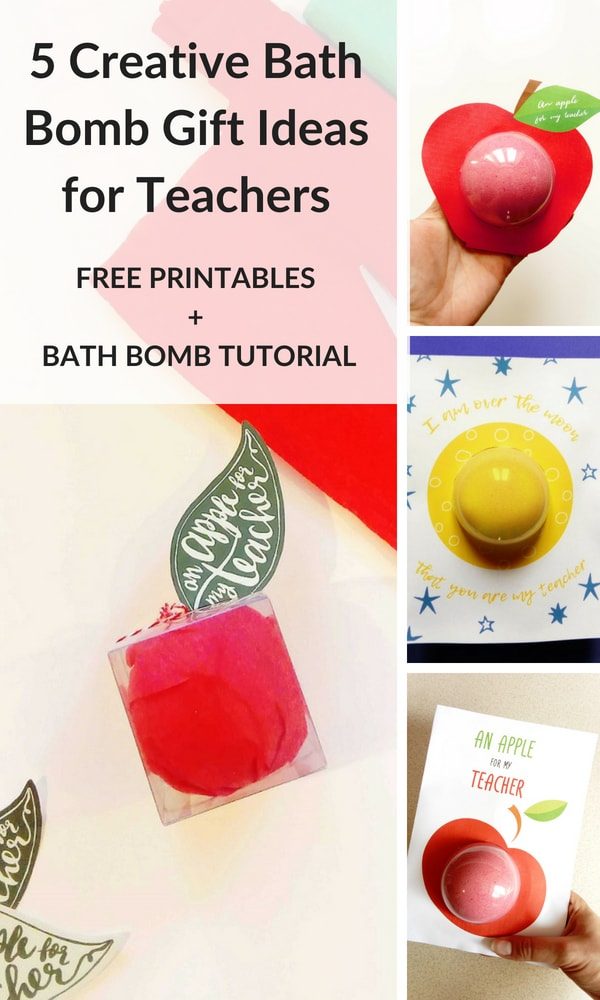
If you have never made bath bombs before, don’t worry I will lead you through the process. You will find a step by step tutorial at the bottom of this page.
5 Bath bomb gift ideas for teachers
The supplies you will need:
- a bath bomb. You can buy one and insert it but I would recommend making it yourself. It’s a great way to involve children into making gifts for their teachers. I wrote a step by step tutorial showing how to make bath bombs. You will find it at the bottom of the page.
For 1-4 projects you will need:
- US letter or A4 paper to print your design on. You need to use something thicker than a standard printing paper or the card will look floppy. When buying paper, pay attention to what it says on the package. Standard printing paper is labeled as “80gsm” which means its about 0.1mm thick. For this project, you need 200gsm or thicker. I recommend this.
- Plastic bath bomb packaging - needs to be exactly this type. The edges of this bath bomb holder allow it to be inserted into the cards. When using these bath bomb holders you don’t need to worry about your bath bomb cracking or coming out crumbly. Plastic holder will keep it in shape and protect it from any damage. It makes it perfect for beginners. I got mine here. You may also want to consider this option. It's a bundle of bath bomb holders of 3 different sizes, including the 2.75 in size that we need for these projects. I only found this offer after purchasing mine. I think its a good price for what you get.
- Clear tape
For the 5th project you will need:
- White Cardstock
- Printables from the link above
- Scissors
1. An apple bath bomb teacher gift
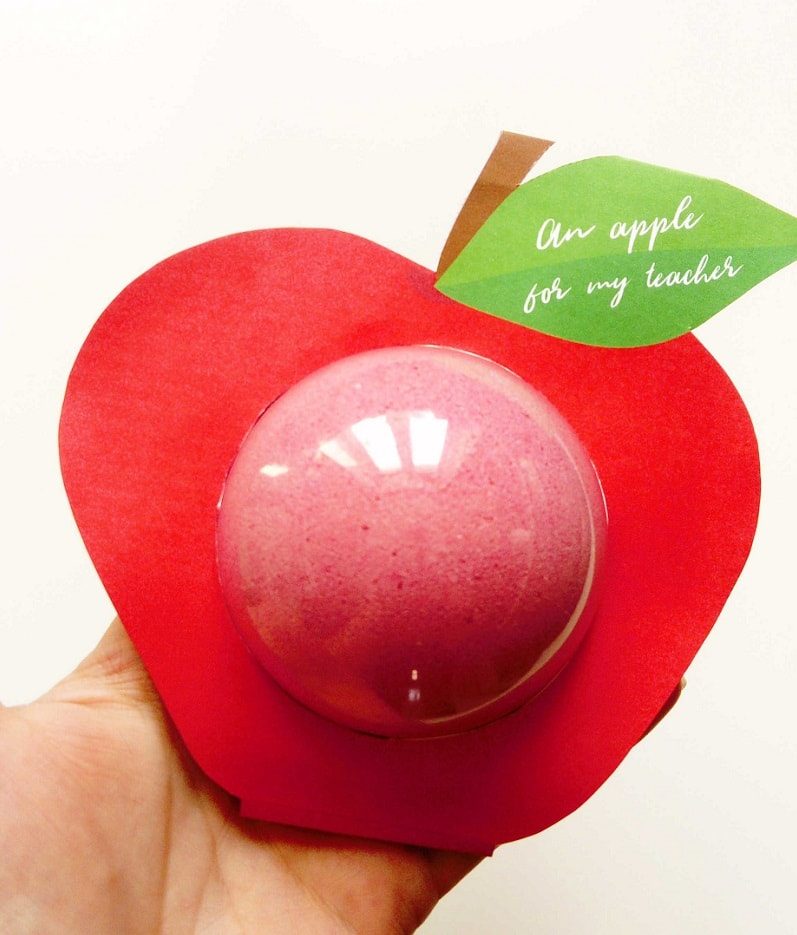
What is the symbol of all teacher gifts? An apple, of course. It has become a symbol of saying thank you to the teachers and I absolutely love apple themed homemade teacher gifts. So, inspired by apples, I have created a free printable bath bomb holder.
And guess what? It’s an apple!
This DIY bath bomb holder is very easy to print and cut out. It is suitable to be printed on both US letter and A4 paper.
Instructions on how to print and cut:
1. Set your printer settings to print on best quality. In a Print Window choose “Actual size”.
2. Cut out the apple and 2 circles in the middle of the apples.
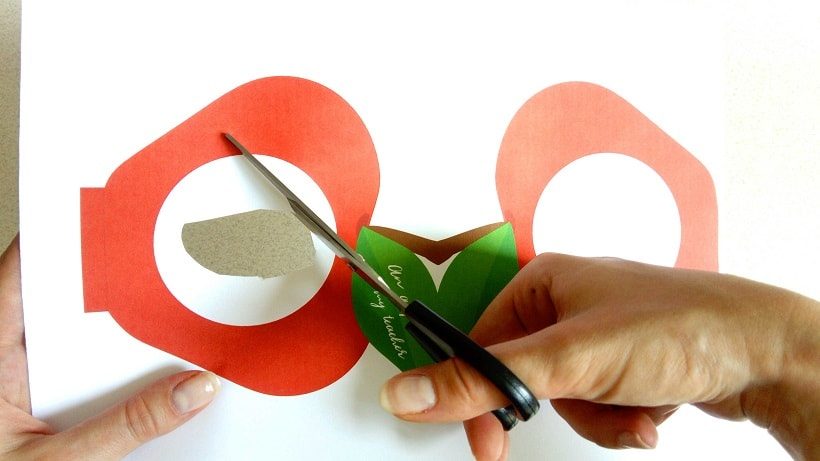
3. Bend the apple in half where the leaves join.
4. Place your bath bomb into the plastic and secure with clear tape.
5. Place bath bomb inside the apple and secure the bottom edge with glue or clear tape.
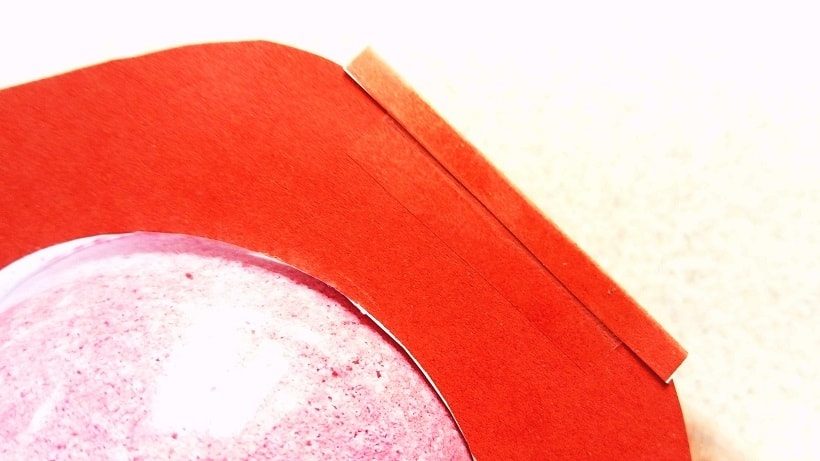
6. Additionally, you can also glue the edges of the apple.
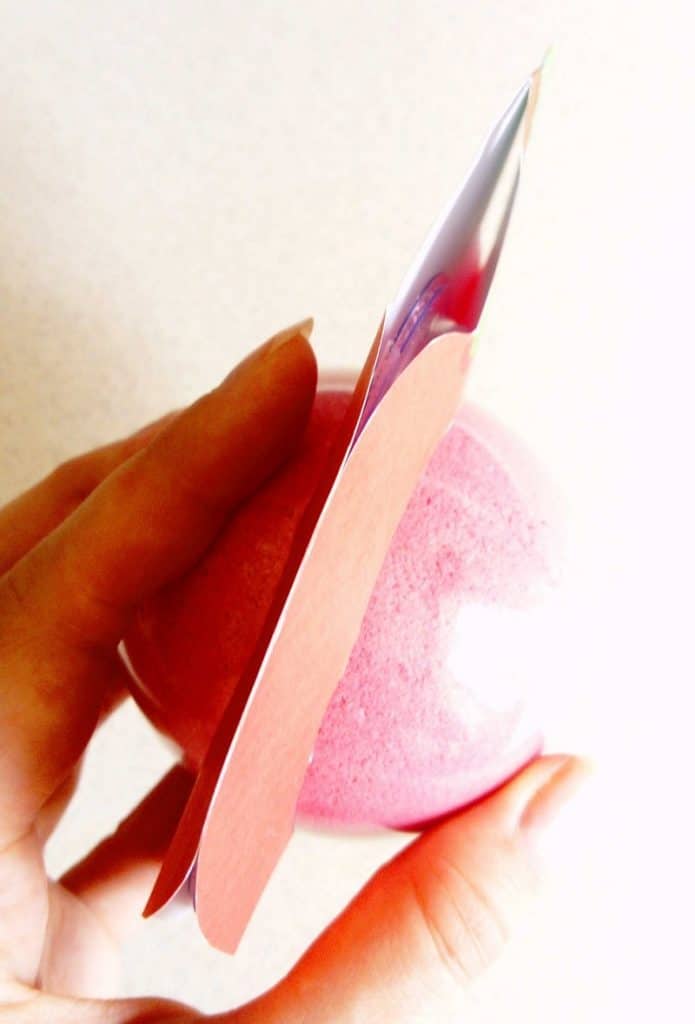
It’s ready. Time to make some teacher really happy.
2. DIY teacher gift and card in one - An apple to my teacher bath bomb card
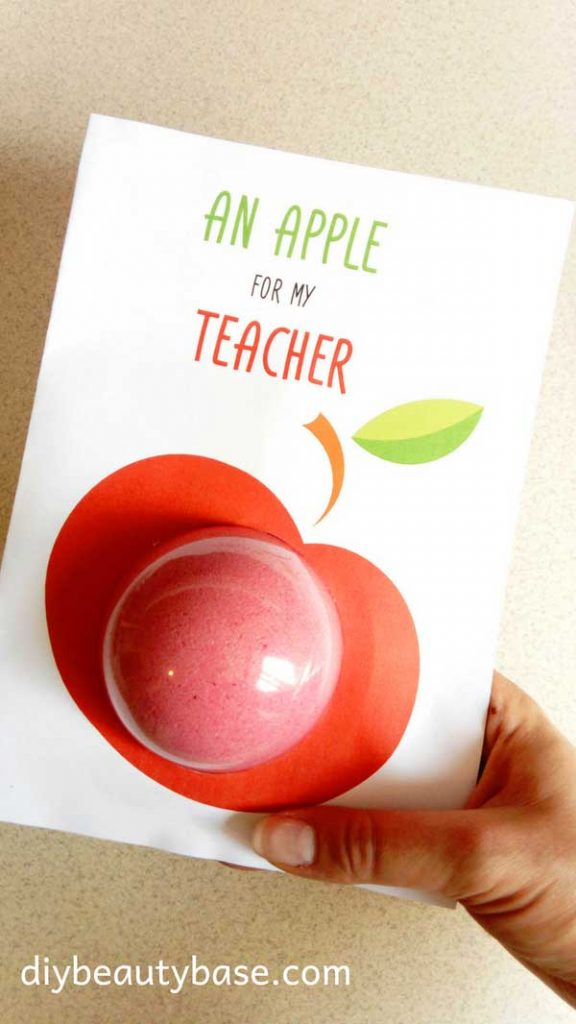
A very similar idea to the first one. This printable is bigger, and the end result will look like a greetings card. It is perfect if you want to write some wishes on the back of the card or your child’s name. They can even write it themselves.
Apple for my teacher bath bomb holder A4.pdf
Apple for my teacher bath bomb holder LETTER.pdf
How to print and assemble:
1. Place your bath bomb in the clear plastic bath bomb holder/mold and secure the edges with some clear tape.
2. Download the printable that matches the size of your paper (letter or A4) and print it out. Make sure you select "best quality" in printer settings. Also, in the Print Window choose “Actual size”.
3. Fold the paper in half with the text and pictures on the outside.
4. Cut out the white circle in the middle of the apple.
5. Based on the circle you already cut out, draw another one on the other side of the card. Cut out the second circle.
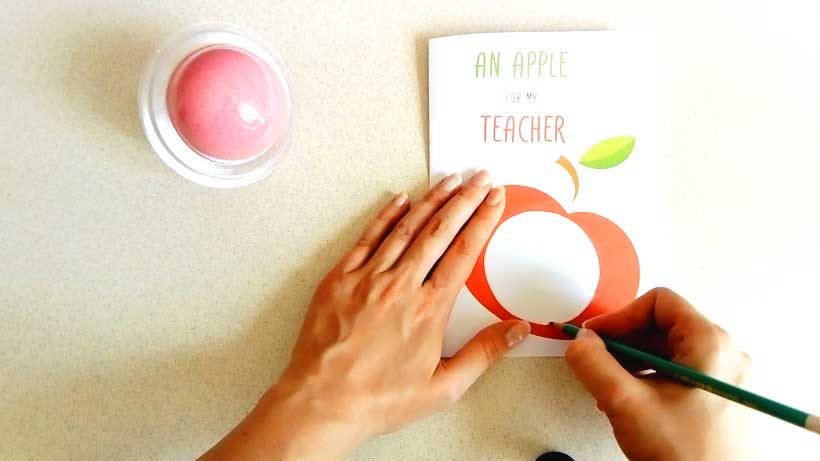
6. Have your bath bomb ready on the side. Open the folded paper and put glue all over the inside. Leave a 1 cm band around the circle free of glue. Insert the bath bomb in the hole and then close the paper.
3. “I’m over the moon” homemade teacher gift card
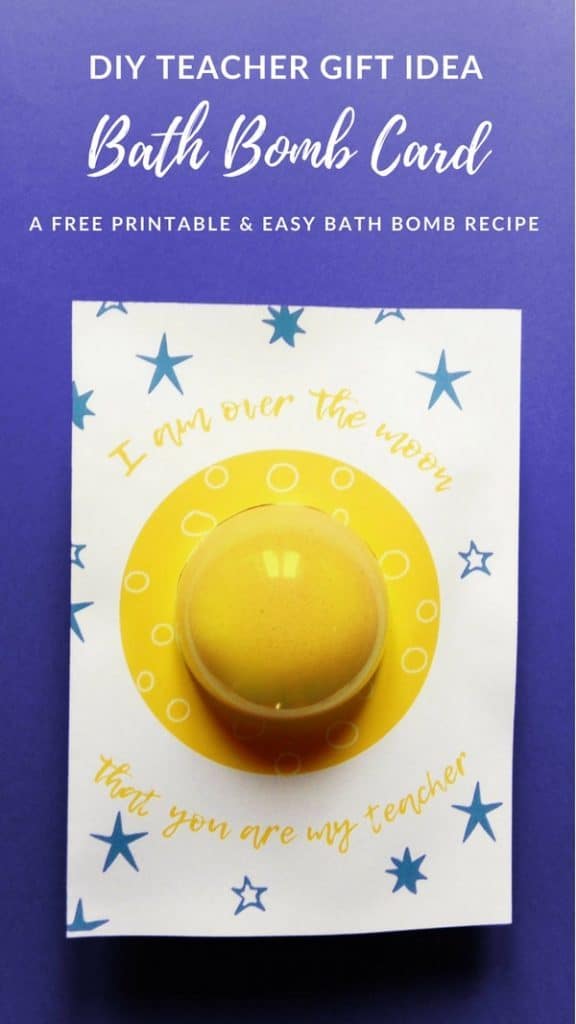
If apples are not your thing, then you might like this moon themed printable teacher card. It’s simple and I love the message. You will need to make a yellow bath bomb for this to match the moon. The steps for making yellow bath bombs are exactly the same as in the tutorial at the bottom of the page. All you need to do is to replace red color with yellow (or light orange) and choose a smell to go with it. For yellow bath bombs, you can choose citrus and orange smells. I personally like Tangerine essential oil which you can order here.
To print and cut this card follow the same steps as for car No 2.
4. “The Bomb” teacher bath bomb gift card
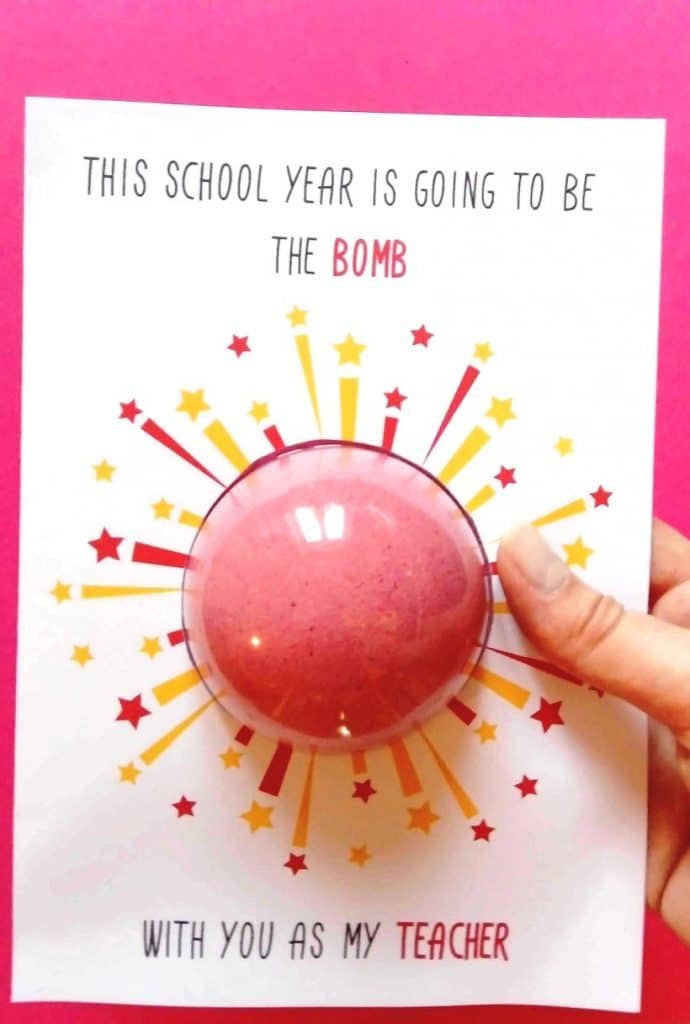
Here is another free teacher bath bomb gift card. I enjoyed making them so much that I made another one. I thought that the other 3 designs are quite limiting with colors. Because of their designs, you can only make red or yellow colored bath bombs. What if you want to make a purple bath bomb? Or blue? Now you can with this design. It’s very universal so you can add any colored bath bomb and it will still look cute. Printing and assembling instructions same as for number 2 and 3.
5. DIY teacher gift - apple bath bomb in the box
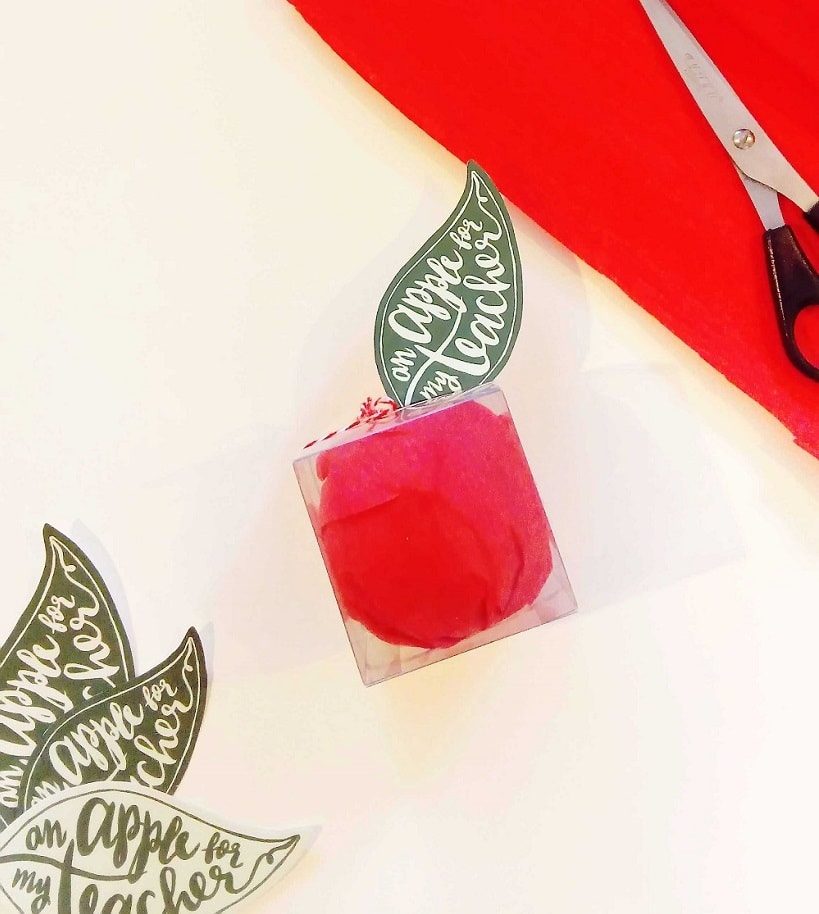
We are back to apples! I just love how easy it is to make a bath bomb look like an apple. While browsing the internet I found this apple teacher gift box made by Alexis from Persialou. I loved the idea. You can put your bath bomb and some candy there. I have also made my own version of this apple box and used her free printable leaf design to decorate it. You can find her DIY teacher gift box and free leaf printable here.
To make my modified version of the bath bomb apple box you will need 3 x 3 clear gift boxes, White Cardstock, Printables, Red or Green Tissue Paper and Scissors.
Instructions.
1. Wrap your bath bomb in tissue paper and place in the box.
2. Wrap the box with a ribbon or a twine.
3. Print out and cut out apple leaves. Bend one edge of the leave and glue it to the box.
How to make bath bombs
Now that you have chosen a way you want to package your bath bombs, it's time to make one.
Ingredients and supplies you will need to make bath bombs:
- 1 cup of Baking Soda
- 1/2 cup of Citric Acid
- 1/4 cup of Cornstarch
- 1 tbsp of melted Cocoa butter (you can choose any other oil or butter as a substitute. For example, melted Coconut oil or Sweet almond oil)
- 1 tbsp of Polysorbate 80. It helps oils in your bath bomb to mix with water better. It's an optional ingredient, but that's how professional bath bombs are made.
- water-soluble soap dye or food coloring of the color of your choice.
- essential oils or fragrance (for my apple bath bombs I used this apple fragrance. It smells amazing and goes along perfectly with the apple theme).
- water
- big mixing bowl
- a whisk or a pair of gloves for mixing with hands
- bath bomb mold. The clear plastic bath bomb holders that I was using for the cards work great as bath bomb molds. There is no point in buying a separate bath bomb mold. In fact, these plastic bath bomb holders work so much better than my metal bath bomb molds. I will be using them for all my projects from now on.
Bath bomb making instructions:
1. Combine baking soda and cornstarch in a large bowl.
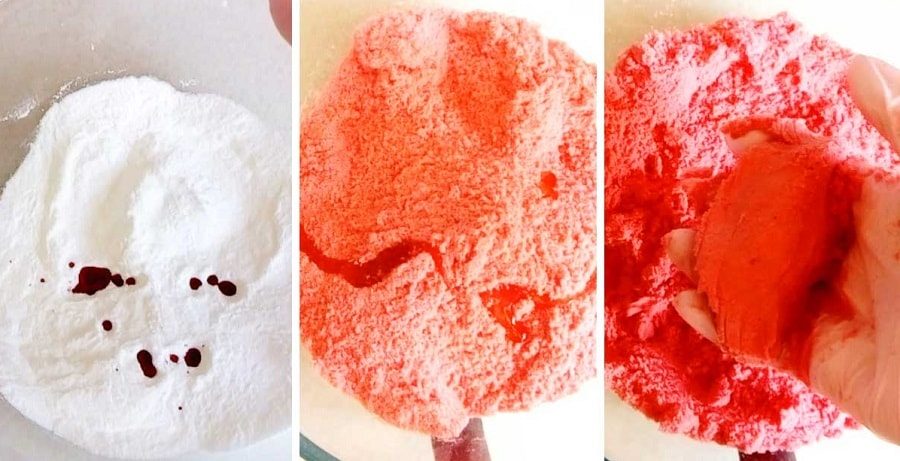
2. Add couple drops of color and mix. If you are using water-soluble dyes, spray a little bit of water. This will make the color mix better. Keep adding color (and water if needed) until you get the desired shade.
3. At this point, your mixture should be either dry or damp. If it's very wet, let it dry for a bit. Then mix in citric acid.
4. In a separate bowl combine your wet ingredients (oils, Polysorbate 80, essential oils or fragrance).
5. Combine wet and dry ingredients. Mix very well. You need to reach a mixture that looks like wet sand. If the mix is too dry, add some water. To test if your bath bomb mix is ready, squeeze it in your palm. If the mixture stayed together, then it's ready.
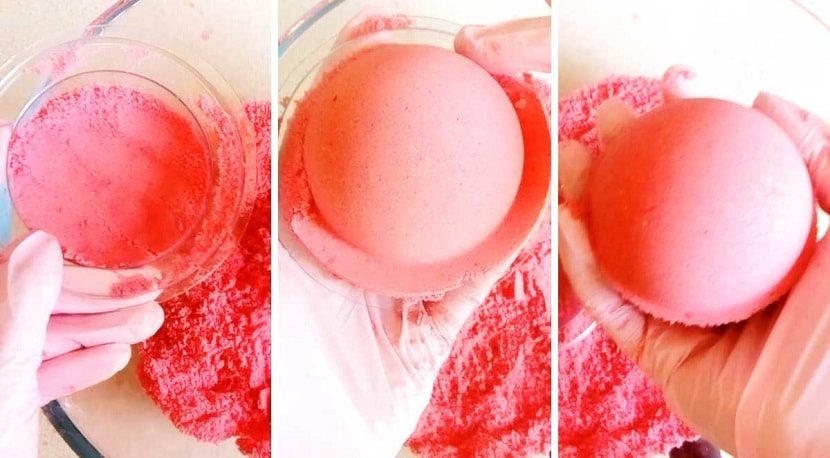
6. Pack the mix into bath bomb molds. Make sure it is tightly packed. Both halves of the mold need to be overfilled with the mix. Then join them together and press firmly.
7. Carefully remove the bath bomb from the mold, and allow it to dry for 2 hours.
So many choices, not enough teachers. Let me know which DIY teacher gift idea you liked the most!
