Never Buy Nail Polish Again – Make Your Own!
This post contains affiliate links. If you click and make a purchase, I may receive a commission. Thanks.
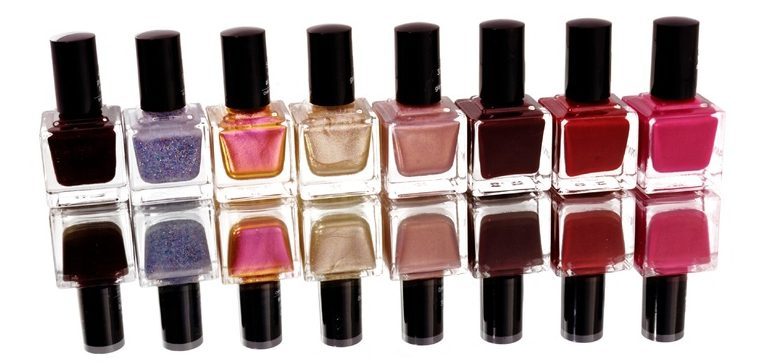
There are literally hundreds of different shades of nail polish available. But I still can never find the perfect nude or red shade. It always seems that this or that could be a bit different. If you are like me then you will love what I will show you next. A little lesson on how to make your own nail polish!
It is very easy and only takes minutes. Once you learn these basics you will be able to create your own unique nail polish colors and even sell them if you wish. In fact, making DIY nail polishes has become very popular. Many people now sell their original handmade creations and some even have full established nail polish brands.
The formula for making nail polish is simple:
NAIL POLISH BASE + COLOR ADDITIVE, GLITTER OR SIMILAR
Nail polish base
The first step in making your own nail polish is choosing a correct nail polish base. Nail polish base helps to distribute color pigments giving nail polish a consistent and even finish. It also suspends glitter within the polish preventing it from sinking into the bottom of the bottle and creating lumps.
There are three kinds of nail polish bases that are very popular for making homemade nail polish. New types are appearing as the demand grows but for the sake of simplicity, we will concentrate on the 3 main types. You need to choose the base depending on the type of nail polish you want to make.
[adinserter block="5"]
1. Suspending nail polish base
Used to make glitter nail polish because the special formula prevents glitter from sinking. Can be used with mica as well but will produce less opaque results than if used with luster base. When adding color, only add a pea size. For making glitter nail polish feel free to add as much or little glitter as you wish. It all depends on the look you want to achieve.
TKB Nail Polish Glamour Base for Glitter (Suspension Base) - this comes in a slightly purple shade. This is done for an important reason. Nail polishes tend to get a slight yellow tint when they age. Purple color neutralizes yellow and helps the color to stay true as it ages.
2. Luster base
This nail polish base is best if you want to make solid colors without glitter. Luster base mix will give your nail polish a more opaque look than the suspending base. This base works great with mica, dye or pigment.
When adding colorants, only add a “pea-size” or so to a 15ml bottle. If you add more, the finished product will not dry well and will peel off quickly. Also, luster bases can usually suspend very fine glitter.
Get Nail Polish Luster Base for Mica
3. Matte base
As the name suggests this base should be used to create matte color nail polish. It is not suitable for use with glitter.
Note: you can also use a clear nail polish instead of the base. But it may not suspend the color ingredients as well as the base and you will need to shake your bottle very well before using. It is an easy option for your own DIY project but not if you are planning to sell it.
Tip for making nail polish that is gentle for your nails:
When choosing nail polish base you might notice labels such as 3-free, 7-free, 10- free and so on. These labels indicate how many chemicals have been removed from the nail polish formulation. So the higher the number, the healthier the nail polish base is. 3-free means that it is free of three nastiest ingredients: Dibutyl Phthalate, Formaldehyde and Toluene. Labels with higher numbers will have these three chemicals removed plus additional ones.
Creating your own custom nail polish color
Mica powder
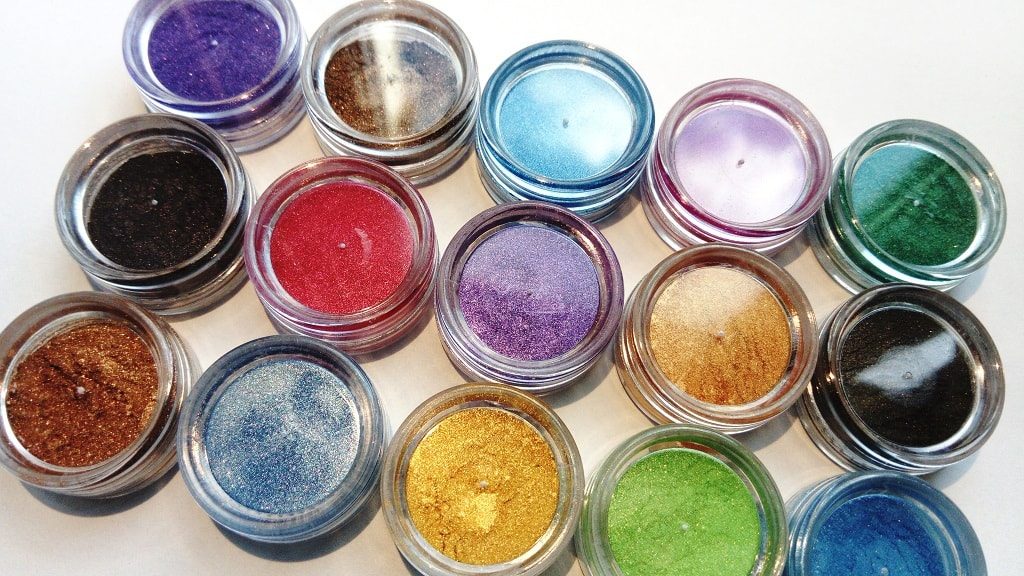
Mica powder is a fine cosmetic powder that is available in a huge variety of colors. It provides a beautiful shimmery/metallic effect. And can be used on its own or together with other colorants to achieve just the right amount of sparkle. Depending on the color you want to achieve, you can use one mica shade or for more unique colors mix a couple. You can buy it at beauty supply stores or online, for example: TKB mica powder
Oxides (color pigments)
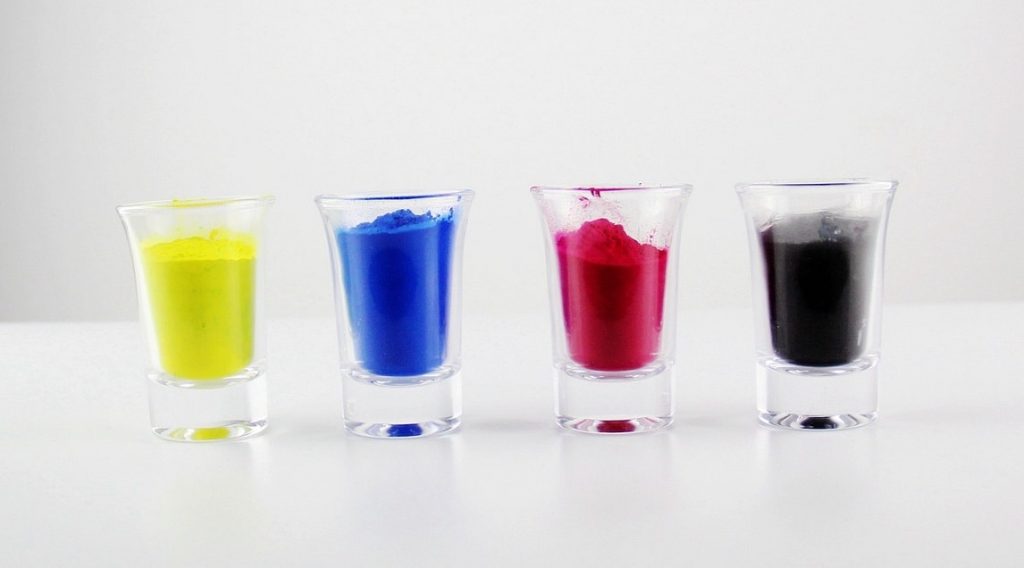
Just like mica powders, oxides are available in a variety of colors. You can mix and match to create even more variations. Color pigments have no shimmer and are very potent so you need to add only a tiny bit to achieve the color. You can also mix it with mica powders to create just the right amount of shimmer.
The downside of using oxides is that they are difficult to mix. Oxides can make nail polish apply streakily and even feel gritty. But do not worry, there are couple easy tricks to help solve this problem:
- grind your oxides. Even though oxide pigments already come in a powdery form, they can be crushed even more. Get yourself a mortar and pestle and grind your oxides before mixing them with the base. The key here is to grind for at least a minute to make sure there are no larger particles left. This is a common practice when working with oxide pigments. If you ever decide to make your own eyeshadows using these pigments, you will need to grind them as well.
- disperse oxides with alcohol. Put your oxides into a small container and add couple drops of a 99% alcohol. Mix until oxide is fully dispersed (the mixture will look quite watery). Once done, add this mixture to your nail polish base. Adding liquids can be quite messy so owning a small dropper would help.
Liquid color pigments
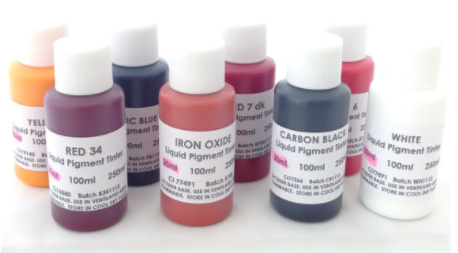
Exactly as it sounds this is a colorant that comes in a form of liquid. Usually only available in few main colors but can be easily mixed to create any shade you want.
Liquid colorants usually need to be used with suspension base (always read manufacturers instructions). This colorant distributes evenly throughout nail polish and does not leave any streaking when applying nail polish. This works great if you want to create solid opaque nail polish colors with a professional no-streak finish. Instructions on how much color to add will depend on each manufacturer's instructions and of course on the shade you want to get. It can be anywhere from 1 to 5 ml per 15 ml nail polish bottle.
Couple places to get your liquid pigments:
Glitter
We all know what glitter is. The main thing here is to use only the solvent resistant glitter. Otherwise, it will break down or bleed in the polish. There are many types of glitter to choose from depending on size, shape, color and shimmer.
Supplies you need to make nail polish
- Empty nail polish bottle
- Mixing balls. You will put them inside the nail polish bottle so you could shake your polish before using it. You need 1-3 balls per bottle depending on the size of the bottle and balls
- Tiny container. This is for mixing dry colorants together. Any little container will do.
- Miniature funnel. This is not necessary but is a big help with placing dry colorants to an empty polish bottle. It makes the process easy and clean. However, you can easily make a little funnel from paper and use that.
- A measuring spoon. Also not necessary but helps and it is a worthy purchase if you are planning to do more handmade beauty products. Nail polish bottles are tiny and they require only a small amount of colorant. When using mica powder you should only add about a pea-size of color. Special cosmetic spoons/scoops make measuring a lot easier. This is not mandatory of course.
[adinserter block="5"]
How to make nail polish yourself:
1. Decide on what type and color nail polish you want to make and gather your ingredients.
2. Add mixing balls to the bottle. Pour the nail polish base of your choice, only filling to just below the shoulder of the bottle. Note: funnels should be used for dry ingredients only. Base liquid might be too thick for it.
3. Place small amounts of colorant or/and glitter into a mixing container and mix until you get the desired shade. You can skip this step if you are only using one color. Using the tunnel add your color mix to the bottle.
Note: If using oxides, do not forget to grind them well or disperse with alcohol before adding to the base.
4. Shake the bottle for a couple minutes to make sure that the color is dispersed evenly.
5. Swatch your nail polish. If you are not happy with the result you can still add more color or glitter. Just do not forget to shake for another couple of minutes.
For a matte finish nail polish:
6. After you have mixed the color and the base well, add some cornstarch and shake again. You will need approximately 4-6 pea-sized scoops. The more you add the more matte your nail polish will be. Try adding a little bit first and swatch to see if you like the result. Keep adding more until you get the perfect look.
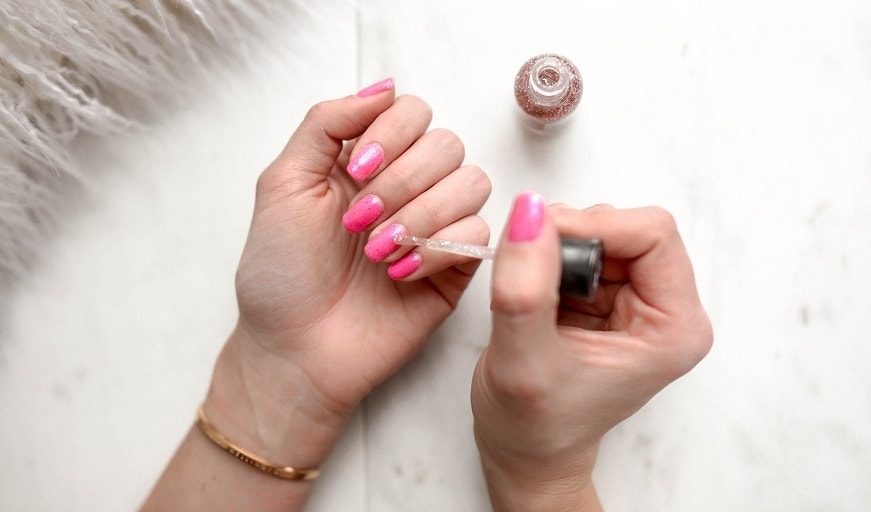
Voila! Your own unique nail polish is ready. Experiment with colors, quantities and different bases to achieve your own unique formulas. Or for some proven recipes, color mixes and inspiration have a look at our nail polish recipe section. You can also take a recipe and modify it to get a slightly different result. It’s all about creativity.
If you have any tips for making nail polish please share that in the comment section. I would love to hear from you and I’m sure other DIY lovers will love too!

I wanted to know if it’s possible to make gel nail polish, And if so how.
From where i can get the luster base? Pharmacy or what ?
Thank you. What type of ventilation environment should I use to make homemade fingernail polish?
this is a great guide for making nail polish. thanks so much!