Luxurious DIY Mini Bath Bombs [Homemade Gift Idea]
This post contains affiliate links. If you click and make a purchase, I may receive a commission. Thanks.
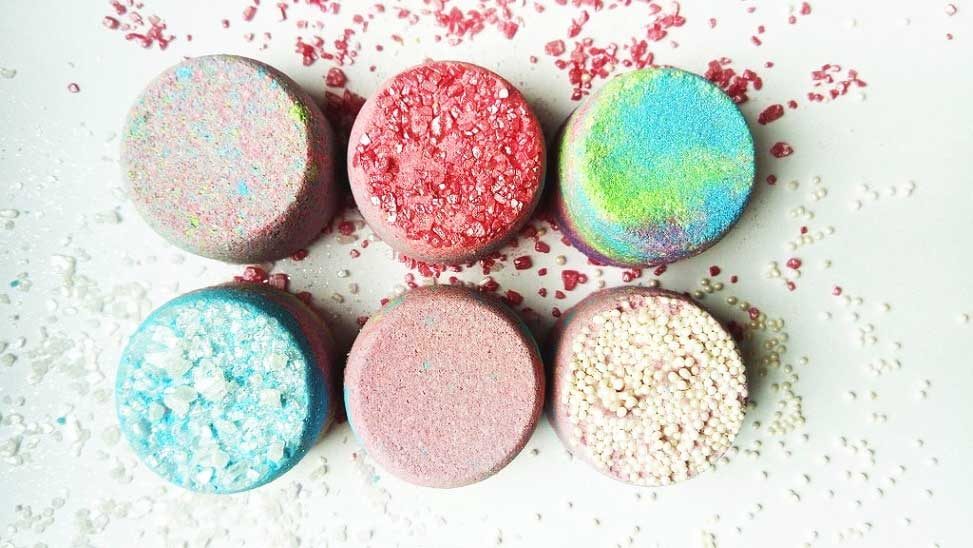
While the world is going crazy over the recent World’s biggest bath bomb record, I took my bath bomb game the opposite direction. I decided to make mini bath bombs. Mini bath bombs are nothing new. They are usually sold in packs and all come in the same color. Functional but not so cute. I like when my bath bombs have a bit more character. So I never really looked their way.
Last week my friend brought me a box of chocolates. It was a beautiful selection of little chocolates and all had different fillings and sprinkles on them. And then it hit me – why not make a set of mini bath bombs? Yes, this is what happens when you have a bath bomb obsession… I already went through obsession of testing every item in the house as a possible bath bomb mold and now I started seeing bath bombs in my food.
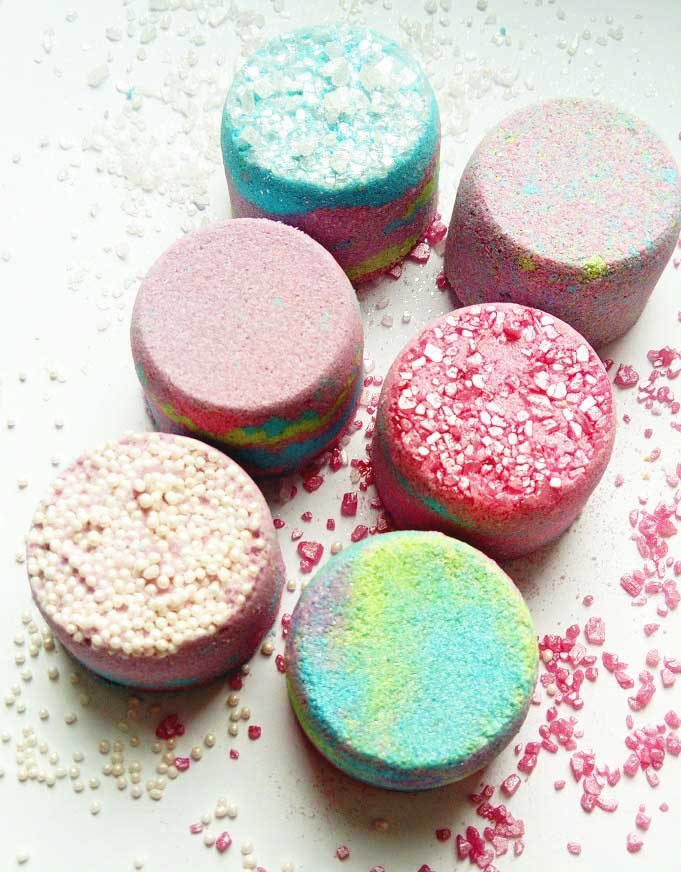
So today I present you my latest bath bomb project – DIY mini bath bomb set. It is a perfect idea for a DIY gift. It looks beautiful and is easily customizable. It is also easier to make than full-size bath bombs because small fizzies dry faster. The process of making these mini bath bombs is exactly the same as for full-size bath bombs. The fun part is that you get to customize each mini bath bomb and create a matching set.
I used cocoa butter for this recipe. I love it because it makes my skin feel soft and it also helps to harden the bath bombs. I also added polysorbate 80. It helps cocoa butter to dissolve in water. So my bath water feels moisturizing and there are no unaesthetic oil drops floating on top of the water.
If you have made bath bombs before then you will find this mini bath bomb recipe very easy. And most likely you will already have most of the ingredients required.
Ingredients for making a set of DIY mini bath bombs
* 1 cup baking soda
* ½ cup citric acid
* ¼ cup cornstarch
* 1 tbsp melted cocoa butter. This can be substituted by coconut oil or by some light oil such as sweet almond oil. Cocoa butter and coconut oil are great because they harden at room temperature. I found this helps my bath bombs not to break. Using a liquid oil will work as well just use something light because it will dry out faster.
* ½ tbsp Polysorbate 80. This ingredient is optional because we are using water-soluble dyes. But I like using it to help dissolve the cocoa butter into the water. You can read about Poly 80 in bath bombs here.
* ½ tsp bubble gum fragrance oil
* different colors of water-soluble dye. I used pink, purple, green and blue.
* rubbing alcohol or Witch Hazel
* a little bit of sea salt or some sugar sprinkles for decorating. I used both.
* a little bit of mica powder (different colors)
* a small bath bomb mold. Now, this could be anything. Remember my obsession to use household items as bath bomb molds I was talking about earlier? This project is a perfect example of that because I used a plastic scoop as a mini bath bomb mold. So just use something similar. Ice cube trays will work amazing for this project. I will use them for my next mini bath bomb recipe.
* mixing bowls. I used 4 colors for this mini bath bomb recipe so I needed 4 bowls.
* gloves
* a sieve (optional)
Making mini bath bombs
1. The first step is to prepare our dry mix. In one of the bowls mix baking soda and cornstarch together. Then distribute the mix evenly between your other bowls.
2. Take one of the bowls with dry mix and add couple drops of purple color. Mix well. You will see that the color is barely visible. Now add half teaspoon of water or so and mix again. Water will reveal true color of water-soluble dyes. Leave mix to dry and repeat with your other bowls and colors. It will take couple hours for the baking soda to dry.
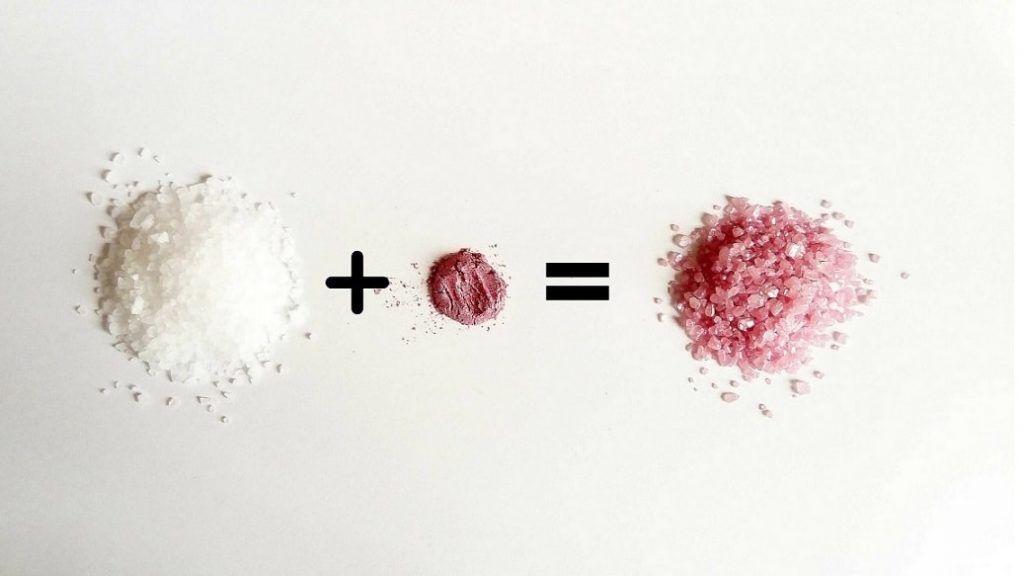
3. Meanwhile, if you decided to use sea salt in this project just like I did. Place a little bit of sea salt in a small bowl and add a pinch of mica powder of your choice. I mixed mine with pink and silver mica powders.
4. Once the colored mix is dry it is safe to add citric acid. First, sift through your colored baking soda. This will ensure that bath bombs come out smooth. Then, add even amounts of citric acid to each of the bowls. Mix well to make sure that citric acid gets colored as well.
5. Prepare your wet ingredients. Mix cocoa butter, fragrance and Polysorbate 80 together in a little bowl. Distribute this evenly between your bowls with colored baking soda and mix.
6. Continue mixing until mixture in each bowl resembles wet sand. Add tiny amounts of rubbing alcohol or witch hazel to achieve this consistency. Squeeze the mixture in your palm. If it holds the shape well then your mixture is ready.
7. Now the fun part begins. Packing your bath bombs. This is the part where you can release your creativity and mix colors in the mold to get the look you want. I tried mixing colors slightly differently for each bath bomb. The options I did:
- Layered different colors of bath bomb mix.
- Sprinkled different colors of bath bomb mix a little bit at the time.
- Decorated bath bombs with sea salt. To do that just add some sea salt on the bottom of your bath bomb mold and pack your mixture tightly on top. I did the same with little pearl sprinkles.
Don’t forget to pack bath bomb mold tightly. Let the mixture sit in a mold for couple minutes and then take it out.
- Another option that I did was coloring my ready bath bombs with some shimmery mica powder. Just dip your finger in some mica powder and gently rub on top of your bath bombs. It’s also a great way to hide any imperfections.
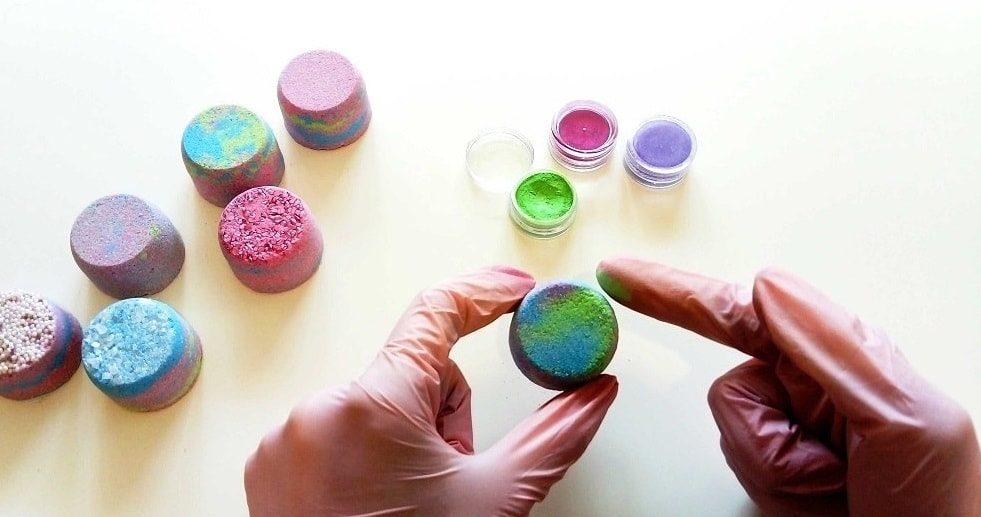
I was able to make eight mini bath bombs from this recipe. Of course, it will all depend on the mold you choose to use. If you use ice cube tray you should be able to get one or two more than me. For my selection, I chose 6 different ones. There are many different ways you could package these homemade mini bath bombs. I think it would look really fancy in a little gift box. I didn't have one so I placed mine in a little plastic bag and tied it with a ribbon. I like how it came out.
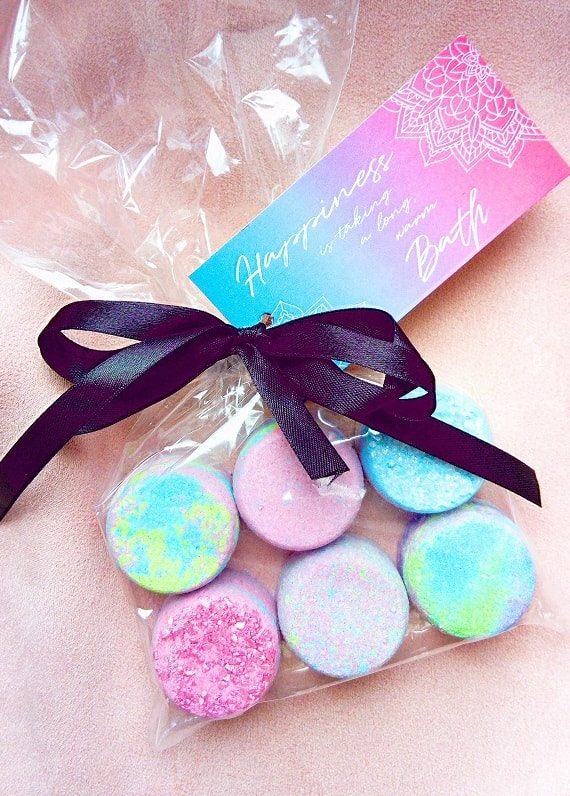
I also created simple gift tag saying "Happiness is a long, warm Bath". You can download it from the link below.
[wpdm_package id='1919']
Time to try them out! Even if you are making these for a gift, I’m sure you will have some spare ones left. So go ahead and enjoy these in your bathtub. And go on… put more than one. If that would be candy would you stop with just one?
