Shea Butter & Coconut Oil Lotion Recipe That Everyone Loves
This post contains affiliate links. If you click and make a purchase, I may receive a commission. Thanks.
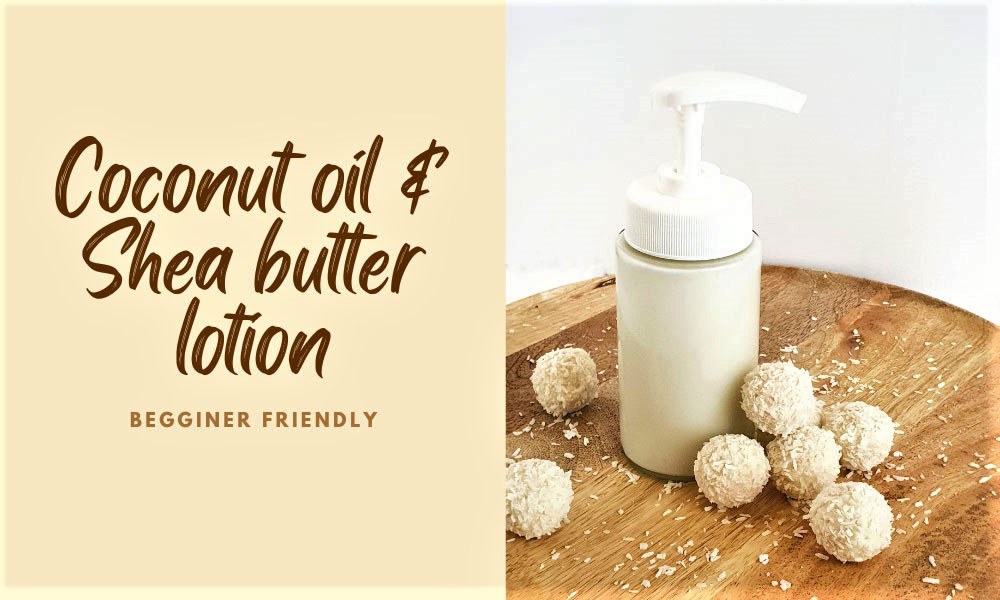
I want to share with you a very easy to make shea butter & coconut oil lotion recipe. This recipe uses 3 most popular and widely available homemade skincare ingredients: coconut oil, shea butter and beeswax.
The coconut oil, shea butter, beeswax lotion is without a doubt the most popular lotion recipe out there. Most people choose this recipe because the ingredients are easily available but quickly fall in love with how nice the finished lotion feels.
Chances are that you already have all these ingredients at home. If not, rest assured that you will be able to use up these ingredients in so many skincare recipes.
LET’S TALK INGREDIENTS:
COCONUT OIL
Coconut oil is the most popular oil used in skin care. And not without a reason. It is very pleasant to use on the skin because it melts at skin’s temperature and absorbs fast, so you don’t feel greasy. And let’s not forget it smells great.
Coconut oil moisturizes the skin and provides anti-inflammatory, antibacterial, and antiviral properties that can help improve eczema and help wounds heal faster.
SHEA BUTTER
Shea butter is an excellent moisturizer for the skin. It feels a little more greasy and does not absorb as fast as coconut oil, but it has many vitamins that our skin needs.
BEESWAX
There are 2 reasons you will want to add beeswax to this recipe.
First, it will give more body to your homemade Shea butter and coconut oil lotion. Since coconut oil melts at 76 degrees, the recipe needs something that can thicken the lotion and prevent it from being too runny.
And second, beeswax is great for your skin. It is very occlusive and will seal moisture in your skin, so it won’t lose moisture. This is especially beneficial in winter, when our skin is dry.
RECIPE & VIDEO TUTORIAL
♥ 50 g of coconut oil
♥ 34 g of Shea butter
♥ 15 g of white beeswax
♥ 1g of essential oils or fragrance oil (optional). The lotion will have a coconut scent naturally. I used this fragrance. It strengthens coconut scent and adds a lovely vanilla like sweetness.
HOW TO USE
Take a small amount of your homemade lotion and apply to the skin. The lotion will start melting when in contact with the skin, so you will be able to distribute it all over the skin well. Make sure you use small amounts and massage it in well. This way, the lotion won’t feel greasy.
My best tip is to apply this lotion immediately after the shower. This way, the lotion will seal all the moisture in and you will benefit from maximum hydration.
HOW TO MAKE LOTION LESS GREASY
This lotion is made solely from oil based ingredients, so an oily feel is to be expected.
I formulated the recipe to minimize oily feeling. Beeswax helps to reduce greasiness and coconut oil only feels greasy at first. Make sure you don’t use too much product and massage it in well, the skin will absorb it fast, leaving moisturized but non-greasy feel. If you still think that your lotion is too greasy you can do two things:
1. Change the ratio of ingredients to include more coconut oil and beeswax and less shea butter. Shea butter is the greasiest ingredient in this recipe.
Example: remelt your lotion and add 10 more grams of coconut oil and 5 grams of beeswax. When adding extra coconut oil and beeswax maintain a ratio close to 2:1.
2. Add arrowrrot powder (or tapioca starch). These powders can absorb oils and make oil-based lotions less greasy.
How to do this: remelt your lotion, add arrowroot powder while oils are warm, mix very well until the powder fully dissolves, re-whip.
Add 1 tsp of powder per 8 ounces of lotion.
Thank you for sharing this recipe! I am looking for a container to put it in. What size would you recommend? I plan to purchase a pump container.
Thank you!
Sierra