DIY Lip Bath Bombs Inspired by Kylie Jenner
This post contains affiliate links. If you click and make a purchase, I may receive a commission. Thanks.
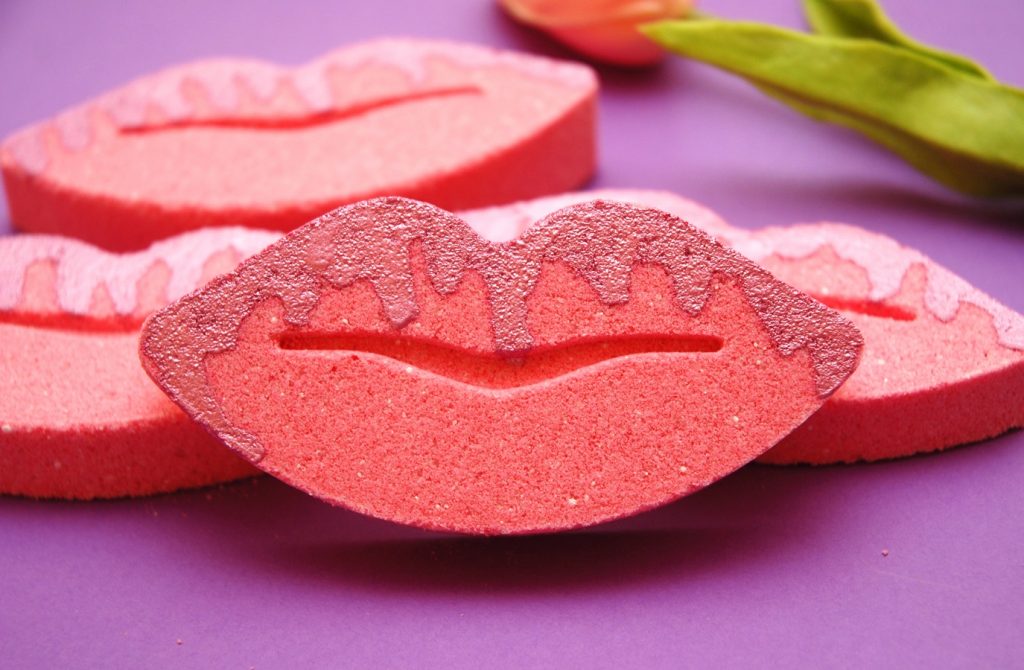
Out of all DIY beauty products, bath bombs are probably the most creative ones. It is because you can decorate them in so many ways. One of the easiest ways to make a bath bomb stand out is to use a cool bath bomb mold. An interesting bath bomb mold can make bath bombs look amazing without any additional decorations.
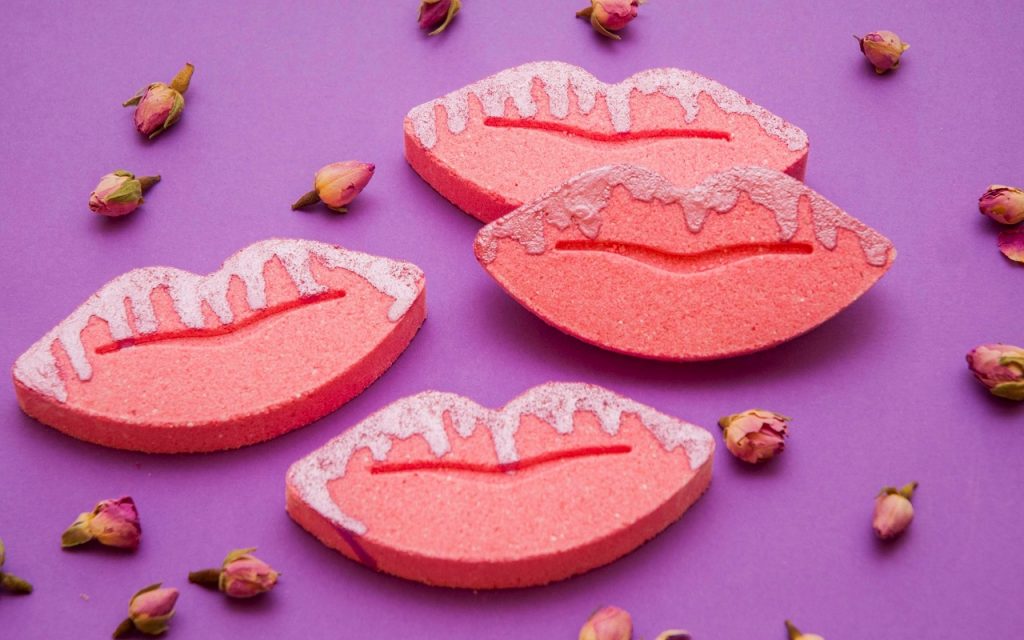
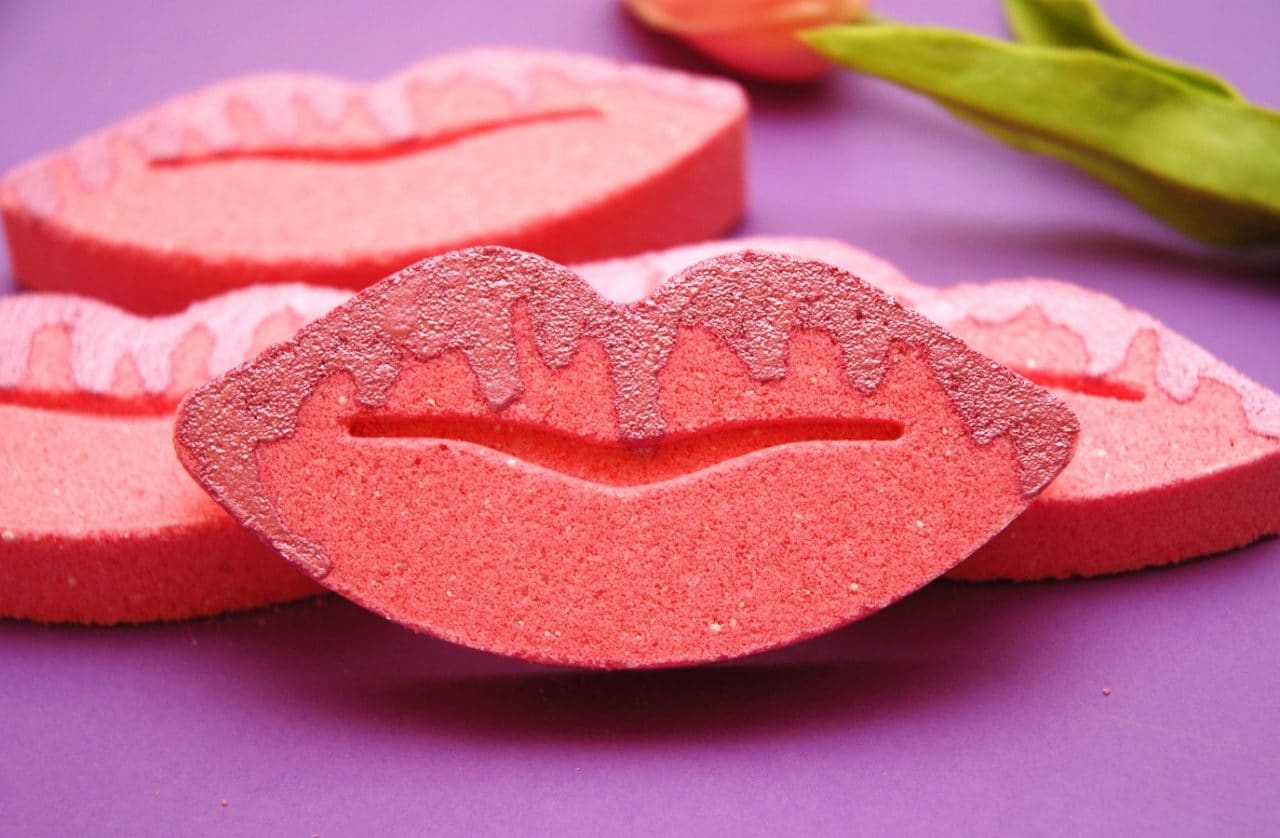
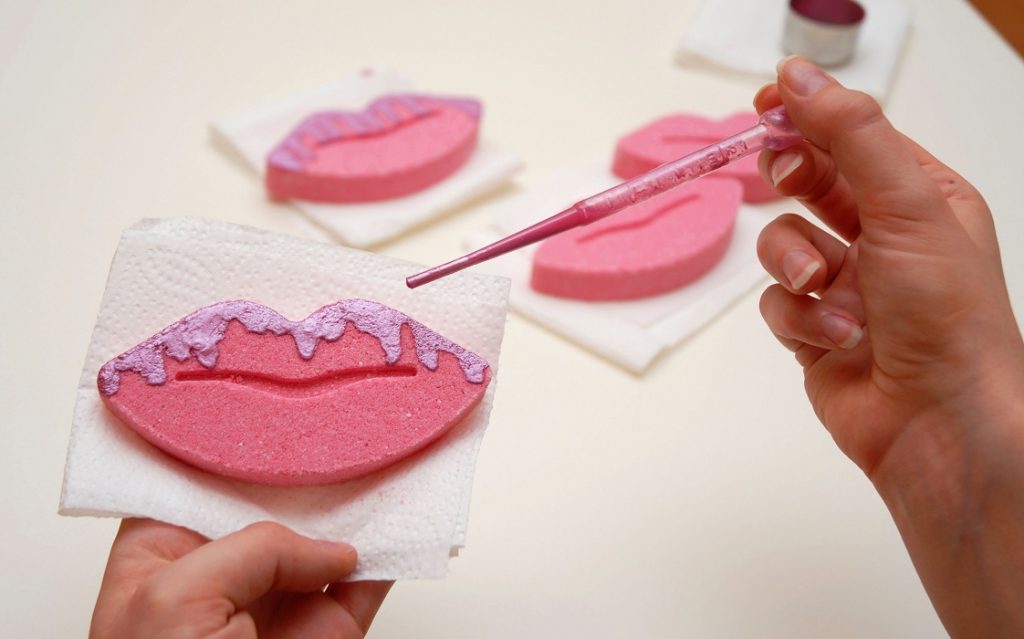
So, last week I was looking for fun bath bomb molds to purchase and I found this awesome lip mold. Bath bombs in a shape of lips look good on their own but I decided to add some shimmery drizzle on top aka the Kylie Jenner lip gloss drip for that extra chick look. Feminine and luxurious.
These DIY lip bath bombs are very easy to make. At this point, I have worked out a pretty good bath bomb recipe that produces hard bath bombs each time, so you will enjoy working with this recipe. The bath bomb drizzle recipe is very easy too and only requires two simple ingredients. Also, flat shaped bath bomb molds are easier to use than the round ones because you don’t have to worry about two bath bomb halves sticking together.
Pin this bath bomb recipe for later:
Ingredients and supplies
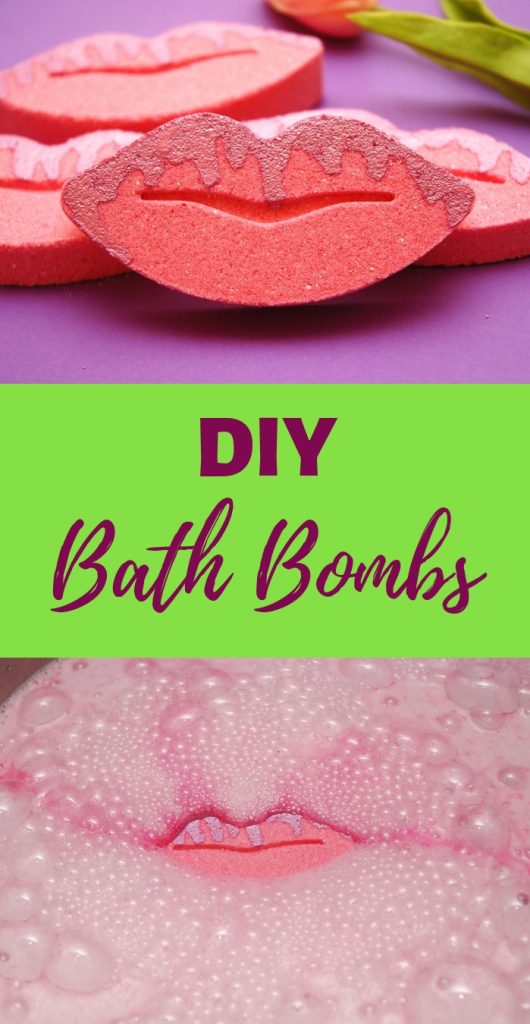
The main item for this DIY bath bomb is, of course, the lip bath bomb mold. I got the idea to make a bath bomb in the shape of lips when I found this bath bomb mold on Etsy. I got inspired by the seller's photos showing the finished bath bombs. I didn’t want to wait for this mold to arrive and since I have an access to a 3D printer, I just went ahead and printed one myself. It came out pretty well, almost as nice as the one you can buy online.
Here are other stunning lip molds that you can get for this project:
Once you have your lip mold you will also need:
- 1 cup of baking soda
- 1/2 cup of citric acid
- 3 tbsp of cornstarch. Cornstarch makes bath bombs harder and it also makes bath water feel very soft.
- 3 tbsp of buttermilk powder - adds foam
- 1 tbsp of Cocoa butter (coconut oil is a great substitute, also any light oil)
- 1/2 tbsp of Polysorbate 80 - prevents dyes and mica from staining your bathtub. Also helps mix oils with water. Majority of professional bath bomb makers use it in their recipes. You can read about it in my post.
- Pink color dye (soap colorant, water-soluble dyes or food dye)
- 10 drops of Bubblegum fragrance or your favorite essential oils
- A whisk
For the drizzle:
- Rubbing alcohol (witch hazel might work too)
- A dropper (you can use a teaspoon too but it is easier with a dropper)
Ingredients
- 1 cup of baking soda
- 1/2 cup of citric acid
- 3 tbsp of cornstarch
- 3 tbsp of buttermilk powder
- 1 tbsp of Cocoa butter (coconut oil is a great substitute, also any light oil)
- 1/2 tbsp of Polysorbate 80
- Pink color dye (soap colorant, water-soluble dyes or food dye)
- 10 drops of Bubblegum fragrance or your favorite essential oils
- Rubbing alcohol (witch hazel might work too)
- Pink mica powder
Instructions
- Combine baking soda, cornstarch and buttermilk in a large bowl. TIP: for a smoother looking bath bombs, sieve through baking soda before adding.
- In a separate small bowl, combine cocoa butter, polysorbate 80 and fragrance. Pour into the bowl with the dry ingredients and mix well with the whisk.
- Add a couple drops of your dye and mix well with the whisk. Keep adding the color until you reach the desired shade. If your mixture feels very dry and the color does not mix well, spray some water. But only a little bit. The mistake that most people make (and I used to as well) is not mixing enough. To make sure that the color and other ingredients are evenly distributed you may need to whisk the mixture for full 5 minutes. Your hands may get tired but its worth it. Wipe off the sweat and carry on!
- Now, when you have the color you want, add the citric acid and mix some more. Again, mix for at least 2 minutes.
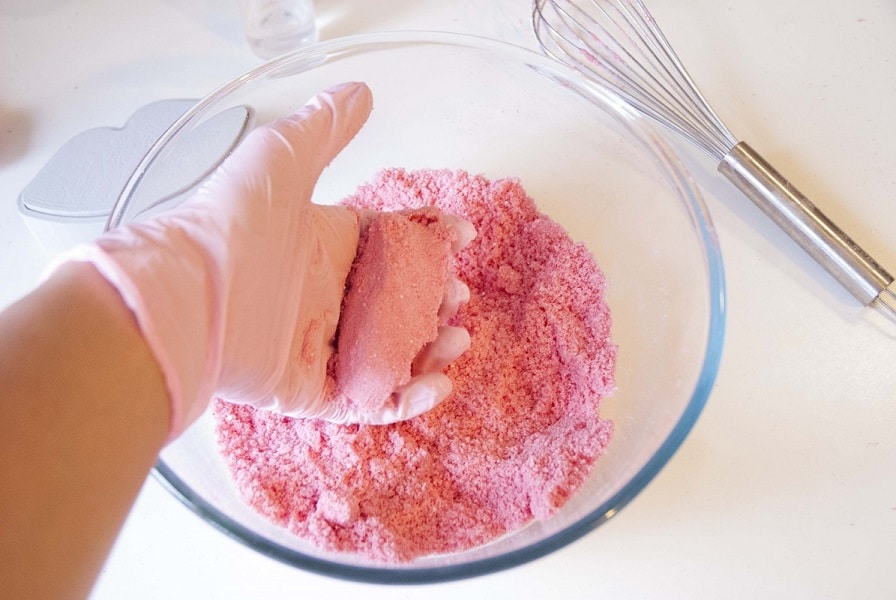
- Your finished bath bomb mix should resemble damp sand. To test if your bath bomb mix is ready, squeeze it in your palm. If the mixture stays together, then it's ready.
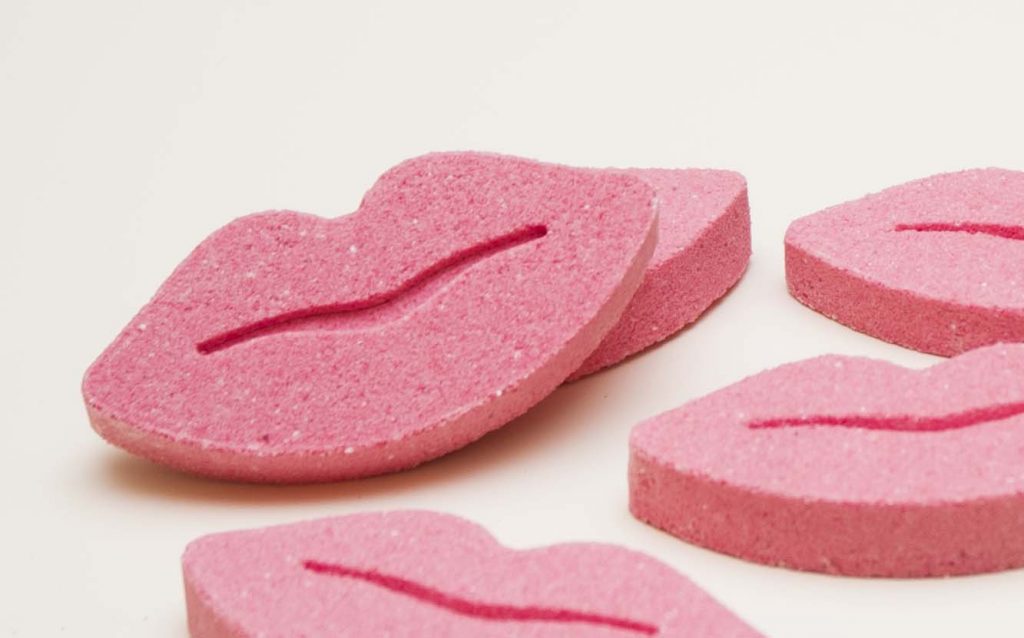
- Pack your lip bath bomb molds tightly, let them sit in the mold for a minute and carefully take them out. Leave to dry overnight. Tip: If you live in a very humid environment, place some dry rice around your bath bombs. Rice will absorb the moisture helping the bath bombs dry faster.
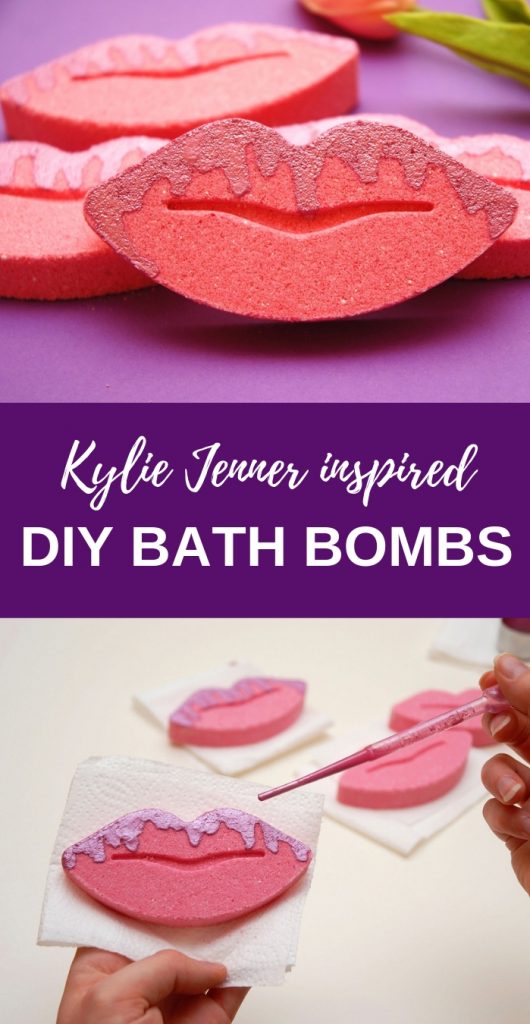
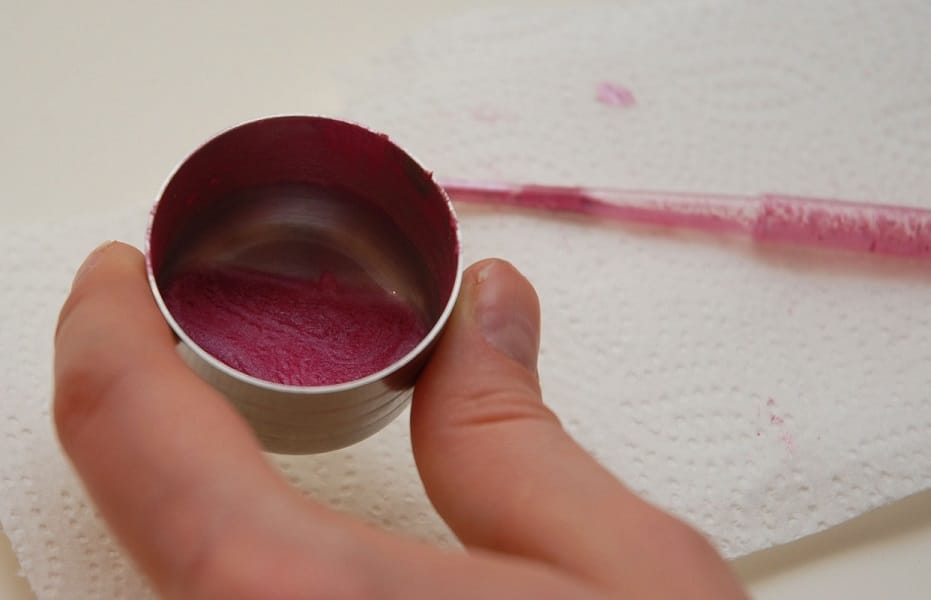
- Once your bath bombs are fully dry, prepare the mica drizzle aka the Kylie Jenner lip gloss drip. Combine 3 tbsp of alcohol with 1 tsp of mica powder. The more mica powder you add, the thicker the drip will look.
- Use a dropper (or a teaspoon) to drizzle some of the mica and alcohol mixture onto your bath bombs.
- Once finished, let it dry for couple hours.
For this DIY bath bomb recipe, I chose a standard lip color - pink. But there are so many fun variations that you could do with this DIY: red lips, winter lips (blue and sparkly silver drip), funky lips (purple and yellow)…
I hope you enjoyed this bath bomb recipe as much as I did. I would love to hear from you and see what you made. Add the photo of your lip bath bombs under this pin on Pinterest or email me at contact@diybeautybase.com. I would love to showcase your creations!

Hello, how much mica powder do you use and what is the ratio? Love your ideas